
Introduction to G-Code in 3D Printing
If you’ve ventured into the fascinating world of 3D printing, you’ve likely come across the term “G-Code.” This simple but powerful language is the backbone of your 3D printing process, translating your digital designs into physical, tangible items. But what exactly is G-Code, and why is it so crucial to your printing success? In this beginner-friendly guide, we’ll explore G-Code, its function, and how mastering it can significantly enhance your 3D printing experience.
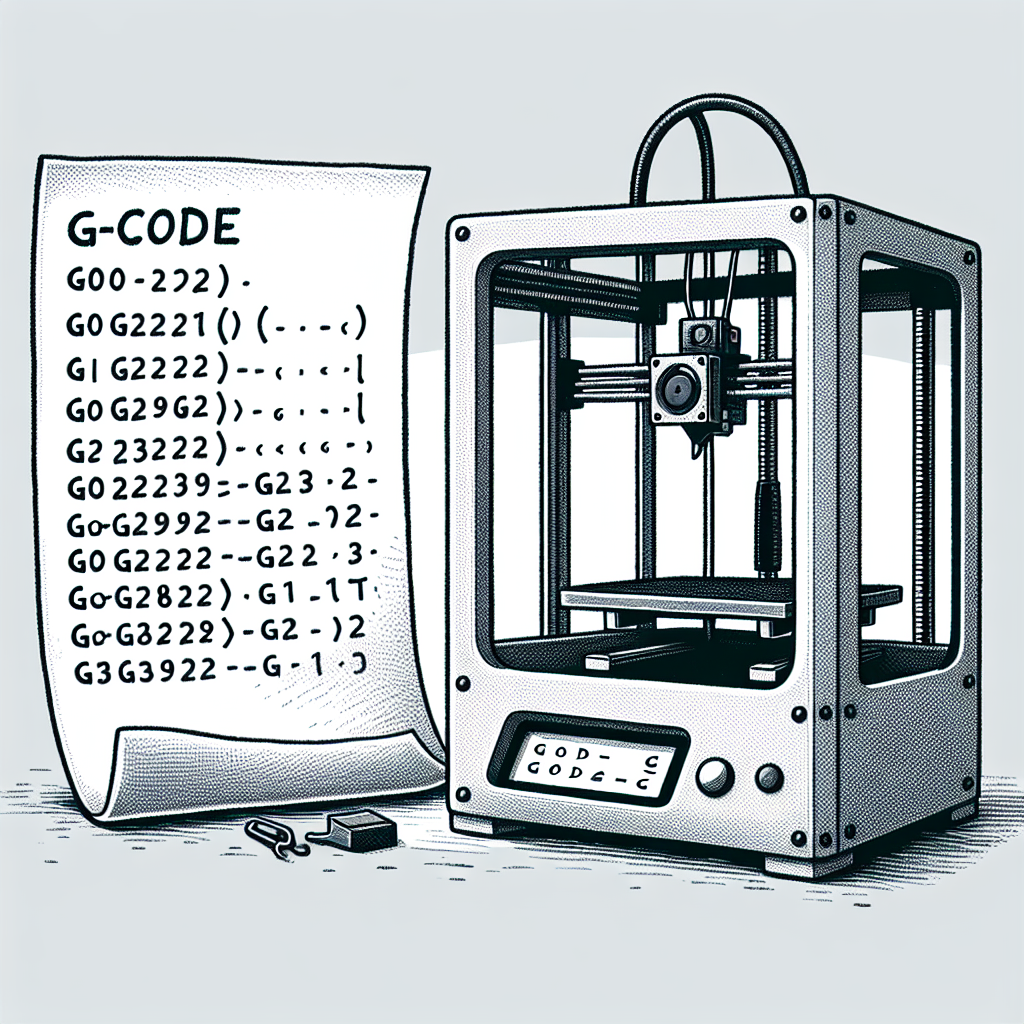
What Exactly is G-Code?
At its core, G-Code is a numerical control programming language used by 3D printers and other CNC (computer numerical control) machines. Think of it as a set of instructions or commands guiding your printer step-by-step through the process of turning your digital design into a physical object. Each G-Code command tells the printer precisely how to move, where to move, how fast to move, and what actions to carry out (such as heating the nozzle or extruding filament).
How is G-Code Created?
Fortunately, you don’t have to manually write G-Code line by line. Instead, 3D printer software (known as slicers) like Cura, Simplify3D, PrusaSlicer, or Slic3r automatically converts your 3D model files (typically STL files) into G-Code. During the slicing process, your 3D model is split into hundreds or thousands of layers, and the software generates detailed instructions for each layer.
However, understanding what happens behind the scenes and how to tweak your G-Code ensures better control of your prints and optimizes the quality and performance of your printer.
Breaking Down a Typical G-Code File
A typical G-Code file consists of several sections and commands. Let’s briefly examine some common commands and their meanings:
- G0 and G1 — These commands indicate linear movements. G0 is used for rapid movements without extrusion (travel moves), while G1 specifies movements with extrusion (printing moves).
- G28 — A command instructing the printer to home all axes, returning the extruder and bed to their zero positions.
- M104 / M109 — Commands controlling the extruder temperature. M104 sets the temperature without waiting, whereas M109 sets the temperature and waits until the target temperature is reached before proceeding.
- M140 / M190 — Commands controlling the heated bed temperature. Similar to M104/M109, M140 sets and proceeds immediately, while M190 waits until the bed reaches the target temperature.
- M106 / M107 — Commands controlling the cooling fan. M106 turns on the fan and sets its speed, while M107 turns off the fan.
A typical G-Code file will start with initialization commands (homing, heating), followed by movements and extrusion commands, and finally end with a sequence of commands to cool down and turn off the printer safely.
Why is Understanding G-Code Important?
While slicers handle most tasks automatically, understanding G-Code allows you to troubleshoot issues, optimize your printer settings, and customize your 3D printing workflow. If your print isn’t adhering to the bed, experiencing layer shifting, or dealing with stringing, examining your G-Code can offer invaluable insights into what’s happening exactly and how to fix it.
Additionally, knowing G-Code makes it possible to insert custom scripts for specific print jobs, such as pausing at a certain layer to change filament color or embedding parts within your print.
How to View and Edit Your G-Code
G-Code files can easily be opened and edited with any basic text editor like Notepad (on Windows), TextEdit (on Mac), Visual Studio Code, or Sublime Text. However, specialized G-Code viewers (such as Simplify3D or Repetier-Host) offer advanced visualization, allowing you to see exactly how your printer will behave during the print job.
Always remember to save backup copies when making manual edits to your G-Code. Incorrect edits might lead to unexpected or undesirable printer behavior.
Final Thoughts
Understanding G-Code demystifies the 3D printing process and empowers you to become a more informed and skillful user. While software automation typically simplifies your workflow, diving into G-Code gives you more precise control, better troubleshooting skills, and deeper insight into how your printer functions.
With this beginner’s guide, you’re now ready to explore and experiment, unlocking the full potential of your 3D printer and making your printing projects even more rewarding.
Leave a Reply