Introduction to Layer Height in 3D Printing
When diving into the world of 3D printing, one of the first settings you’ll encounter is the “layer height”. Layer height refers to the thickness of each individual layer deposited by your printer’s nozzle, and it’s measured in millimeters (mm). This seemingly small setting can drastically affect the overall quality, strength, and printing speed of your 3D prints. But does it really matter? Let’s take a closer look.
What Exactly is Layer Height?
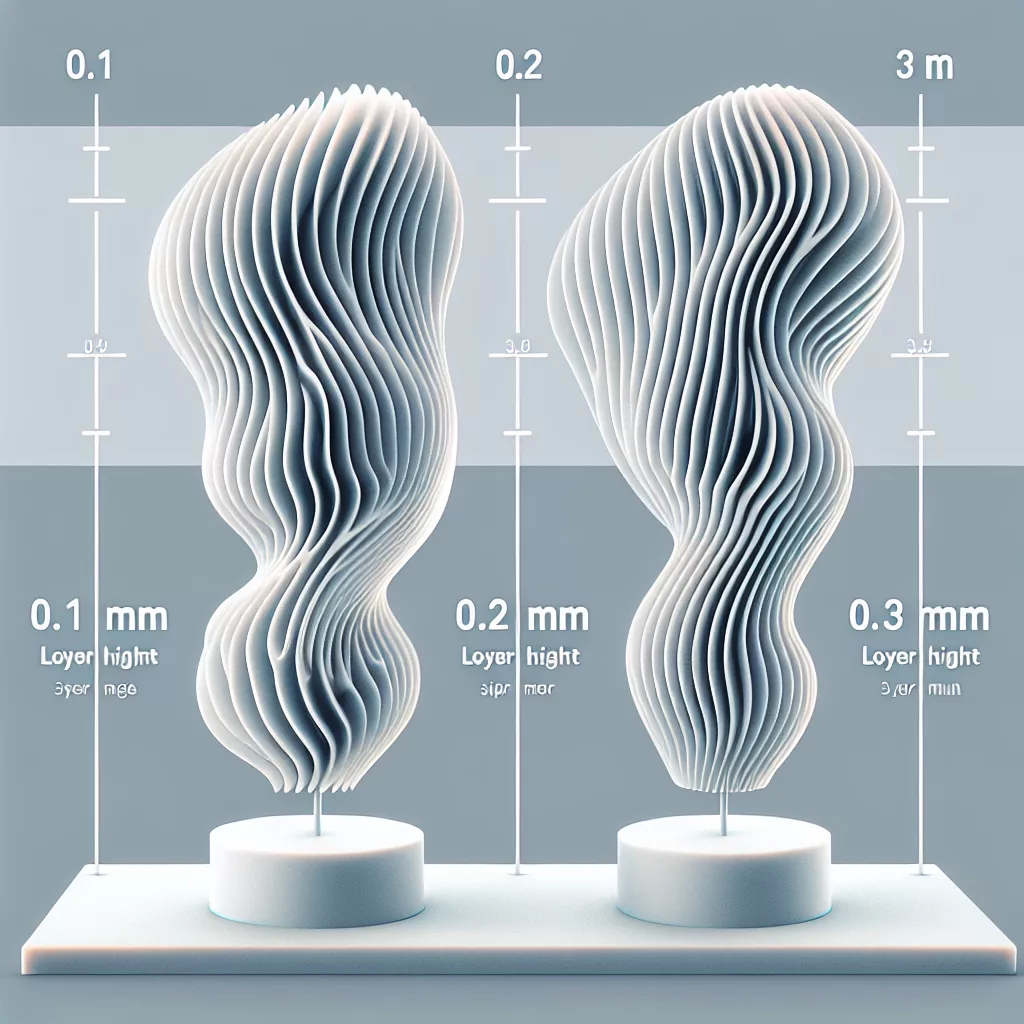
Layer height, also known as the resolution of your 3D print, defines the thickness of each layer deposited by your printer. Most hobby-level 3D printers can handle layer heights ranging from approximately 0.05 mm (50 microns) to 0.3 mm (300 microns) or even more. A lower layer height (such as 0.1 mm) means thinner layers, and generally finer detail, whereas higher layer heights (0.2 mm or 0.3 mm) mean thicker layers, quicker prints, and somewhat reduced surface detail.
Why Layer Height is Important
The layer height you select directly influences three key aspects of your print:
Print Quality and Surface Finish
A smaller layer height tends to provide smoother surfaces and finer detail. When printing highly detailed models or decorative items, a smaller layer height (typically around 0.1 mm or lower) ensures you capture intricate details and minimize visible layer lines. Conversely, larger layer heights (around 0.2 mm to 0.3 mm) can result in visible layering and a rougher finish, which may require additional post-processing like sanding or priming.
Strength and Durability
The strength of your printed model can be influenced by your chosen layer height, though this factor is sometimes overlooked. Thicker layer heights often result in fewer layers overall, meaning slightly stronger interlayer adhesion and greater structural integrity along the Z-axis (vertical strength). However, lower layer heights produce more layers, which can sometimes improve horizontal strength and flexibility. The ideal layer height for strength depends on the intended use and geometry of your printed object.
Printing Speed and Efficiency
Higher layer heights significantly reduce your printing time, allowing you to rapidly prototype and iterate designs. If speed is your priority—for example, when printing prototypes, tooling, or functional parts where aesthetics aren’t as critical—choosing a thicker layer height makes sense. Conversely, thinner layer heights significantly increase the printing time, but the trade-off is the improved visual quality and precision.
How to Choose the Right Layer Height
Selecting the optimal layer height is a balancing act between speed, quality, and strength. To help you make the best decision, consider the following guidelines:
- Fine Detail (0.05 mm – 0.12 mm): Perfect for miniatures, models, jewelry, or anything requiring sharp detail and smooth finishes.
- Balanced Quality and Speed (0.15 mm – 0.2 mm): Ideal for most applications, providing good detail with moderate speed.
- Rapid Prototyping and Functional Parts (0.25 mm – 0.35 mm): Excellent for quickly testing ideas, functional components, or applications where detail is less important.
Impact of Layer Height on Cost and Material Usage
Layer height also affects how much filament you’ll use and thus indirectly impacts the cost. Interestingly, while thinner layers create higher quality prints, the total amount of filament used generally won’t significantly differ solely based on layer height. The primary cost differences stem from reprints due to failed attempts at extremely fine resolutions and the extra time required for detailed prints. Therefore, choosing an optimal layer height not only saves time but also minimizes costly errors and reprints.
Best Practices for Adjusting Layer Height
To get the most out of your prints, follow these practical tips:
- Calibrate Your Printer: Ensure your printer is properly calibrated, leveled, and tuned for optimal performance at your chosen layer height.
- Test Prints: Before committing to a critical print, run a small test model at various layer heights to analyze detail and strength.
- Use Adaptive Layer Heights: Many slicing software packages now include adaptive layer height features, allowing different layer heights throughout a single print. Utilize adaptive layer height to save time while maintaining fine details where they matter most.
Conclusion: Does Layer Height Really Matter?
Absolutely! Layer height matters significantly, influencing the aesthetics, strength, timing, and accuracy of your 3D prints. Understanding the role of layer height and how to choose it appropriately for your specific needs provides you with a powerful tool to improve your printing experience and optimize your results.
Whether you’re printing artistic models requiring fine detail, functional prototypes demanding strength and speed, or everyday prints that balance both factors, mastering layer height settings is a crucial step towards becoming a successful and satisfied 3D printing enthusiast.
Leave a Reply