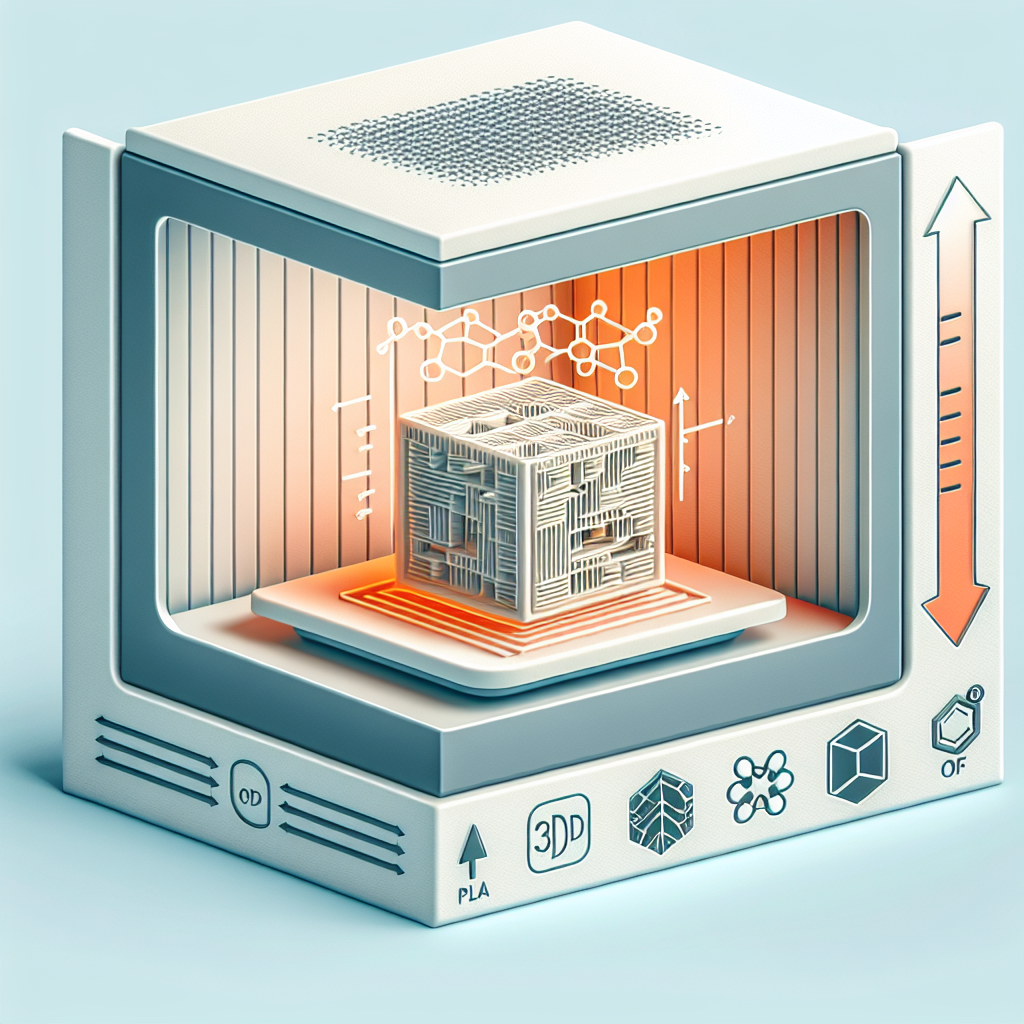
Understanding Annealing: The Science Behind Stronger 3D Prints
Annealing is a thermal post-processing technique that significantly improves the strength, durability, and thermal resistance of 3D printed parts. In traditional manufacturing, annealing is used to relieve internal stresses and enhance material properties. The same principles can be applied to FDM and resin 3D prints, unlocking the full potential of your printed objects.
Why Anneal 3D Printed Parts?
During the 3D printing process, layers of material are deposited in rapid succession, often resulting in internal stresses, incomplete bonding, and a degree of brittleness. Annealing allows the polymers to partially reflow, promoting better molecular alignment and crystallization (especially for semi-crystalline materials like PLA and PETG). This translates to:
- Increased tensile strength
- Improved impact resistance
- Greater heat deflection temperature
- Reduced warping over time
Materials That Benefit Most from Annealing
Not all filaments or resins will respond equally to annealing. Here are some common materials and their compatibility:
- PLA: Annealing can dramatically increase heat resistance and strength, but may cause notable warping.
- PETG: Responds well, with moderate increases in strength and stability.
- ABS: Minimal benefits, as ABS already has good interlayer adhesion, but can improve dimensional stability.
- Nylon & Polycarbonate: These engineering-grade filaments can see significant gains in strength and heat resistance.
- Resin: Some engineering resins are specifically formulated to benefit from post-print thermal curing.
Annealing Step-by-Step: How to Get It Right
Annealing is not as simple as putting your print in the oven. Here’s a proven, step-by-step process based on real-world 3D printing experience:
1. Preheat Your Oven
Use a convection oven for even heat distribution. Set your oven to the recommended temperature for your filament:
- PLA: 80–120°C (176–248°F)
- PETG: 75–90°C (167–194°F)
- Nylon: 70–80°C (158–176°F)
Always double-check manufacturer recommendations.
2. Prepare the Print
Place your part on a flat, heat-resistant surface. A baking tray lined with parchment paper or a ceramic tile works well. You can add a small amount of uncooked rice or sand around the part to reduce warping and hold the print in place.
3. Slow and Steady Heating
Place the print in the oven and let it reach the target temperature gradually. Sudden temperature changes increase the risk of warping or deformation. Allow 30–60 minutes for the annealing process, depending on part size and material.
4. Controlled Cooling
After annealing, turn off the oven but leave the part inside to cool down slowly. Rapid cooling (thermal shock) can cause cracking or warping. Wait until the oven reaches room temperature before removing your print.
Tips to Minimize Warping and Distortion
- Print with higher infill percentages (30% or more) for better dimensional stability.
- Orient parts so their largest surface is flat on the tray.
- Use support structures for overhangs or delicate features.
- Perform test anneals on sample pieces to observe dimensional changes.
Testing the Results: Measuring Improvements
After annealing, expect a slight change in the dimensions of your print—usually a bit of shrinkage in the X/Y axis and an increase in the Z axis, especially for PLA. For critical parts, it’s wise to measure and adjust your model accordingly.
You can test improvements by performing simple bend, pull, or stress tests on sample prints. Real-world experience shows properly annealed PLA parts can withstand temperatures that would otherwise cause standard PLA to deform.
Conclusion: Unlocking the Full Potential of 3D Prints with Annealing
Annealing is a powerful, accessible technique for hobbyists and professionals alike. By taking the time to perfect your annealing process, you can create 3D printed parts that rival or even surpass the performance of traditional injection-molded plastics. With practice, you’ll dramatically expand the range of applications for your desktop 3D printer.
Leave a Reply