Why Use a Raspberry Pi OctoPrint Server?
Managing your 3D printer remotely unlocks a new level of convenience, safety, and functionality. OctoPrint, paired with a Raspberry Pi, offers a powerful platform to monitor, control, and enhance your 3D printing workflow. Having set up dozens of OctoPrint servers over the years, I can confidently say that once you try it, you’ll wonder how you ever lived without it. Here’s a step-by-step guide to getting your Raspberry Pi OctoPrint server up and running.
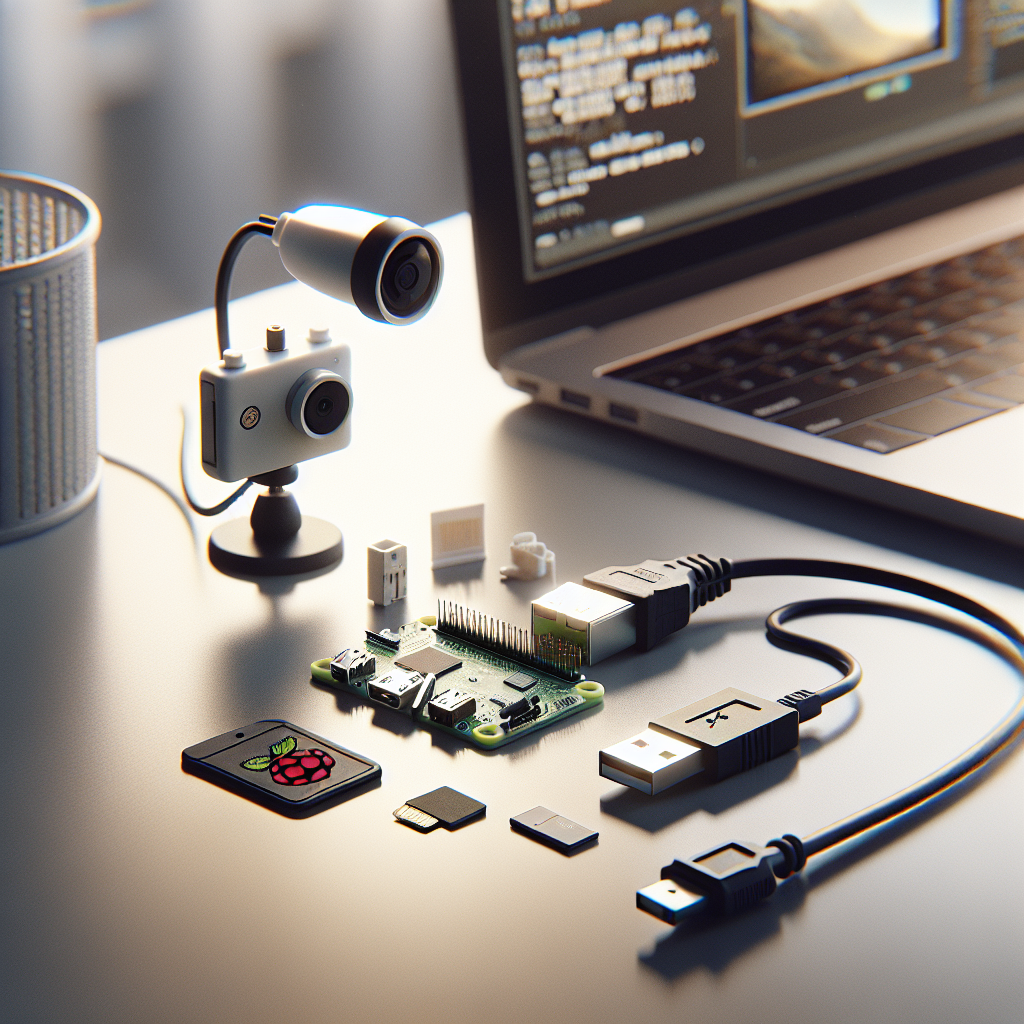
What You’ll Need
- Raspberry Pi (3, 4, or Zero 2 W are recommended for best performance)
- MicroSD card (at least 8GB, Class 10 for reliability)
- Power supply for Raspberry Pi
- Compatible USB cable for your 3D printer
- Wi-Fi or Ethernet connection
- Optional: Raspberry Pi camera or USB webcam for live monitoring
Step 1: Download and Flash OctoPi
OctoPi is a pre-configured Raspberry Pi image with OctoPrint and all necessary dependencies. Download the latest OctoPi image from the official OctoPrint website.
Use software like Raspberry Pi Imager, balenaEtcher, or Win32 Disk Imager to flash the OctoPi image onto your microSD card. This process is straightforward—simply follow the tool’s instructions, selecting your SD card as the destination.
Step 2: Configure Wi-Fi (Optional)
If you plan to connect the Raspberry Pi via Wi-Fi, before you insert the SD card into the Pi, open the SD card on your computer and locate the octopi-wpa-supplicant.txt file. Use a text editor to enter your Wi-Fi network name (SSID) and password, following the instructions in the file. Save and close the editor.
Step 3: Boot Up and Access OctoPrint
Insert the microSD card into your Raspberry Pi, connect your power supply, and plug in your 3D printer via USB. If you’re using a camera, connect it as well.
Give the Pi a minute or two to boot. On a computer connected to the same network, open a browser and navigate to http://octopi.local (or find the Pi’s IP address on your router). This should bring up the OctoPrint setup wizard.
Step 4: Run the OctoPrint Setup Wizard
The wizard will guide you through essential configurations:
- Create a user account: OctoPrint requires a username and password for security.
- Configure printer profile: Input your 3D printer’s make, model, build volume, and nozzle diameter.
- Set up access control and connectivity check: Enable recommended security features.
Once finished, you’ll be taken to the OctoPrint dashboard.
Step 5: Connecting Your 3D Printer
With your Raspberry Pi and 3D printer powered and connected, OctoPrint should automatically detect the serial port. Select the port and set the baud rate (115200 or 250000 are common), then click “Connect.”
Once connected, you’ll see temperature readings from your printer—confirming everything is working.
Step 6: Uploading and Printing Your First File
In the OctoPrint interface, use the “Upload” button to add a G-code file. You can drag and drop files or use the browser. Once uploaded, select your file, preheat the printer, and click “Print.”
You can now monitor progress, pause, or cancel the print, all remotely. If you’ve set up a camera, click the “Timelapse” or “Control” tabs to watch your print in real time.
Step 7: Enhancing Your OctoPrint Experience
OctoPrint supports hundreds of plugins to expand functionality. Some favorites include:
- OctoLapse: For stunning timelapse videos.
- PrintTimeGenius: For highly accurate print time estimates.
- Bed Level Visualizer: To visualize your print bed’s mesh and fine-tune calibration.
Go to Settings > Plugin Manager to install plugins directly from the interface.
Tips from Experience
- Power Management: Use a high-quality USB power supply to avoid under-voltage warnings and communication issues.
- Camera Placement: Mount your camera securely to avoid vibration and get the best timelapse shots.
- Network Reliability: Wired Ethernet is more stable than Wi-Fi, especially for long prints.
- Regular Updates: Keep OctoPrint and plugins updated for security and new features.
Conclusion
Setting up a Raspberry Pi OctoPrint server is one of the best upgrades you can make for your 3D printing setup. It boosts convenience, safety, and offers new opportunities for creativity—especially when paired with a camera and plugins. With a little time and care in setup, you’ll have a remote-controlled powerhouse for your 3D printing adventures!
Leave a Reply