
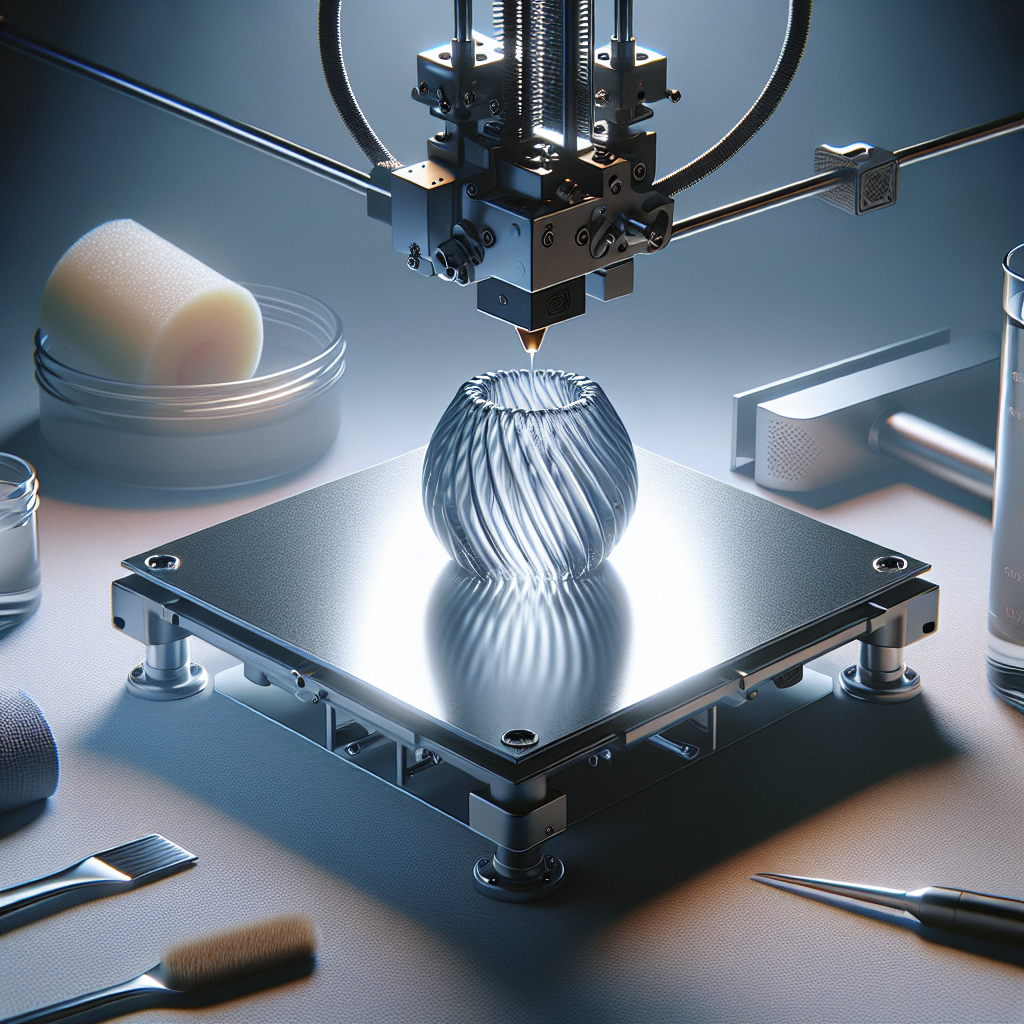
Understanding Transparent 3D Printing
Transparent 3D printing opens up an exciting range of possibilities, from intricate light fixtures and display cases to custom lenses and decorative art. Achieving truly clear prints, however, requires more than just loading a spool of transparent filament. Let’s explore the practical steps and expert tips to get stunningly clear results from your 3D printer.
Selecting the Right Transparent Filament
Not all clear filaments are created equal. The most popular options for transparent prints are PETG, PMMA (Acrylic), and Polycarbonate (PC). Here’s a quick breakdown:
- PETG: The most common choice, PETG offers decent clarity, ease of printing, and good strength. Brands like Prusament, eSUN, and ColorFabb make reliable transparent PETG filaments.
- PMMA (Acrylic): Delivers excellent optical clarity but can be more challenging to print due to warping and bed adhesion issues.
- Polycarbonate (PC): Offers high impact resistance and good transparency, but requires high temperatures and an enclosed printer.
Printer Settings for Maximum Clarity
Even with high-quality transparent filament, achieving true optical clarity depends greatly on your print settings. Here’s what to tweak:
Layer Height
- Set layer height as high as your nozzle allows (0.2 mm or above). Thicker layers reduce the light-scattering ridges between layers.
Wall Thickness
- Use thick perimeters (at least 3-4 walls). Multiple solid walls help eliminate internal voids that can cloud the print.
Infill Settings
- Print with 100% infill for maximum clarity. Any internal gaps or infill patterns will scatter light and reduce transparency.
Print Speed and Temperature
- Print slowly (30-40 mm/s) to allow the filament to flow and fuse fully between lines and layers.
- Increase nozzle temperature 5-15°C above the filament manufacturer’s standard recommendations. The extra heat helps the layers bond seamlessly.
Cooling Fans
- Reduce or disable part cooling fans. Slower cooling allows the layers to fuse and become more transparent.
Optimizing Your 3D Model for Transparency
Model selection and orientation also affect clarity. For best results:
- Avoid steep overhangs and complex geometry that require support material, as supports can mar the surface finish.
- Orient flat surfaces parallel to the print bed, so the smoothest sides face outward.
Post-Processing for Crystal Clear Results
Even with perfect print settings, some post-processing is usually required to reach glass-like clarity.
Sanding
- Start with coarse grit (400-600) and progress to very fine sandpaper (2000+). Wet sanding helps prevent heat buildup and gouging.
Polishing
- After sanding, polish the surface with a plastic polish compound and a soft cloth or buffing wheel. This will restore shine and transparency.
Solvent Smoothing
- Certain filaments like PMMA (acrylic) and Polycarbonate can be vapor-smoothed with appropriate solvents (e.g., acetone for PMMA, but never use acetone with PETG or Polycarbonate). This step requires caution and adequate ventilation.
Clear Coating
- For the final touch, apply a spray-on acrylic clear coat or resin. This fills tiny surface scratches and adds a glossy finish.
Common Pitfalls and How to Avoid Them
- Cloudiness: Usually caused by air gaps, cooling too quickly, or insufficient layer adhesion. Adjust your print temperature and slow your cooling fan.
- Yellowing: Excess heat can discolor some filaments. Try lowering your print temperature slightly or sourcing higher-quality filament.
- Surface Defects: Every imperfection scatters light. Spend extra time on careful sanding and polishing.
Conclusion
Printing with clear filament is as much an art as a science. By choosing the right material, fine-tuning your printer settings, and dedicating time to post-processing, you can produce transparent 3D models that rival professionally manufactured parts. Experiment, be patient, and you’ll soon be creating crystal clear prints that showcase the full potential of your 3D printer.
Leave a Reply