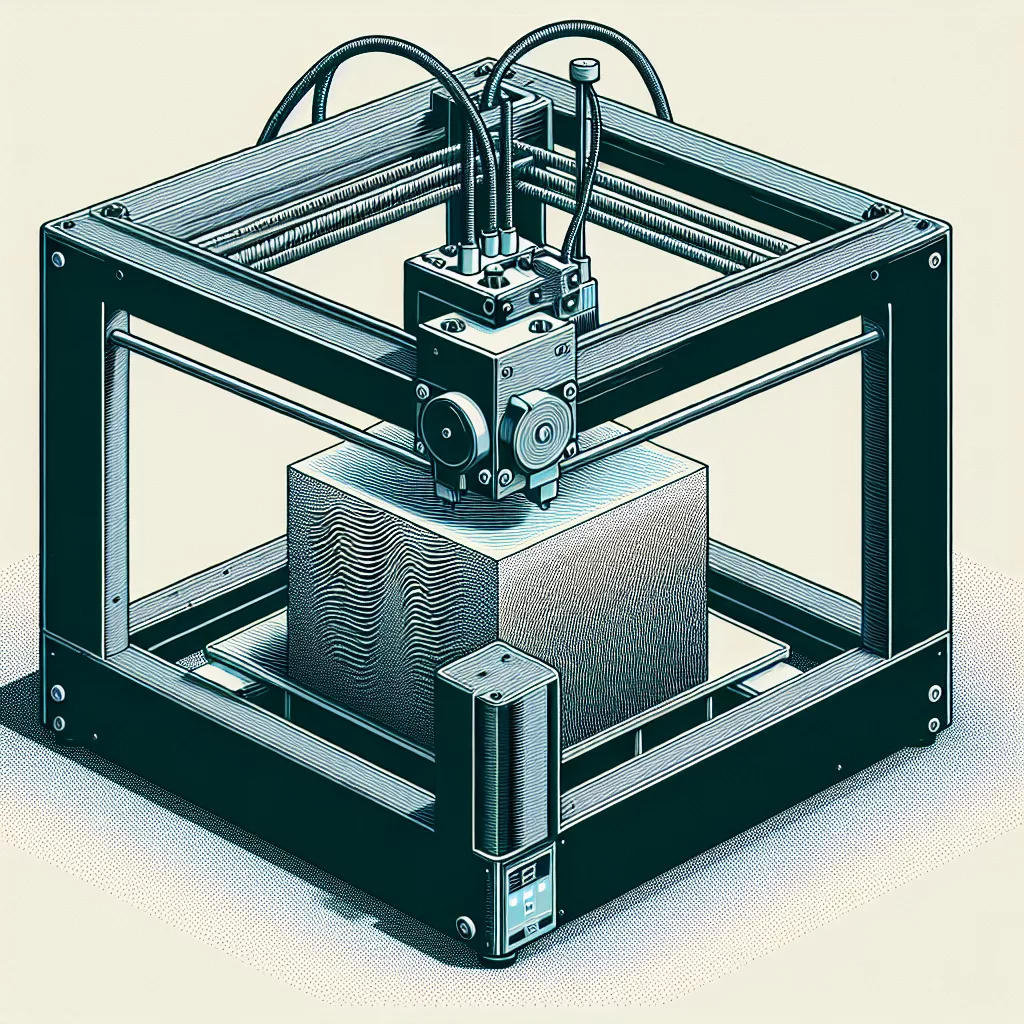
Understanding Ghosting and Ringing in 3D Prints
Ghosting and ringing are common surface artifacts that plague many 3D printing enthusiasts, especially those new to the field. These issues not only affect print aesthetics but can also compromise the dimensional accuracy of your models. Drawing from years of hands-on experience and troubleshooting, this article will guide you through identifying, diagnosing, and remedying ghosting and ringing in your 3D prints.
What Are Ghosting and Ringing?
Ghosting, also known as echoing, refers to faint ripples or shadows that appear on the surfaces of your print, usually following sharp corners or noticeable features. Ringing is a closely related phenomenon, manifesting as repeated, diminishing lines parallel to the direction of print movement after a sudden change in direction. Both are the result of vibrations or oscillations in your printer as it moves.
Common Causes of Ghosting and Ringing
- Excessive Print Speed: Printing too fast increases inertia, causing your printer’s moving parts to overshoot or wobble.
- Poor Frame Stability: A loosely assembled printer frame or inadequate bracing can amplify vibrations.
- Uncalibrated or Loose Belts: Belts that are too loose or too tight are a frequent culprit for print vibrations.
- Heavy Print Heads or Attachments: Additional weight on the print head, such as large cooling ducts, can worsen momentum and ghosting.
- Step Motor Acceleration and Jerk Settings: Aggressive motion parameters in your firmware can cause abrupt movements.
- Mechanical Issues: Worn bearings, sliders, or misaligned rails can transmit unwanted vibrations.
Step-by-Step Solutions to Fix Ghosting and Ringing
1. Reduce Print Speed
Slowing down your print speed is the easiest and most effective way to combat ghosting and ringing. Try lowering your speed by 25-50%, especially for outer walls and perimeters. For most FDM printers, printing at 40-50mm/s for external walls is a good starting point.
2. Optimize Acceleration and Jerk Settings
Acceleration and jerk control how abruptly your printer changes direction. Lowering these settings in your slicer or printer’s firmware smooths out transitions and minimizes vibrations. As a guideline:
- Acceleration: Start with 500-800 mm/s² for external walls.
- Jerk: Set around 5-8 mm/s for outer perimeters.
Tuning these values can take some trial and error, but the improvements are often dramatic.
3. Tighten Belts Properly
Check all belts on the X and Y axes. They should be tight enough to avoid skipping teeth, but not so tight as to cause binding or undue wear. You should be able to pluck the belt and hear a low note, not a buzz or a slap.
4. Reinforce the Printer Frame
Inspect your printer’s frame for any loose screws or joints, and tighten as needed. If you have a DIY or open-frame printer, consider adding corner braces or stiffening mods to reduce wobble. A solid, stable frame is crucial for high-quality prints.
5. Reduce Print Head Weight
Heavy print heads or extra accessories increase inertia. If possible, opt for lighter hotends or compact cooling solutions. Avoid mounting unnecessary tools or parts on the moving gantry.
6. Upgrade Vibration Dampening
Add anti-vibration feet or place your printer on a sturdy, vibration-absorbing surface. Some users even use heavy tiles or isolation mats to dampen vibrations transmitted through the table or floor.
7. Inspect Mechanical Components
Regular maintenance is vital. Check for worn linear bearings or rods, and replace them if you notice excessive play or roughness. Lubricate all moving parts with the appropriate grease or oil to ensure smooth motion.
Bonus: Advanced Firmware Features
Recent firmware like Marlin and Klipper offer features such as Input Shaping or Linear Advance, designed to compensate for ringing. Input Shaping, in particular, uses software to counteract the resonances that cause ghosting. If your printer supports it, enable and tune these features for additional improvements.
Conclusion
Fixing ghosting and ringing in 3D prints often requires a combination of adjustments and careful observation. By addressing mechanical, speed, and firmware factors, you can dramatically improve your print quality. Regular maintenance, methodical tuning, and a bit of patience will ensure your prints are clean and sharp—free from unwanted echoes and ripples. Happy printing!
Leave a Reply