Understanding Snap-Fit Connections in 3D Printing
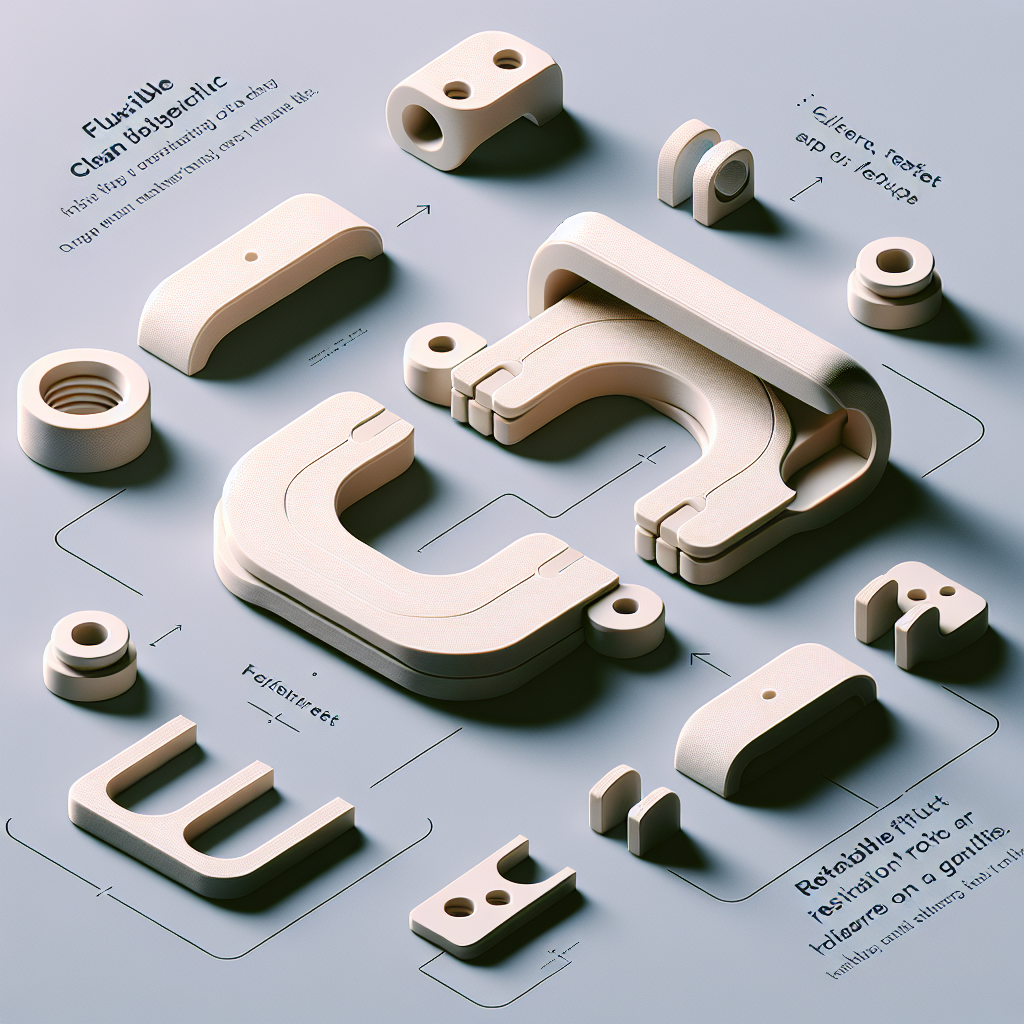
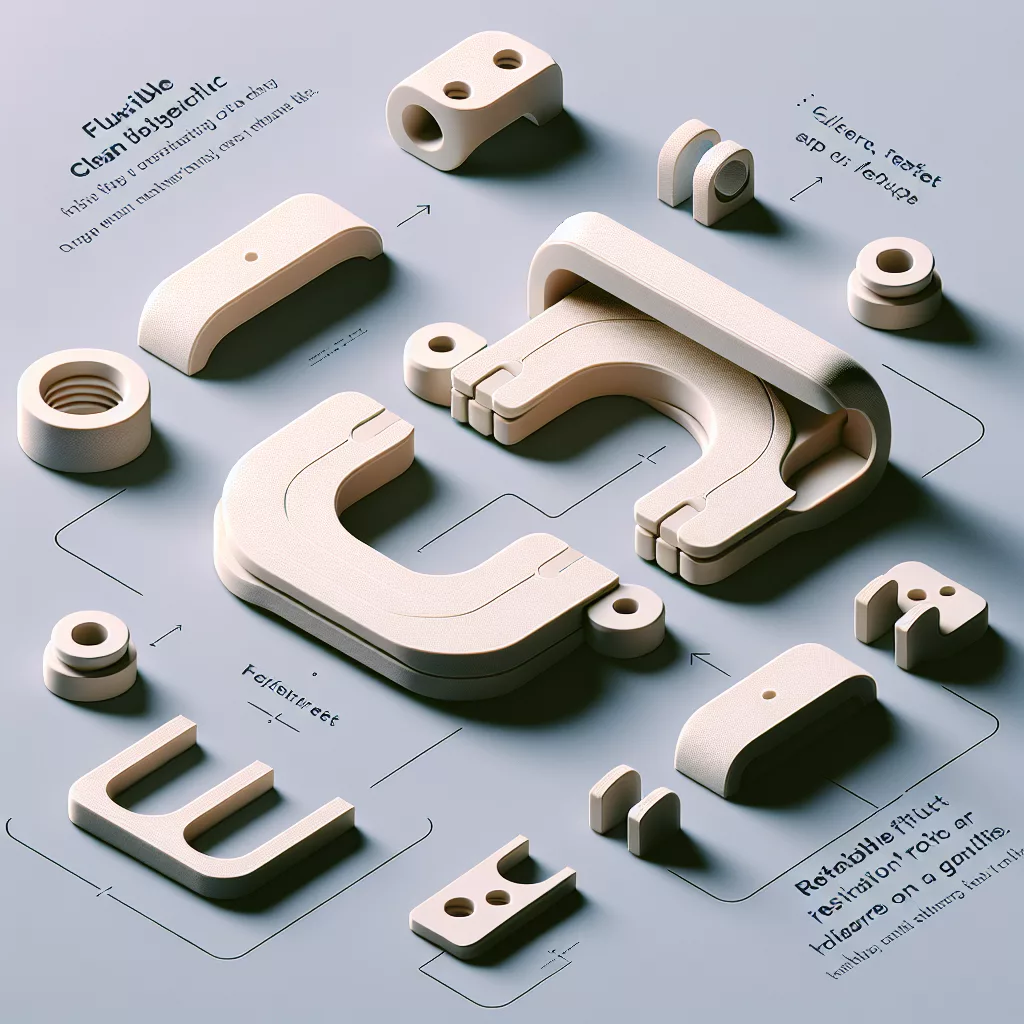
Snap-fit connections are a highly effective way to assemble plastic parts without the need for additional fasteners like screws or glue. These integral fastening features are commonly found in consumer products, electronics enclosures, toys, and more. With 3D printing, you have the freedom to design complex snap-fit geometries that would be difficult or expensive to manufacture using traditional methods. However, designing successful snap-fit connections for 3D printing requires attention to material properties, print orientation, and specific design parameters.
Key Principles of Snap-Fit Design
Before delving into 3D printing specifics, it’s important to understand how snap-fits work:
- Deflection: The flexible feature bends or snaps under force to allow assembly, then returns to its original shape to hold the parts together.
- Retention: After the snap-fit passes the mating feature, it locks into place, securing the parts.
- Material Elasticity: The success of a snap-fit relies on the material’s ability to flex without breaking—known as its elastic limit.
Types of Snap-Fit Connections
There are several common snap-fit designs:
- Cantilever Snap-Fits: The most prevalent type, featuring a protruding arm (the cantilever) that flexes to allow assembly.
- Annular Snap-Fits: Circular snap features, often used for lids and caps.
- Torsion Snap-Fits: Relies on twisting rather than bending, less common in 3D printing.
Cantilever snap-fits are especially suitable for 3D printing due to their simplicity and reliability.
Design Guidelines for 3D Printed Snap-Fits
When designing snap-fit connections for 3D printing, consider the following best practices:
1. Choose the Right Material
Not all 3D printing materials behave the same way. For snap-fit connections, you want materials with high elongation at break and good flexibility. Here’s a quick overview:
- PLA: Brittle, not recommended for snap-fits subject to repeated flexing.
- PETG: Better flexibility, moderate snap-fit performance.
- ABS: Good balance of strength and flexibility; classic choice for snap-fits.
- Flexible filaments (TPU, TPE): Excellent for living hinges and highly flexible snaps.
2. Optimize Geometry for Flexibility and Strength
Design your snap-fit arms with gradual curves and fillets to distribute stress and reduce risk of cracking. Use these guidelines:
- Thickness: Start with arm thickness of 1.5–2.5mm for typical FDM prints.
- Length: The longer the arm, the more flexible it will be. A length-to-thickness ratio of at least 5:1 is a good starting point.
- Radius: Avoid sharp internal corners. Use fillets with at least 0.5mm radius to reduce stress concentrations.
- Undercuts: Keep undercuts shallow enough for the snap-fit to flex without breaking, but deep enough for secure retention (typically 0.3–0.7mm).
3. Account for 3D Printing Tolerances
3D printers, especially FDM/FFF types, have inherent dimensional variation. Ensure your snap-fit interfaces are not too tight:
- Clearance: Allow 0.2–0.5mm clearance between mating surfaces for reliable assembly.
- Test Fit: Print prototypes and refine tolerances based on real-world fit and feel.
4. Print Orientation Matters
The direction you print your part can make or break your snap-fit:
- Snap Arm Orientation: Orient snap arms so that layer lines run parallel to the direction of bending, maximizing strength and minimizing risk of delamination.
- Supports: Design for minimal use of supports on snap features to avoid rough surfaces or dimensional inaccuracies.
5. Consider Assembly and Disassembly
Decide if your snap-fit needs to be permanent or reusable. For reusable connections:
- Design generous lead-ins (angled or rounded entry features) to make assembly easier.
- Limit retention force so users can open and close the snap-fit multiple times.
Common Mistakes to Avoid
- Designing snap-features too thick or short, leading to excessive stiffness or breakage.
- Using brittle materials like PLA for parts that will flex repeatedly.
- Ignoring print orientation, resulting in weak snap features that break along layer lines.
- Making tolerances too tight, causing prints to fuse or snap features to fail on first use.
Prototyping and Testing Your Snap-Fit Design
Iterative prototyping is crucial. Always test your snap-fit with actual 3D prints before finalizing your design. Try several variations with different clearances, arm lengths, and thicknesses. Don’t be afraid to adjust your design based on practical feedback from your prints.
Conclusion
Snap-fit connections unlock new possibilities for assembling 3D printed parts without additional hardware. By choosing suitable materials, optimizing your geometry, accommodating printing tolerances, and orienting parts correctly, you can achieve reliable, durable, and user-friendly snap-fit designs. As with any aspect of 3D printing, a little patience and iterative development will ensure your snap-fit parts are both functional and satisfying to use. Happy printing!


Leave a Reply