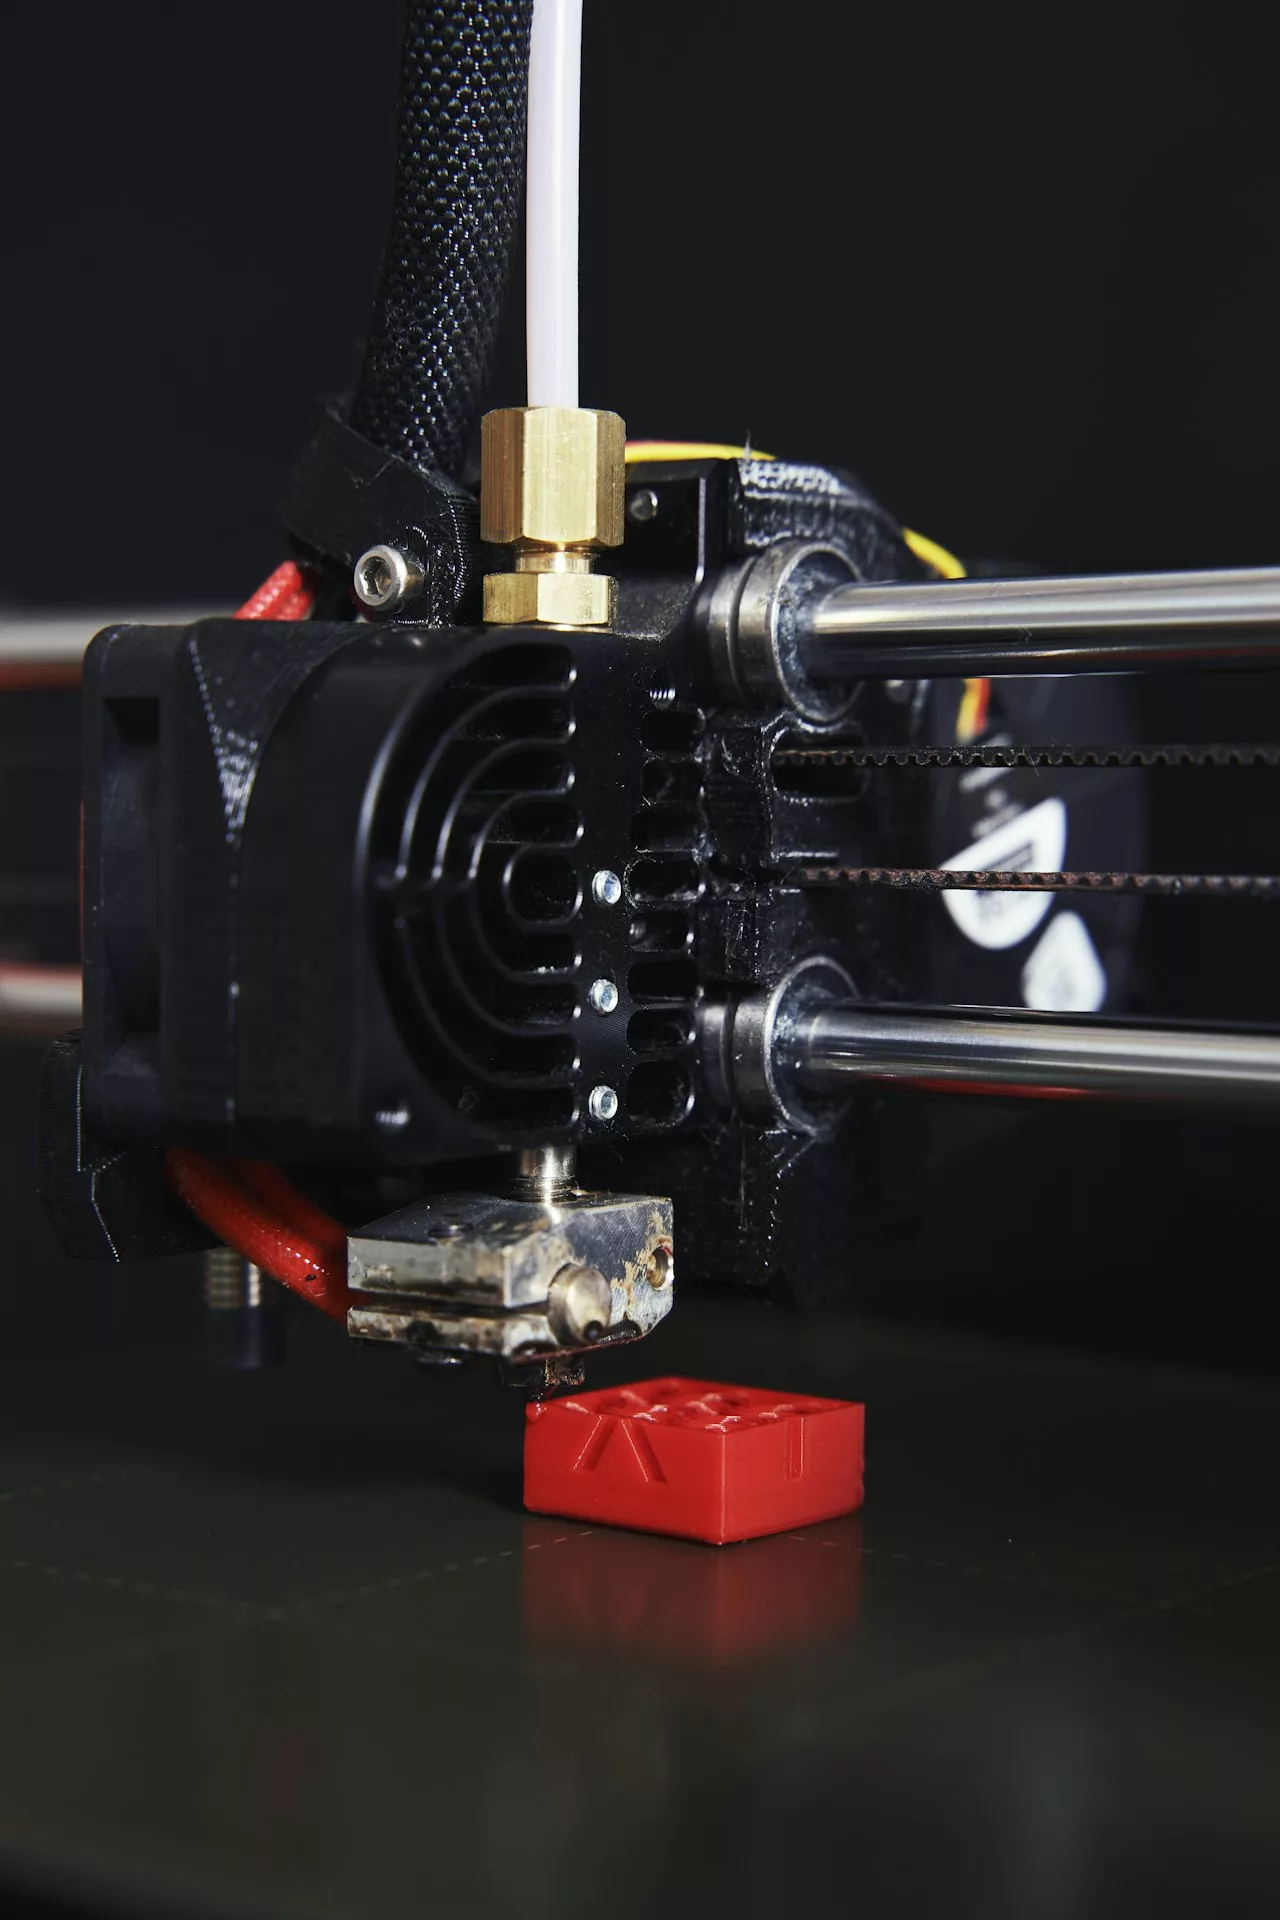
Introduction to Snap-Fit 3D Printing
Snap-fit designs are integral components in product assembly, enabling parts to lock together securely without the need for external fasteners, adhesives, or tools. With the advent of accessible desktop 3D printing, creating snap-fit joints has become an attractive and efficient method for rapid prototyping and functional product development. This guide will walk you through the fundamentals of designing and successfully 3D printing reliable snap-fit joints.
Understanding Snap-Fit Joint Mechanics
A snap-fit connection relies on the elasticity of the material used and the geometry of the design to temporarily deform and then snap back into place. When properly designed, snap-fit joints offer flexibility, convenience, and reusability. Before beginning your design, it’s essential to understand three basic types of snap-fit joints typically used in 3D printed parts:
- Cantilever: A beam or tab that bends to accommodate the snap action.
- Annular: Ring-shaped joints typically used for cylindrical components.
- Torsional: Pivoting joints that twist to facilitate snapping.
For most 3D printed applications, cantilever snap-fits are the most common and easiest to design and print, making them a perfect starting point.
Selecting the Right Material for Snap-Fit Parts
Material choice significantly impacts the reliability and durability of snap-fit joints. For 3D printing snap-fit components, choose materials with good flexibility, resilience, and strength. Common options include:
- PLA (Polylactic Acid): Affordable, easy to print, but limited flexibility. Suitable primarily for prototypes or limited-use parts.
- PETG (Polyethylene Terephthalate Glycol): Ideal balance between strength, flexibility, and printability. PETG is an excellent general-purpose material for durable snap-fit joints.
- ABS (Acrylonitrile Butadiene Styrene): Tough and resilient but more challenging to print due to warping and temperature stability requirements.
- Nylon: Outstanding flexibility, toughness, and durability—ideal for frequent use snap-fit joints but demands higher print temperatures and careful moisture management.
For most hobbyists and professionals, PETG or Nylon typically offers the best results.
Designing Snap-Fit Joints for 3D Printing
When designing snap-fit joints, it’s critical to follow proven geometric guidelines to ensure successful prints and functional performance:
1. Cantilever Snap-Fit Design Principles
- Thickness and Length: Longer cantilevers are more flexible, but too long and thin might weaken the joint. A 3–5mm thickness is usually safe for typical desktop 3D printers and materials.
- Hook and Undercut Angles: Incorporate angled or chamfered edges (typically 30–45 degrees) on the insertion side to facilitate smooth assembly and prevent material overstress.
- Clearance and Gap: Include slight clearances between mating parts (usually 0.2–0.5mm) to account for printer tolerances and avoid overly tight fits.
2. Stress-Relief Features
Incorporate small fillets into sharp corners and edges. Fillets distribute stress more evenly across the part, reducing the risk of cracking and mechanical failure.
3. Layer Orientation
Orient your model correctly in your slicing software to maximize mechanical strength. Snap-fit designs should be printed so beam flexure occurs parallel to the layers, never perpendicular, to ensure optimal durability and reduce the likelihood of failure during assembly and usage.
Testing and Refining Your Snap-Fit Design
Always plan for testing and iteration. Your first prototype might not perfectly fit depending on printer calibration, materials, or design nuances. It’s advisable to:
- Print small test pieces first to verify dimensions, clearances, and snapping action before scaling to full-size parts.
- Adjust clearances slightly based on initial test results for improved fit.
- Perform functional tests to identify stress points or potential mechanical failures.
Slicing and Printing Tips for Snap-Fit Components
Once your model is ready, a few practical printing tips can ensure the highest quality snap-fit joints:
- Optimal Layer Height: Print at finer resolutions (e.g., 0.1–0.2mm layer height) for smoother surfaces and improved mechanical accuracy.
- Adjust Extrusion Settings: Fine-tune extrusion flow rate to avoid overly tight or loose fittings due to dimensional inaccuracies.
- Infill Density and Pattern: Use at least 30–50% infill for strength and durability. Patterns like gyroid or cubic offer excellent mechanical properties.
- Support Structures: If needed, minimize the use of supports, or orient your print carefully to avoid supports in critical snap-fit areas, as supports can affect surface finish and dimensional accuracy.
Post-Processing Snap-Fit 3D Printed Parts
Occasionally, you may need to lightly sand or smooth surfaces that interact during snapping to achieve the perfect fit. However, this should be minimal if your printing parameters and design are properly optimized. Additionally, annealing some materials such as Nylon or PETG can enhance their mechanical properties and improve durability.
Conclusion: Snap-Fit Printing for Reliable Assemblies
Designing and printing snap-fit joints is one of the most practical skills you can develop in 3D printing. Once mastered, it can greatly simplify your assembly process, reduce reliance on external hardware, and result in cleaner, more professional prototypes and functional products. By carefully selecting materials, applying solid design principles, and leveraging best practices in printing, you’ll achieve consistent, reliable results in your snap-fit 3D printed parts.


Leave a Reply