Understanding the Basics of 3D Puzzle Toy Design
Designing custom 3D puzzle toys is a rewarding venture for both hobbyists and professionals. Before jumping into CAD software, it’s essential to familiarize yourself with fundamental puzzle types—interlocking (like burr puzzles), jigsaw, sequential movement, and assembly puzzles. Each type challenges you to think differently about how pieces interact and fit together.
Start by identifying your target age group and desired difficulty level. For instance, larger pieces with simple connectors suit younger kids, while intricate, multi-part designs are ideal for adults. Always keep user safety in mind; avoid small, sharp, or fragile pieces, especially for children.
Choosing the Right Software for Puzzle Design
For 3D puzzle toy design, the right CAD software is critical. Popular options include Tinkercad (beginner-friendly), Fusion 360, and Blender. Choose a platform that lets you design with precision—tolerances and fit are crucial for puzzles!
Here’s a streamlined process:
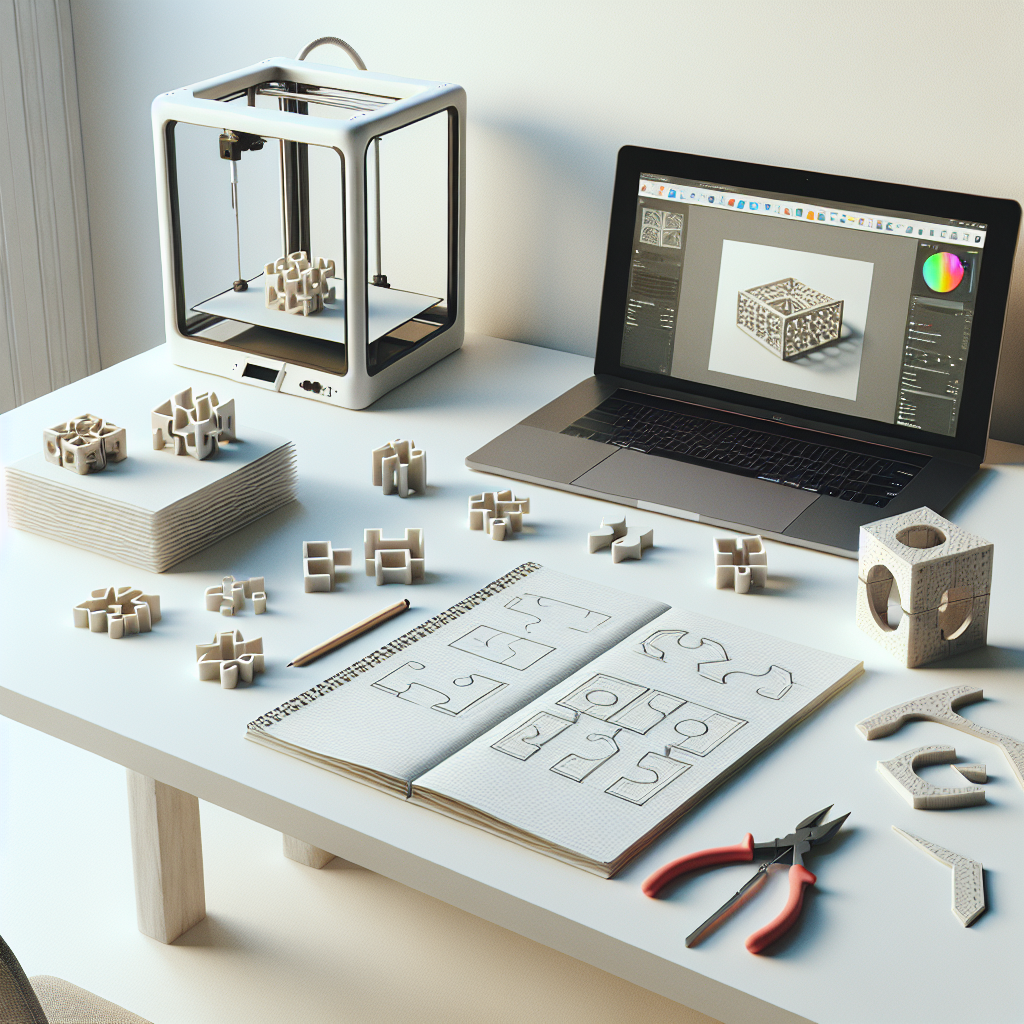
- Sketch your concept: Use pen and paper or digital tools to brainstorm shapes and connections.
- Digital modeling: Transfer your design to 3D software. Start with basic shapes, then add details such as connectors, tabs, or interlocking mechanisms.
- Tolerances: For FDM printers, allow 0.2-0.4mm clearance between pieces. Resin printers often require slightly less.
Preparing Your Model for 3D Printing
Once your 3D model is ready, export it as an STL file—the standard for most slicers. Import the model into slicing software such as PrusaSlicer, Cura, or Bambu Studio. Here’s what to consider:
- Orientation: Position pieces flat on the build plate to minimize warping and maximize strength.
- Supports: Only use supports if absolutely necessary. Puzzle pieces are easier to clean up and assemble without excess support marks.
- Layer height: For smoother fits and cleaner details, stick to 0.2mm or finer.
- Shells and infill: Use at least 2-3 perimeters and 15%-30% infill for sturdy pieces.
Selecting the Best Filament for Puzzle Toys
Material choice impacts durability, appearance, and safety. PLA is easy to print and comes in a wide color range—great for prototyping and simple toys. For more durability (especially for children), PETG or ABS provide higher impact resistance and longevity.
If printing for young children, choose food-safe or child-safe certified filaments. Avoid filaments that may splinter or leave sharp edges.
Printing and Post-Processing Tips
Once you hit print, monitor the first few layers for adhesion issues. After printing:
- Remove supports carefully: Use needle-nose pliers and a deburring tool to clean connection points.
- Test fit: Dry-assemble the puzzle before final finishing. Make slight adjustments to the design if pieces are too tight or loose.
- Sanding and smoothing: Lightly sand mating surfaces for a perfect fit. For a professional finish, try spray painting or cold vapor smoothing (for ABS).
- Color coding: Print pieces in different colors or paint them for visual cues and added fun.
Design Tips for Engaging and Durable Puzzles
- Vary the challenge: Mix simple and complex shapes within a single puzzle to keep users engaged.
- Label pieces: Add small numbers, letters, or symbols on hidden faces to aid assembly without giving away the solution.
- Iterate often: Your first print may require tweaks to fit or assembly. 3D printing makes rapid prototyping easy—use it to your advantage!
- Test with users: Share prototypes with friends or family. Real playtesting uncovers usability issues you might miss.
Sharing and Selling Your Puzzle Toy Creations
Once you’ve perfected your custom 3D puzzle design, consider sharing digital files on platforms like Thingiverse, MyMiniFactory, or Cults3D. If you want to sell physical puzzles, consider small-batch production runs or offering kits on Etsy or at local markets.
Don’t forget to include clear assembly instructions and safety guidelines, especially for complex or small-part puzzles. High-quality photos and a short video of assembly go a long way to showcase your creation.
Conclusion
Designing and 3D printing custom puzzle toys is an exciting blend of creativity, problem-solving, and technical know-how. Whether you’re crafting one-of-a-kind gifts or launching your own puzzle line, the process is as fun as the finished product. Keep experimenting, learning, and sharing your designs with the ever-growing 3D printing community!
Leave a Reply