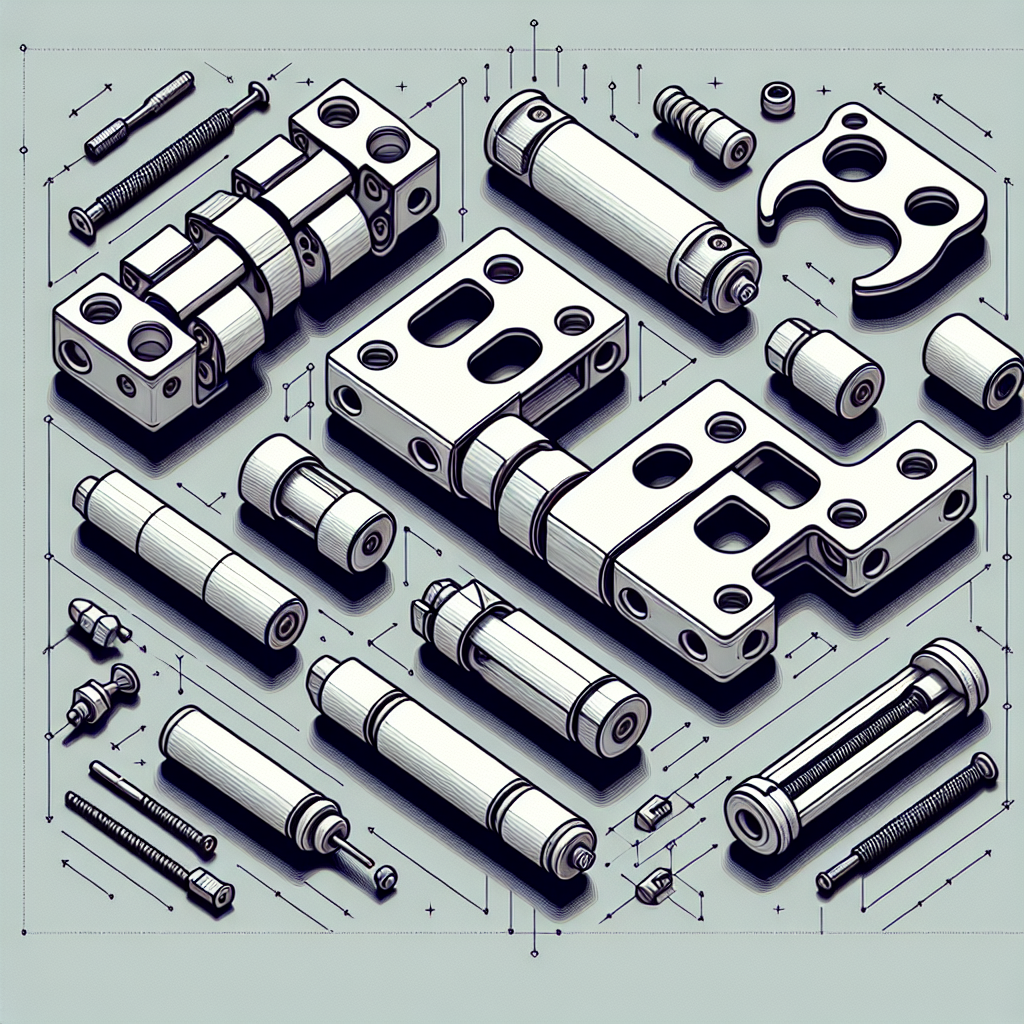
Understanding the Importance of 3D Printed Hinges and Joints
In the world of 3D printing, functional hinges and joints unlock a new level of design versatility. Whether you’re prototyping a folding mechanism, building an enclosure with a door, or experimenting with articulated models, creating strong, reliable moving parts is a critical skill. Unlike static prints, hinges and joints must withstand repeated motion and sometimes bear loads, so their design and print quality are paramount.
Design Principles for Durable Hinges and Joints
- Clearances Matter: The space between moving parts—also known as the gap or tolerance—is crucial. For most FDM 3D printers, a clearance of 0.3-0.5mm between parts ensures smooth movement without fusing. However, the ideal gap depends on your printer’s resolution and calibration, so always test with small samples first.
- Layer Orientation: Print orientation has a significant impact on strength. For hinges, orient the part so that the pin runs parallel to the layers when possible, reducing the risk of layer delamination under stress. Joints benefit from printing in the strongest plane relative to expected forces.
- Print-In-Place vs. Assembly: Print-in-place hinges and joints are printed as a single piece with built-in clearances. They’re convenient but require careful design and printer tuning. Alternatively, designing the hinge in separate parts to assemble post-print allows the use of support materials and more complex mechanisms.
Common Types of 3D Printed Hinges and Joints
- Barrel Hinges: Cylindrical pin-and-barrel designs are robust and ideal for doors, lids, or enclosures. They can be printed as separate pieces or print-in-place.
- Living Hinges: Thin, flexible bridges of plastic connect two rigid sections, suitable for simple, lightweight applications. These require careful material selection—flexible or semi-flexible filaments like polypropylene or PETG work best.
- Snap-Fit Joints: Interlocking geometries allow parts to click together. Excellent for quick assembly, but require precise tolerances and durable materials.
- Ball and Socket Joints: Used for articulated figures, these provide a wide range of motion. Print-in-place designs need carefully tuned clearances and often benefit from a light post-print cleanup.
Material Selection for Functional Movement
Material choice can make or break your functional hinge or joint. PLA is easy to print but may be brittle and wear quickly in moving parts. ABS or PETG offer greater durability and flexibility, standing up to higher stress and repeated motion. For living hinges or snap-fits, consider specialized materials like polypropylene or nylon for their flexibility and fatigue resistance.
Optimizing the Printing Process
- Fine Layer Heights: Use 0.1-0.2mm layers for smoother surfaces between sliding or rotating parts. This minimizes friction and binding.
- Controlled Print Speed: Slower print speeds often yield better dimensional accuracy, which is critical for functional joints.
- Supports and Bridging: For overhanging hinge barrels, consider custom supports or design-in sacrificial layers that are easy to remove. Print-in-place hinges usually don’t need internal supports, but be wary of stringing and oozing.
- Post-Processing: Sanding, filing, or even gentle heat treatment can smooth joint surfaces and free stuck print-in-place mechanisms. A dab of silicone grease or PTFE lubricant can extend the life of moving parts.
Troubleshooting Common Issues
- Fused Hinges: If print-in-place hinges won’t move, your clearance may be too tight or your printer’s extrusion settings may be causing over-extrusion. Try increasing the gap or calibrating your flow rate.
- Weak Pins or Barrels: If hinges snap under load, increase the diameter of the pin or barrel, use more perimeters (walls), or switch to a tougher material.
- Loose Fits: If joints are wobbly, reduce the clearance or try tighter tolerances.
Practical Applications and Next Steps
From enclosures and robotics to toys and tools, mastering 3D printed hinges and joints opens up a world of possibilities. Start by downloading or designing simple print-in-place hinges to understand tolerances on your printer, then experiment with more advanced joints and materials. Don’t forget to iterate—test, tweak, and print again. The goal is to achieve a balance between ease of movement, strength, and reliability.
With experience, you’ll develop an intuition for what works best with your printer and your chosen material. The result: robust, functional, and innovative mechanisms, straight off your 3D printer’s build plate. Happy printing!

Leave a Reply