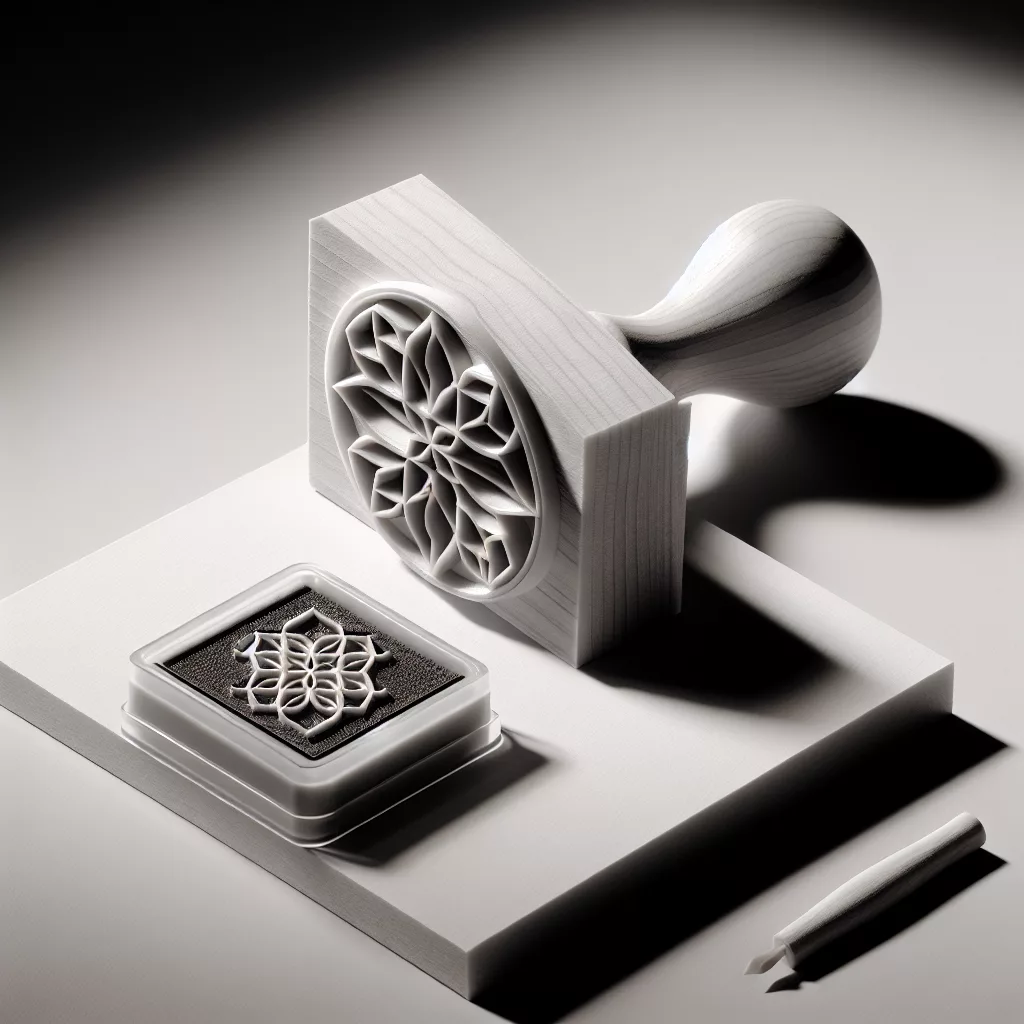
Introduction to 3D Printed Stamps
3D printing has revolutionized the world of crafting and customization, offering creators an easy way to bring their ideas to life. One of the most popular DIY projects is making custom stamps. Whether you want to add a personal touch to wedding invitations, create unique business branding, or simply explore a new creative avenue, 3D printed stamps provide a straightforward, cost-effective solution.
Why Choose 3D Printed Stamps?
Traditional stamp-making can be time-consuming and expensive, especially for intricate designs or one-off projects. With 3D printing, you can transform any digital artwork into a physical stamp, allowing unparalleled flexibility in size, shape, and detail. Additionally, 3D printing enables easy iteration, so you can refine your design until it’s perfect.
Materials and Tools You’ll Need
- A 3D printer (FDM or resin printers both work, but resin offers finer detail)
- 3D modeling software (Tinkercad, Fusion 360, or other CAD programs)
- Flexible filament (TPU) or standard PLA for the stamp base
- Double-sided adhesive or super glue (for attaching the stamp to a handle)
- Wood or plastic block (optional, for the handle)
- Ink pad
Designing Your Custom Stamp
1. Create the Artwork
Begin by creating or selecting a black-and-white design. Simple, high-contrast images work best for stamps. You can use graphic design software like Adobe Illustrator, Inkscape, or even hand-draw and scan your design.
2. Convert to Vector
If your artwork is a raster image (like PNG or JPG), convert it to a vector format (SVG) using software such as Inkscape. This step is crucial for accurate 3D modeling.
3. Generate the 3D Model
Import your vector design into your chosen 3D modeling software. Extrude the vector paths to create a raised (positive) stamp surface. Typical stamp depth ranges from 1 to 2mm. Make sure to mirror your design horizontally—this ensures your stamp prints correctly when used.
4. Add a Base
Design a solid base behind your stamp face to give it structural support. A base thickness of 3-5mm is generally sufficient. You can also design placement holes or connectors if you plan to attach a handle.
Preparing and Printing the Stamp
1. Choose the Right Filament
For the best stamping results, use flexible filament like TPU. This material absorbs ink well and provides crisp impressions. If you only have PLA or ABS, you can still create stamps, but the results may be slightly less sharp.
2. Slicer Settings
Layer height: Use a fine layer height (0.1-0.2mm) for better detail.
Infill: 100% for maximum durability.
Print orientation: Lay the design flat on the print bed to minimize print time and maximize detail.
3. Printing Tips
– Watch the first few layers to ensure good bed adhesion.
– If using TPU, print slowly (20-30mm/s) and with retraction tuned to avoid stringing.
– Clean the print bed thoroughly, especially for flexible filaments.
Post-Processing Your Stamp
After printing, carefully remove the stamp from the print bed. Trim any stringing or excess filament with a craft knife or small scissors. For improved comfort and ease of use, attach your stamp to a wooden or plastic block using double-sided adhesive or glue.
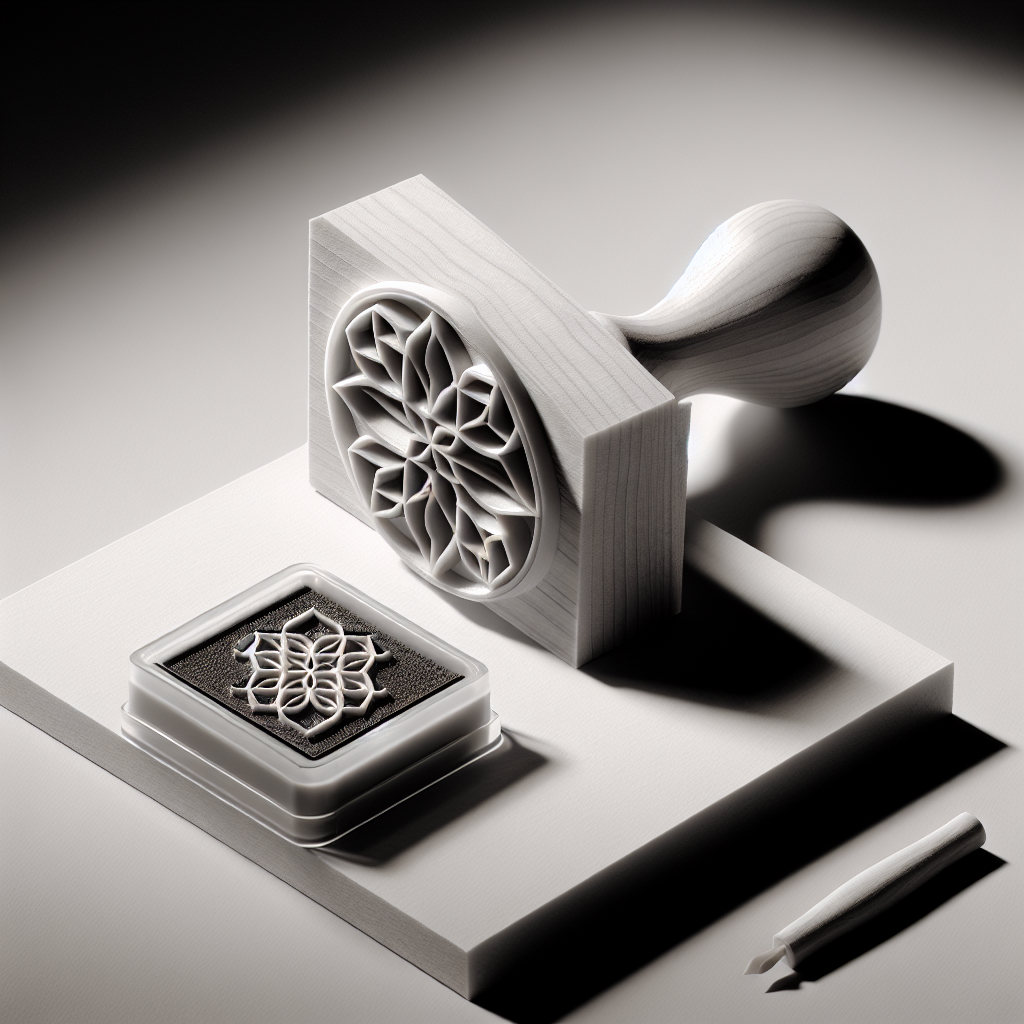
Using Your 3D Printed Stamp
Once your stamp is ready, apply ink using a standard ink pad. Press the stamp evenly onto your desired surface, applying gentle and consistent pressure. Experiment with different inks and papers to achieve various effects.
Tips for Success
- Keep designs simple for the best results; fine details may not transfer well.
- Experiment with different filaments—TPU yields the best results, but PLA is good for prototypes or hard stamps.
- Always mirror your image before printing to ensure correct orientation when stamped.
- Clean your stamp after each use to prolong its life and maintain crisp prints.
Conclusion
Creating custom 3D printed stamps is a fun, accessible project for hobbyists and professionals alike. With just a few basic tools and some creativity, you can produce bespoke stamps for crafts, branding, or gifts. As 3D printing technology continues to evolve, the possibilities for personalization are practically limitless—so get designing and start stamping!
Leave a Reply