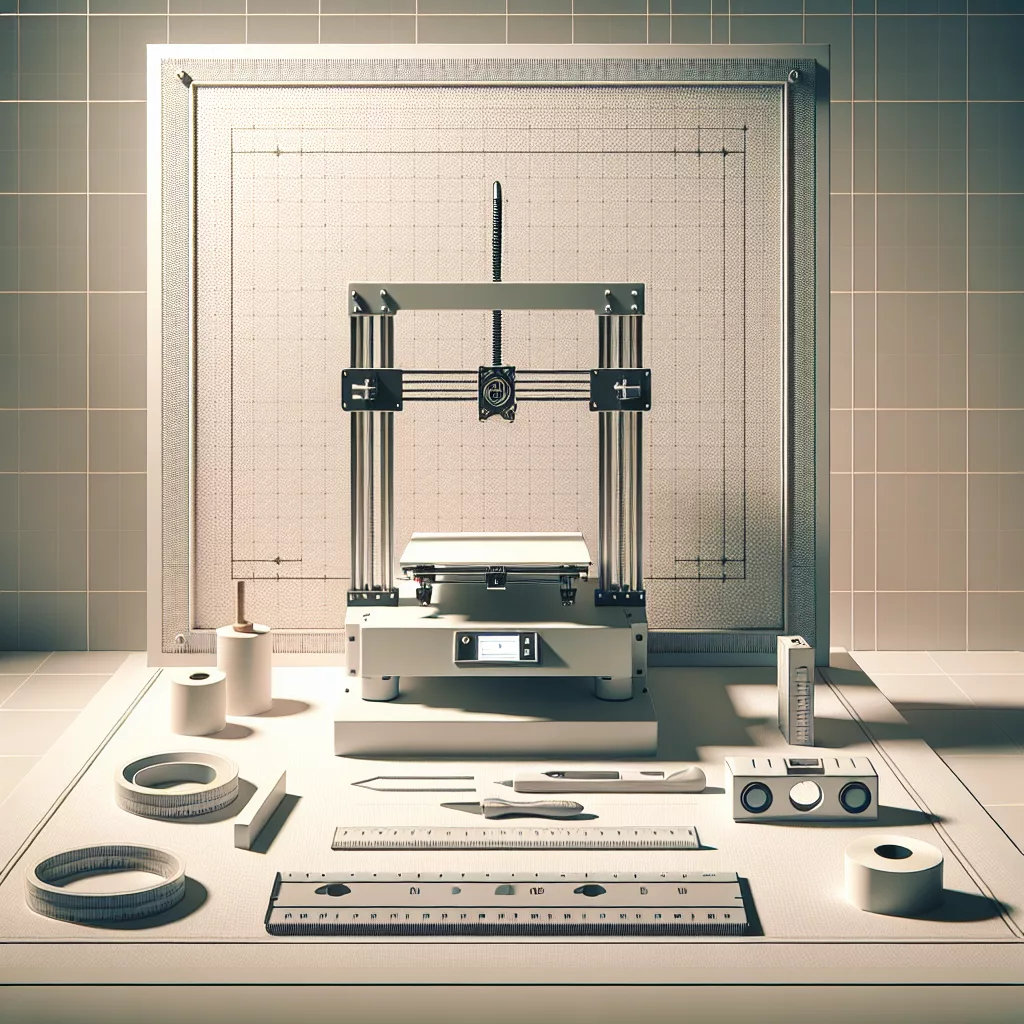
3D printing is an exciting hobby and professional pursuit, but one issue many enthusiasts face is ensuring their machines produce consistently high-quality prints. Proper calibration is the key to achieving flawless results and avoiding common printing issues such as warping, stringing, and dimensional inaccuracies. In this guide, we’ll explore essential calibration steps to help you fine-tune your 3D printer for perfect, reliable prints every time.
Why Calibration Is Important in 3D Printing
Calibration involves adjusting various printer settings to ensure optimal performance. Proper calibration helps:
- Enhance print quality and accuracy
- Decrease print failures and wasted filament
- Save time and effort troubleshooting issues
Step-by-Step Calibration Guide
1. Leveling the Bed
Bed leveling is the critical first step in calibration. A level bed ensures consistent adhesion across the print surface and accuracy in layer height.
- Heat your printer’s bed and nozzle to printing temperature.
- Disable stepper motors through your printer menu.
- Slide a piece of standard printer paper between the nozzle and print bed.
- Adjust each corner using leveling knobs or screws until the nozzle gently grips the paper without tearing it.
- Repeat across all corners and the bed center to ensure consistent height.
2. Calibrating the Extruder Steps (E-Steps)
The extruder steps calibration ensures your printer pushes out filament at precisely the correct rate, avoiding under-extrusion or over-extrusion.
- Mark a point on your filament exactly 120mm away from the extruder entry point.
- Use your printer’s interface or a control software to extrude 100mm of filament.
- Measure how much filament was actually extruded by checking against your original mark.
- Calculate your updated E-steps using this formula:
New E-Steps = (Current E-Steps × 100) ÷ Actual Extruded Length - Enter the new E-Step value into your printer firmware and save the changes.
3. Fine-Tuning Flow Rate (Extrusion Multiplier)
Flow rate determines how much filament your printer pushes out during printing. Correcting this ensures dimensional accuracy and surface finish.
- Print a simple cube calibration model (usually 20mm cube).
- Measure the cube’s wall thickness with a set of digital calipers.
- Compare your measurement with the intended wall thickness in your slicing software.
- Adjust your extrusion multiplier accordingly:
New Flow Rate (%) = (Expected Thickness ÷ Measured Thickness) × Current Flow Rate (%) - Repeat printing and measuring until your measurements match the expected dimensions.
4. Adjusting Retraction Settings
Proper retraction settings prevent stringing and oozing between print areas, resulting in cleaner, more professional prints.
- Start with a standard retraction test model (available online).
- Experiment with retraction distance and speed, adjusting incrementally until stringing is minimized or eliminated.
- Typical retraction distances range between 2-7mm for Bowden extruders and 0.5-2mm for direct drive extruders.
5. Calibrating Temperature Settings
Proper temperature settings ensure optimal filament flow and adhesion. Each filament has recommended temperature ranges, but fine-tuning may be necessary.
- Print a temperature tower (available via popular online repositories).
- Assess each stage of the tower for print quality, layer adhesion, and stringing.
- Select the ideal temperature setting which gives the best balance of quality, strength, and detail.
6. Adjusting Printer Axes (X, Y, Z Axis Calibration)
Axis calibration ensures your printed dimensions match the intended design.
- Print a calibration cube or dimensional accuracy model.
- Measure each axis (X, Y, Z) with digital calipers and note the deviation from intended dimensions.
- If discrepancies exist, calculate and adjust the steps-per-mm settings in your printer firmware:
New Steps/mm = (Intended dimension ÷ Measured dimension) × Current Steps/mm
Regular Maintenance and Calibration Checks
Calibration is not a one-and-done task. Regular calibration checks ensure continued consistent performance:
- Re-level your bed every few prints or whenever you move your printer.
- Check filament flow periodically, especially after changing filament brands or types.
- Run a calibration cube regularly to quickly identify any dimensional inaccuracies.
Conclusion
Calibrating your 3D printer takes time and patience, but the results are worth it. By following these steps, you can significantly improve your print quality, decrease filament waste, and enjoy smoother and more reliable printing experiences. Happy printing!

Leave a Reply