Introduction: Why 3D Print Custom Molds?
3D printing has revolutionized the world of mold-making, especially for DIY enthusiasts, small businesses, and artisans looking to produce unique objects in resin or chocolate. Traditional mold-making can be time-consuming and expensive, but with 3D printing, you can design and fabricate custom molds tailored to your exact requirements. In this article, I’ll walk you through the process, share essential tips from years of hands-on experience, and help you avoid common pitfalls.
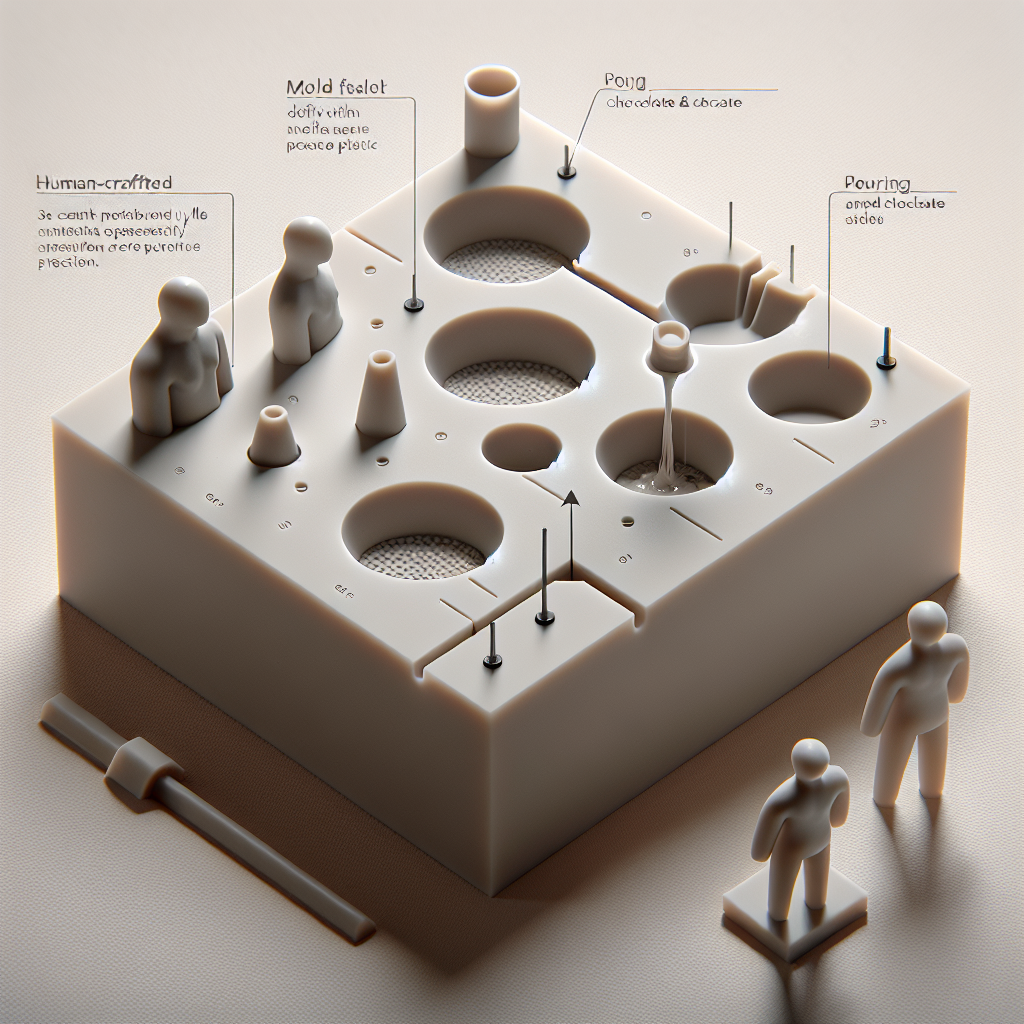
Step 1: Designing Your Mold
The design phase is critical. Begin by clearly defining what you want to cast—whether it’s a decorative resin figure, a unique chocolate shape, or a functional part. Use 3D modeling software like Fusion 360, Tinkercad, or Blender to create your object. If you’re new to CAD, Tinkercad is user-friendly and sufficient for basic mold designs.
When designing the mold:
- Include Draft Angles: For easy demolding, ensure surfaces are slightly tapered (typically 2–5 degrees).
- Add Alignment Features: Pins or keys help align multi-part molds accurately.
- Plan for Pouring and Venting: Incorporate channels for pouring resin/chocolate and vents for air escape.
- Consider Parting Lines: Design where the two halves of the mold will join, minimizing visible seams.
Step 2: Choosing the Right 3D Printing Material
Material selection is guided by what you plan to cast:
- For resin casting: PLA and PETG are popular for their ease of use. They’re strong enough and chemically resistant for most resins, though epoxy can sometimes stick—consider using a mold release agent.
- For chocolate molding: Food safety is paramount. While few desktop 3D printer filaments are fully food-safe, PETG or specialized food-safe PLA can be used if post-processed correctly. Alternatively, 3D print a master, then make a food-grade silicone negative from it.
Step 3: Slicing and Printing
Once your design is ready, export the STL file and load it into your slicer (such as Cura or PrusaSlicer). Consider the following:
- Layer Height: Use a fine layer height (0.1–0.2 mm) for smoother surfaces, which help with demolding and casting.
- Infill: 100% infill or thick walls make for more robust molds, especially for multi-use applications.
- Orientation: Orient mold halves to minimize support needed and reduce surface blemishes.
Start the print and inspect for any defects or gaps when finished; these can affect casting quality.
Step 4: Post-Processing the Mold
Most prints require a bit of cleanup:
- Sanding: Lightly sand the mold’s interior surfaces to remove layer lines and improve finish.
- Sealing: For resin casting, a thin coating of clear spray lacquer or epoxy can seal the surface and extend mold life.
- For food use: If you intend to cast chocolate directly in the printed mold, thoroughly clean and sanitize. However, as noted, best practice is to use the print as a master to cast a food-grade silicone mold.
Step 5: Casting Resin or Chocolate
With your mold ready, it’s time to cast!
- For resin: Spray the mold with a release agent to ease demolding and prevent resin from sticking. Mix your resin according to manufacturer instructions and pour slowly to minimize bubbles. Tap the mold gently to release trapped air.
- For chocolate: Temper your chocolate for the best shine and snap, then pour into the (preferably silicone) mold. Tap to remove bubbles and refrigerate until set.
Once cured or set, gently demold your object. If you designed proper draft angles and used a release agent, this should be straightforward.
Tips and Troubleshooting
- Test Fit: Always do a trial run with water or clay to check your mold before using expensive materials.
- Multiple Casts: 3D-printed molds are great for short runs, but repeated use—especially with chemical resins—can degrade them. For long-term use, create a silicone mold from your 3D-printed master.
- Surface Finish: The smoother your print, the better your cast. Consider polishing or applying a thin coating inside the mold.
- Food Safety: Unless using a certified food-safe filament and post-processing accordingly, always use your print as a master for food-grade silicone molds.
Final Thoughts
3D printing custom molds opens creative possibilities for resin casting and chocolate making. With careful design, material selection, and post-processing, you can produce professional-quality molds at home or in the workshop. As you gain experience, experiment with more complex shapes and multi-part molds to push the boundaries of what you can create. Happy printing—and casting!
Leave a Reply