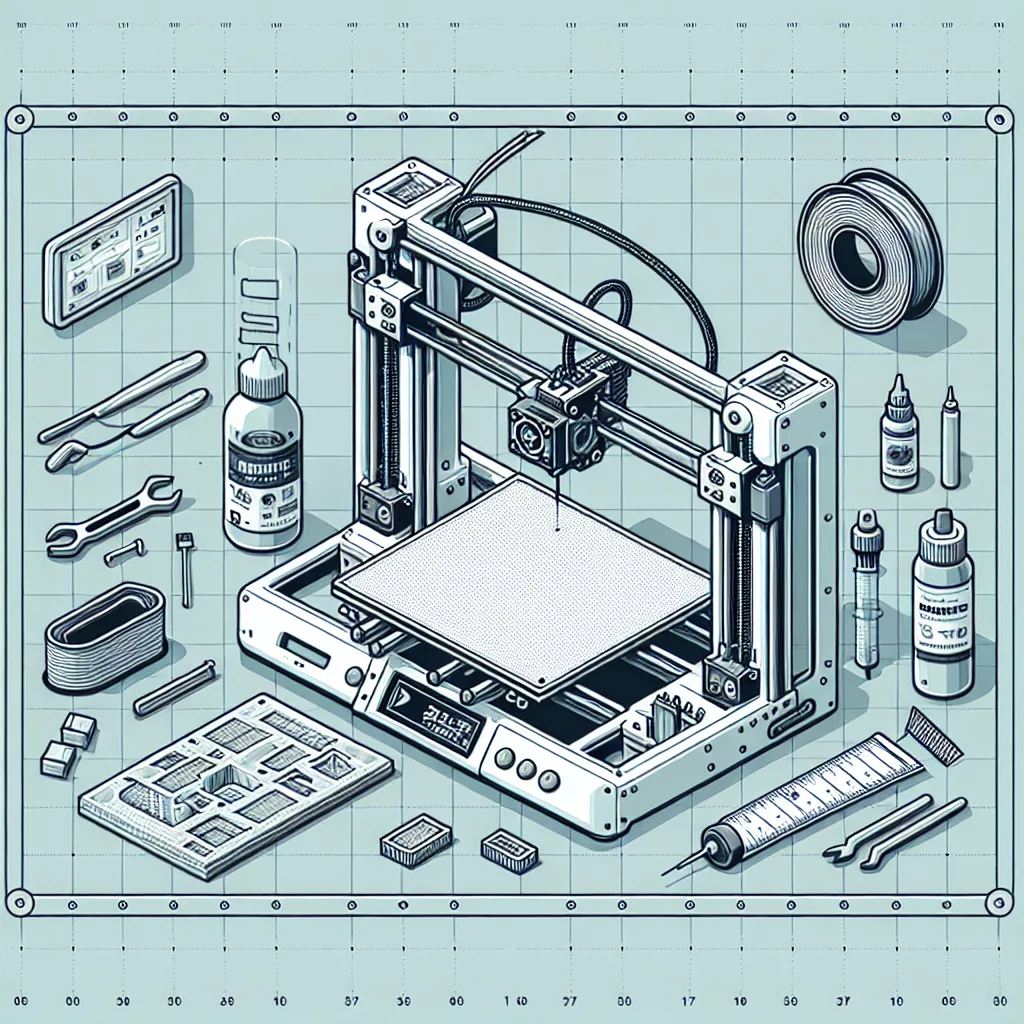
Introduction
One of the most common issues faced by beginners and experienced 3D printing enthusiasts alike is poor bed adhesion. Nothing is more frustrating than starting a print, only to come back and find a tangled mess because your print didn’t stick properly. Luckily, there are several proven methods for troubleshooting and solving issues with prints that refuse to adhere firmly to the print bed.
Clean Your Print Bed
A clean print bed is essential for good adhesion. Any oil residues, dust, or accumulated filament residue can prevent the print from sticking. To clean your bed:
- Use a lint-free cloth dampened with some isopropyl alcohol (at least 90%).
- Make sure you remove all fingerprints, oils, and filament residues.
- Allow the bed to dry completely before starting your next print.
Level Your Print Bed Properly
Proper bed leveling is crucial and often the first thing to check if your print won’t stick. Uneven beds create inconsistencies in the initial layer height, resulting in poor adhesion. To level your 3D printer bed accurately:
- Follow your printer manufacturer’s leveling instructions.
- Use a thin piece of paper between the nozzle and bed at each leveling point. There should be slight friction but not too much resistance or tearing.
- Consider using an automatic bed leveling sensor, such as a BLTouch, for consistently accurate leveling.
Adjust Your First Layer Settings
Sometimes a slight adjustment to print settings can drastically improve adhesion:
- First Layer Height: A thicker first layer (for example, 0.2 to 0.3 mm) can improve adhesion significantly.
- First Layer Speed: Reduce your first layer speed significantly; typically, 20-35 mm/s gives better adhesion.
- Nozzle Temperature: Slightly increasing the nozzle temperature for the first layer (by 5–10°C) can aid in adhesion.
- Bed Temperature: Adjust the bed temperature to the recommended range for the type of filament you’re using. For PLA, 50-70°C is standard; for ABS, 90-110°C works best.
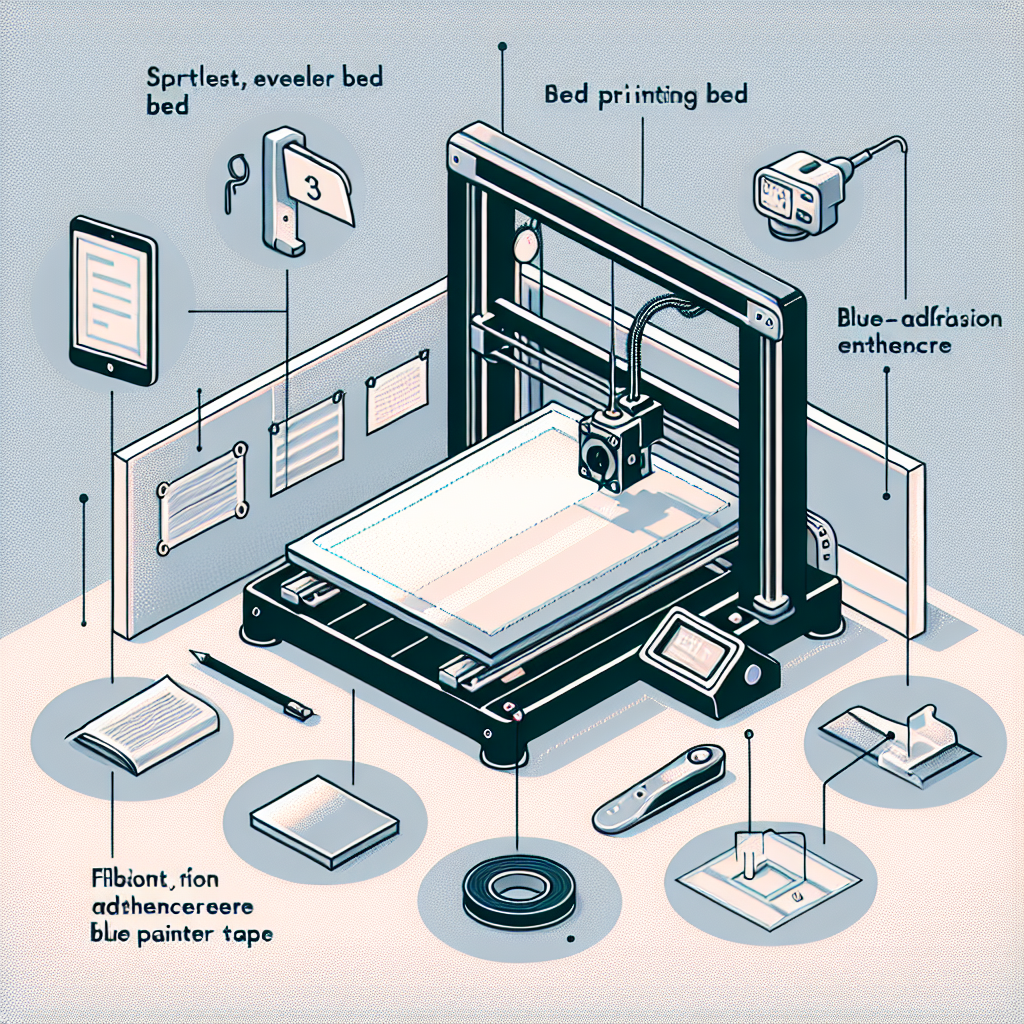
Use an Adhesion Enhancer
If you’ve tried leveling and cleaning but still have problems, consider using adhesion enhancers:
- Glue Sticks: Simple, inexpensive, and effective. Apply a thin, even layer.
- Painter’s Tape: Ideal for PLA, painter’s tape (blue tape) creates a textured surface that filament adheres to well.
- Hair Spray: Many hobbyists have success with unscented hair spray, which offers an easy-to-apply adhesion layer that can be cleaned off afterward.
- Specialized Adhesion Sheets: Products like BuildTak or PEI sheets provide a reliable adhesive surface and are popular solutions for challenging filaments.
Check Your Printer’s Environment
External conditions can also impact adhesion:
- Ensure your printer location is free from drafts, temperature fluctuations, or direct airflow from a fan or air conditioner.
- Consider enclosing your printer to stabilize temperature and humidity conditions, especially critical for ABS and ASA filaments.
Ensure Proper Z Offset & Nozzle Distance
Incorrect Z offset or nozzle gap can severely reduce adhesion:
- If your nozzle is too close, filament won’t extrude properly. If it’s too far, it won’t adequately press filament onto the bed.
- Adjust your Z-offset in small increments until the filament is gently pressed onto the bed, while still extruding cleanly and evenly.
Replace or Upgrade Your Print Bed
If you’ve tried everything above and you’re still experiencing adhesion issues, it may be time to upgrade or replace your print bed. Consider:
- Glass Beds: Smooth, flat surfaces that provide excellent adhesion, especially with heated beds.
- Magnetic Flexible Beds: Easy removal and excellent adhesion make these beds particularly popular.
- PEI Sheets: Durable, long-lasting, and offering great adhesion with minimal prep.
Conclusion
Resolving adhesion problems requires patience and systematic troubleshooting. Typically, ensuring a flat, clean surface, adjusting print settings, and using adhesion enhancers can solve the majority of issues. By following these guidelines, you’ll significantly reduce your chances of print failures due to poor bed adhesion, saving both time and filament. Happy printing!
Leave a Reply