Introduction to PETG Printing
PETG (Polyethylene Terephthalate Glycol) is rapidly becoming one of the most popular materials in the 3D printing community, prized for its durability, flexibility, and ease of printing. With its excellent layer adhesion and resistance to moisture and chemicals, PETG is ideal for producing functional, strong, and durable prints. However, achieving optimal print results with PETG requires careful tuning of your printer settings. In this guide, we’ll cover the best print settings for achieving reliable and robust PETG prints.
The Ideal Nozzle Temperature
The optimal nozzle temperature for printing PETG typically ranges from 230°C to 250°C. A good starting point is around 240°C, but you might need slight adjustments depending on your specific filament brand and printer model. Too low of a temperature can lead to poor adhesion and weak layer bonding, while overly high temperatures may cause stringing and oozing. It’s advisable to print temperature towers or calibration prints to identify the sweet spot for your specific setup.
Bed Temperature and Surface Adhesion
Proper bed adhesion is crucial for PETG, and setting your heated bed between 70°C and 85°C usually provides excellent results. PETG adheres well to various bed surfaces, including glass (preferably textured or coated with adhesive like hairspray or glue stick), PEI-coated sheets, and specialized build platforms. A smooth, clean, and well-prepared bed surface significantly reduces warping and ensures a secure first layer.
Print Speed and Layer Height
To achieve strong and reliable prints with PETG, moderate print speeds typically work best. A print speed of 40 to 60 mm/s is an excellent balance between print quality and strength. Slower speeds are recommended for intricate parts or features that require better accuracy and detail.
As for layer height, the optimal range is between 0.15mm and 0.25mm. For maximum strength and better layer adhesion, thinner layers around 0.2mm are highly recommended. However, slightly thicker layers (0.25mm to 0.3mm) may provide adequate strength with reduced print time for larger parts.
Retraction and Stringing Control
PETG is notorious for stringing. To minimize this issue, you’ll need precise retraction settings. Begin with retraction distances of 4-6mm for Bowden setups or 1-2mm for direct-drive extruders. Retraction speeds between 25mm/s and 45mm/s usually provide good results without stressing your extruder.
Additionally, fine-tuning your travel speeds and employing features such as coasting and wiping in your slicer software can significantly reduce stringing and improve overall print quality.
Cooling Fan Settings
PETG requires balanced cooling. Unlike PLA, PETG doesn’t need aggressive cooling, and excessive cooling can weaken layer adhesion. Aim to set your cooling fan speed between 30% and 50%. For smaller prints or intricate details, a slightly higher fan speed may help improve detail and reduce stringing. Conversely, for large structural parts, minimal cooling (around 20-30%) will yield stronger, more robust layers.
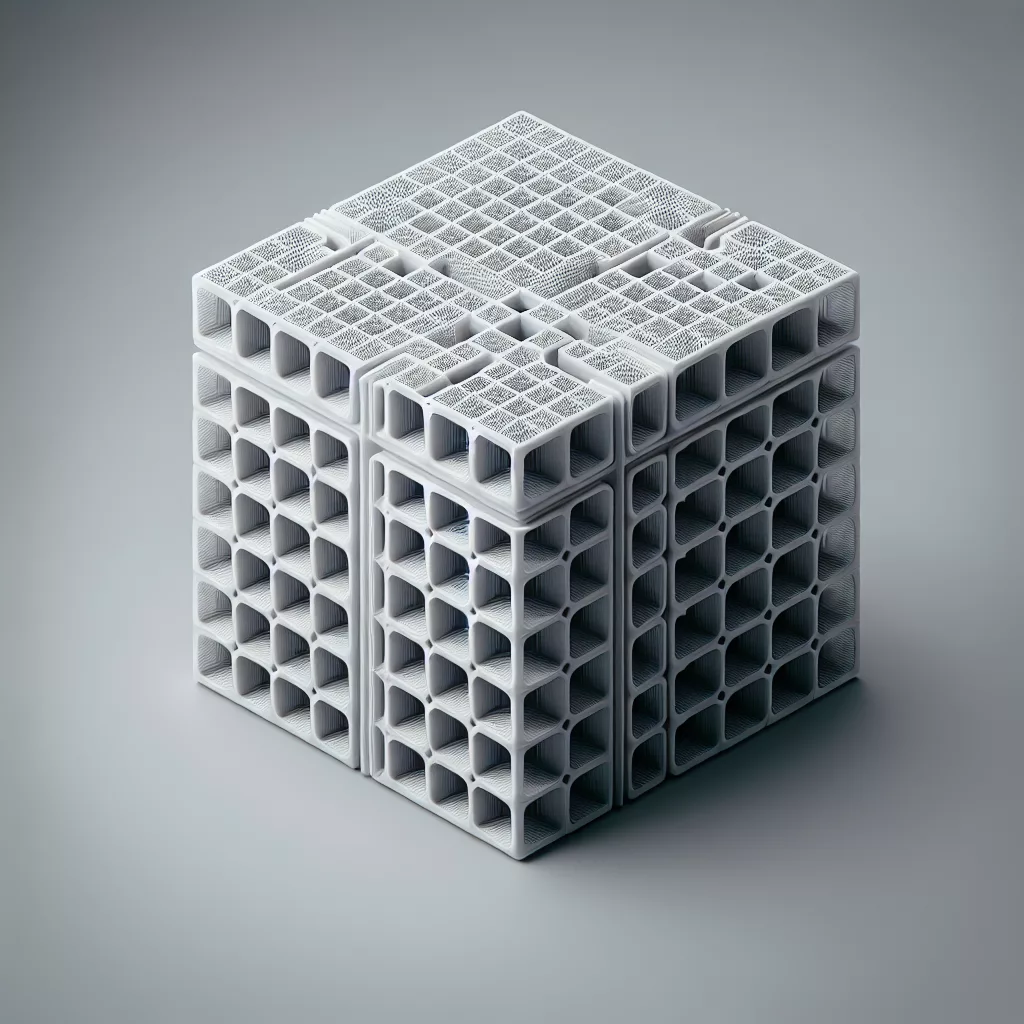
Optimal Infill and Shell Settings for Strength
For prints intended to be strong and durable, aim to use an infill percentage between 20% and 60%, depending on the application. Higher infill densities obviously contribute to increased strength at the cost of longer printing times and higher filament usage.
Shell thickness also greatly influences the strength of your prints. We recommend using at least three perimeters (shells) along with a top and bottom thickness set to about 1-1.2mm to achieve the best compromise between print strength, durability, and printing speed.
Conclusion: Dialing in Your PETG Printing Settings
Achieving strong, durable PETG prints requires careful tuning and fine-tuning of your printer and slicer settings. By focusing on nozzle and bed temperatures, adhesion methods, moderate print speeds, proper retraction, and appropriate cooling, you can significantly enhance the overall quality and strength of your PETG prints.
Remember, every 3D printer and filament brand is slightly different, so be sure to conduct calibration tests and small test prints to dial in the perfect settings for your specific setup. With patience, experimentation, and the proper settings, you’ll be consistently producing reliable and robust PETG prints in no time.
Leave a Reply