Introduction: Why 3D Printing Timelapses Captivate
3D printing timelapses are among the most popular forms of maker content on social media, YouTube, and project blogs. Watching an object appear layer by layer—from thin air to tangible reality—is simply mesmerizing. But capturing a smooth, professional 3D printing timelapse requires more than just hitting record and walking away. In this article, I’ll share the best techniques for creating stunning timelapses, drawing from years of hands-on 3D printing and content creation experience.
Classic Timelapse vs. Layer-by-Layer (Octolapse) Timelapse
Let’s start by distinguishing the two main types of 3D printing timelapse:
- Classic Timelapse: A camera records the entire print, usually at a low frame rate (e.g., one frame every few seconds or minutes). The print head moves throughout the video, which can look chaotic but still provides a magical build-up effect.
- Layer-by-Layer Timelapse: The camera snaps a photo after every completed layer, often coordinated right when the print head moves out of frame, resulting in a visually stable print that appears to “grow” in place as though by magic.
The second method is the current gold standard and what you see in professional timelapse videos online.
Equipment: What You Need for Pro Timelapses
To create the best 3D printing timelapses, you’ll need:
- A reliable 3D printer (with firmware that supports pausing or G-code triggers, if doing layer-by-layer timelapses)
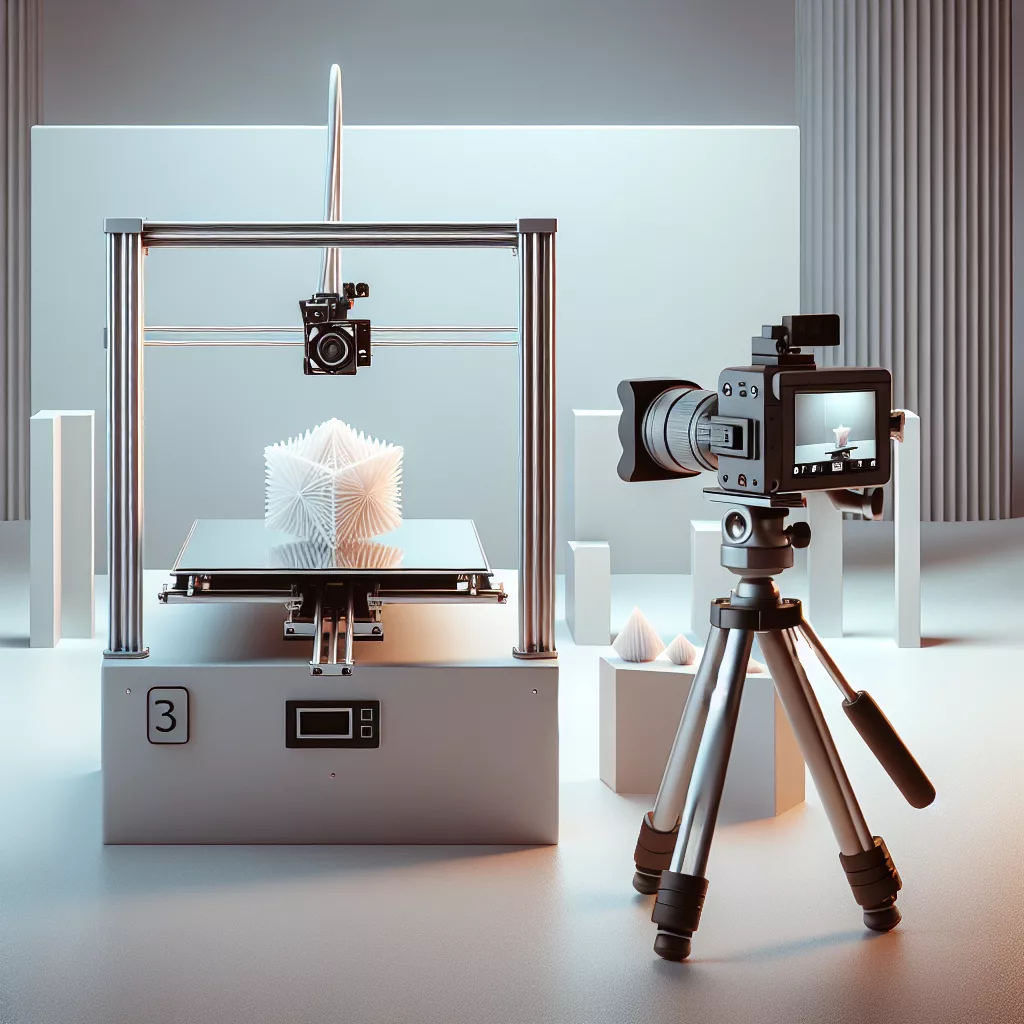
- A camera (DSLR, GoPro, high-end webcam, or even a smartphone on a tripod)
- Lighting (consistent, diffused lighting avoids flicker and harsh shadows)
- A stable mount (tripod, gorilla pod, or printed camera mount to ensure zero movement between frames)
- Timelapse software (Octolapse, Repetier-Host, or even a manual photo trigger setup)
Technique 1: Layer-by-Layer Timelapse with Octolapse
The most celebrated technique is using the Octolapse plugin within OctoPrint. Here’s the process:
- Setup OctoPrint and Octolapse: Connect your 3D printer to a Raspberry Pi running OctoPrint and install the Octolapse plugin.
- Configure Camera and Triggers: Attach your camera and configure Octolapse to take a snapshot after each layer finishes. Octolapse will move the print head out of the way for each shot, so the object appears to “grow” out of the bed.
- Fine-tune Settings: Experiment with print head park position, snapshot interval, and camera focus. Always lock focus and exposure to avoid distracting flicker.
- Lighting Control: Use diffused and constant lighting throughout the print to prevent color and brightness changes between frames.
This method produces the smoothest, most professional timelapses—perfect for sharing.
Technique 2: Manual Photo Triggers
For printers not connected to OctoPrint, you can use a manual or semi-automated process:
- Synchronize Camera with Printer: Use a physical trigger, such as a relay or intervalometer, to fire the camera at set intervals (ideally, once per layer or per Z-height increment).
- Position the Print Head: Manually modify your slicer’s G-code to move the print head to a parked position at the end of every layer, if possible.
- Merge Frames: After printing, combine the captured images into a video using software like Adobe Premiere or free tools such as ffmpeg.
While more labor-intensive, this method doesn’t require OctoPrint and works with most printers.
Technique 3: Classic Video Timelapse
This is the simplest approach, suitable for beginners:
- Record Video: Set up your camera or smartphone in a fixed position and record the print at normal speed.
- Time Compression: In post-production, speed up (time-lapse) the video—anywhere from 20x to 1000x, depending on print duration.
- Reduce Motion Blur: If possible, use a camera with a fast shutter speed. Lighting is crucial to avoid flicker as ambient conditions change.
This method captures the print head’s motion, which can be distracting but has its own energetic charm.
Pro Tips for Stunning 3D Printing Timelapses
- Lock Everything: Camera, focus, exposure, white balance, and even the printer itself should be locked or stabilized to prevent frame-to-frame fluctuations.
- Lighting is Key: Use LED panels or diffusers, and keep room lighting consistent. Even daylight can cause unwanted flicker as the sun moves.
- Choose the Right Angle: Overhead, three-quarter, or dramatic low-angle shots highlight different aspects of your print—experiment for maximum impact.
- Frame the Print: Ensure the entire object will remain in frame from start to finish; remember, tall prints can grow out of your field of view.
- Keep It Clean: Wipe down your print bed and surroundings—dust and fingerprints are highly visible in timelapse videos.
Conclusion: Choose the Right Technique for Your Story
Whether you go for the magical smoothness of layer-by-layer timelapse with Octolapse, the flexibility of manual triggers, or the simplicity of classic video, perfecting your 3D printing timelapse is a rewarding way to share your creations. Invest in good lighting and camera stability, and you’ll capture the magic of making—one layer at a time. Happy printing!

Leave a Reply