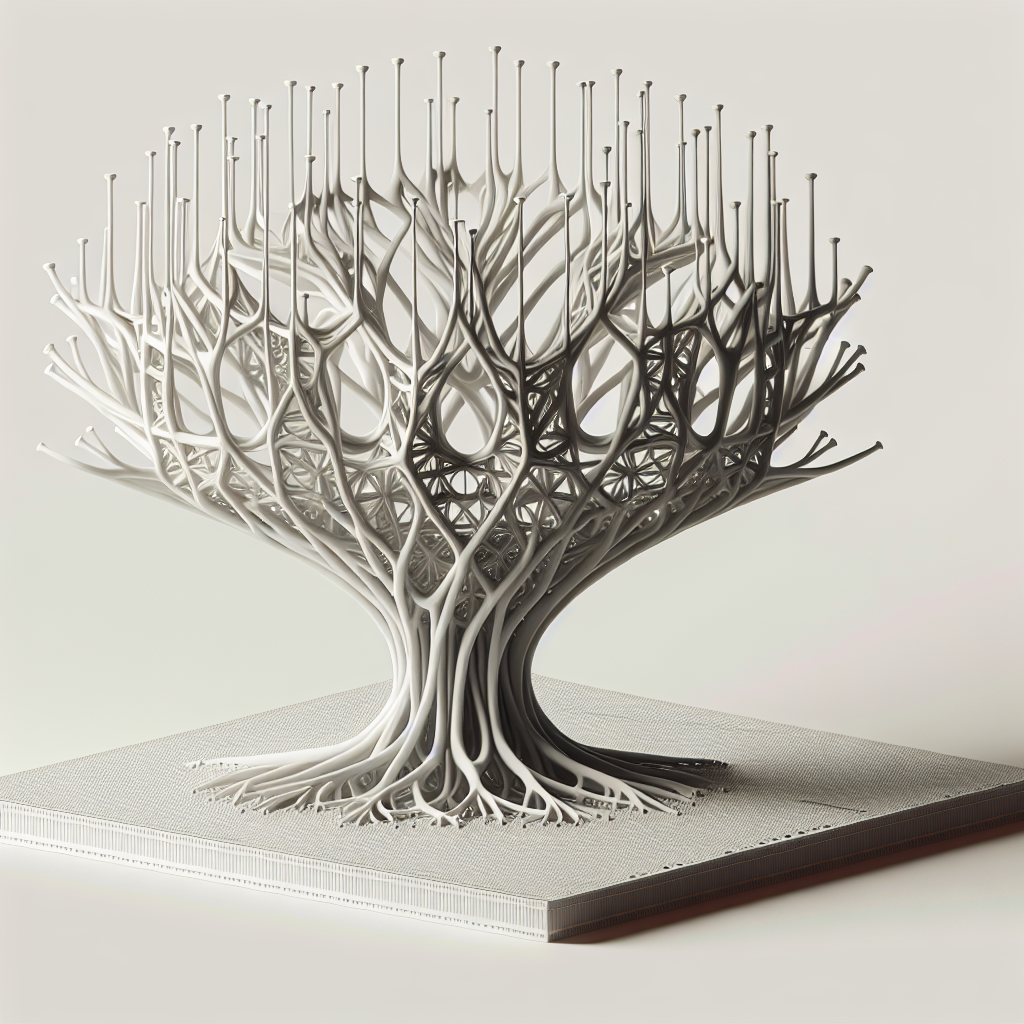
Understanding Organic Supports in PrusaSlicer
Since the advent of organic supports in PrusaSlicer, 3D printing enthusiasts and professionals have gained a powerful tool for achieving cleaner prints and reducing post-processing headaches. Unlike traditional, blocky support structures, organic supports are tree-like and minimize contact with the part, making support removal easier and the final print quality higher. Drawing on years of hands-on 3D printing experience, here’s how you can utilize PrusaSlicer’s organic supports for better prints.
What Makes Organic Supports Different?
Traditional supports are typically grid-based and create large contact areas with your print. While effective, they often require substantial cleanup, can leave blemishes, and consume a lot of filament. Organic supports, introduced in PrusaSlicer 2.6 and later, are inspired by the “tree supports” seen in other slicers, but bring their own set of advantages:
- Reduced material usage: The branching nature means less filament used for the same level of support.
- Minimal contact points: Fewer marks on your finished part.
- Faster removal and clean up: Supports often snap off with less effort and leave a smoother surface.
- Faster print times: Less material and smarter support paths often mean quicker prints.
How to Enable Organic Supports in PrusaSlicer
Getting started with organic supports is straightforward:
- Open your project in PrusaSlicer (version 2.6 or later).
- In the right-hand menu, find the Supports setting.
- Change the Support style from the default “Grid” to “Organic.”
- Adjust other support-related settings as needed for your specific model.
Organic supports can be used in both FDM and SLA slicing modes, but their biggest impact is seen on complex FDM prints with lots of overhangs and delicate details.
Optimizing Your Support Settings for Best Results
To maximize the benefits of organic supports, consider these tips from the print bench:
- Contact Z distance: A setting of 0.2-0.3mm works for most PLA prints, but for detail-critical models or tougher filaments like PETG, you might experiment with tighter or looser gaps.
- Interface layers: Organic supports offer the option to add interface layers for extra smoothness at contact points. Add one or two interface layers for an even cleaner part surface.
- Support density and branch diameter: Lower density will save material; increase branch diameter for heavier overhangs.
- Angle threshold: Set the overhang angle threshold to fine-tune where supports are generated. A higher angle (e.g., 60°) means fewer supports, but riskier overhangs; lower angles (e.g., 45°) provide more coverage.
Each model is unique, so don’t hesitate to experiment with previewing your support structures in PrusaSlicer’s layer view before printing.
When Should You Use Organic Supports?
Organic supports shine with intricate models, figurines, or parts with gentle curves and complex geometries. They’re less ideal for large, flat overhangs (like the underside of a box), where grid or linear supports may still provide more stability.
Here are some prime scenarios for organic supports:
- Minimizing post-processing time for highly detailed models.
- Protecting fragile features from support scarring.
- Reducing material costs on large projects with many small overhangs.
Removing Organic Supports: What to Expect
One of the biggest advantages of organic supports is how easily they detach from your print. Most users report that gentle hand pressure is enough to break the supports away, often without the need for tools. For stubborn supports, a simple pair of needle-nose pliers or a craft knife is usually all that’s needed.
After removal, inspect your print. You’ll notice fewer blemishes and less cleanup compared to traditional supports, especially on visually-critical surfaces.
Tips for Printing Success with Organic Supports
- Tune your first layer: Good bed adhesion is essential, as taller, thinner supports can topple with poor first layers.
- Mind your cooling: Fine branches benefit from good part cooling to avoid drooping or stringing.
- Experiment with support density: Start low and only increase if supports are failing.
- Preview in the slicer: Use PrusaSlicer’s preview tools to check for proper support placement and coverage before printing.
Conclusion
PrusaSlicer’s organic supports are a game-changer for anyone seeking cleaner prints and less time spent on post-processing. By understanding how they work, when to use them, and how to fine-tune their settings for your needs, you’ll unlock new levels of efficiency and print quality in your 3D printing projects. Give organic supports a try on your next complex print—you’ll be amazed at the difference!


Leave a Reply