
Understanding Moisture Issues in 3D Printing Filaments
Moisture is one of the most persistent and underestimated enemies of FDM (Fused Deposition Modeling) 3D printing. Filament materials like PLA, ABS, PETG, Nylon, and TPU are hygroscopic—they absorb moisture from the air. Even small amounts of water vapor can compromise filament quality, leading to a host of printing problems. These include inconsistent extrusion, stringing, popping noises during printing, poor layer adhesion, and weak or brittle finished parts.
How Moisture Affects 3D Printing Filaments
When filament absorbs moisture, the water inside the strands rapidly heats up and turns into steam as it’s extruded through the hotend. This causes bubbles, oozing, and even mini-explosions inside the nozzle, resulting in rough surfaces, gaps in layers, and a generally poor finish. Sensitive materials like Nylon and PVA can be ruined in just a few hours of exposure to humid air.
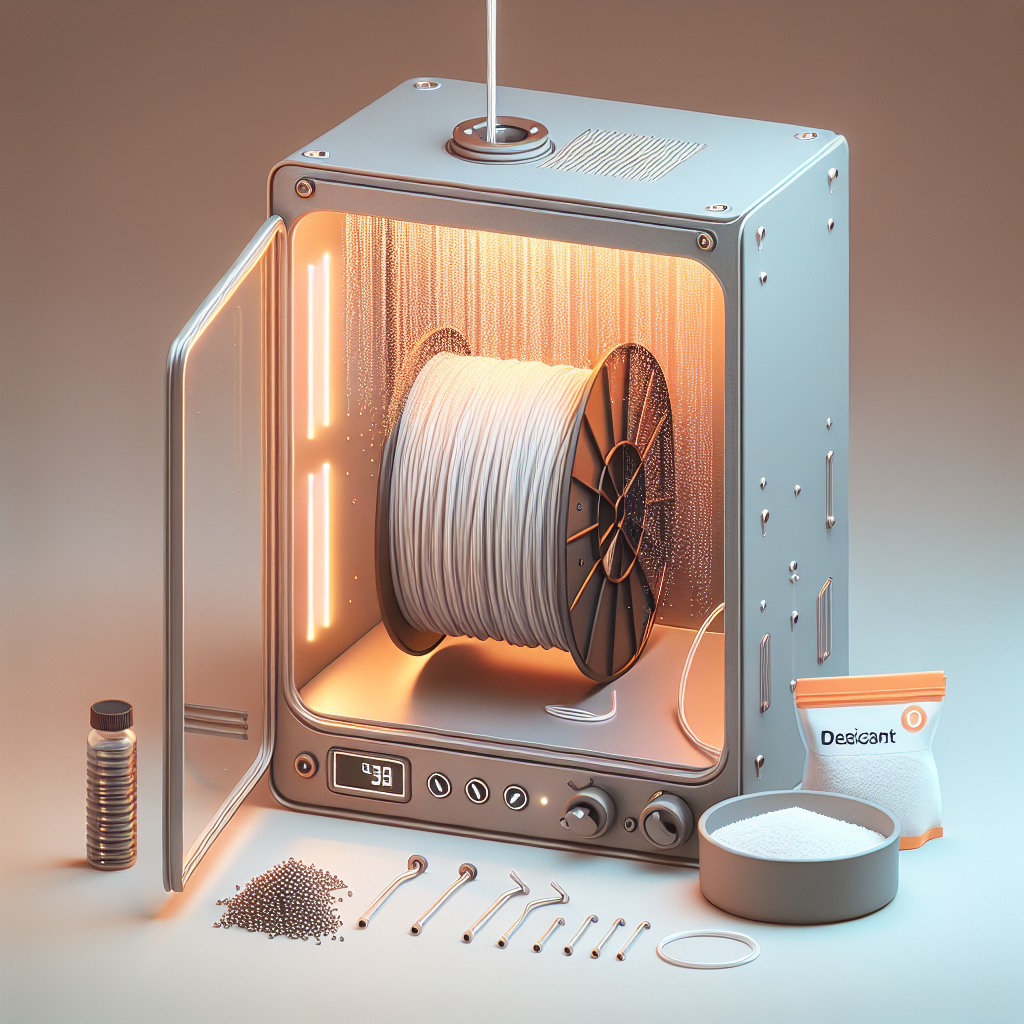
Enter the Filament Dryer
To combat these issues, filament dryers have become essential tools for professionals and enthusiasts alike. These dedicated devices are designed to remove moisture from spools of filament by gently heating them at controlled temperatures for several hours. The result is dry, consistently performing filament that extrudes smoothly and produces stronger, cleaner prints.
How to Use a Filament Dryer: Step by Step
Using a filament dryer is straightforward, but following best practices ensures you get the best results:
1. Check Your Filament Material
Different filament types require different drying temperatures and durations. For example:
- PLA: 40–45°C for 4–6 hours
- ABS: 70–80°C for 4–6 hours
- PETG: 55–65°C for 4–6 hours
- Nylon: 70–80°C for 8–12 hours
Always consult the manufacturer’s recommendations before drying.
2. Pre-heat the Dryer
Turn on your filament dryer and set it to the recommended temperature for your filament type. Pre-heating ensures even exposure right from the start.
3. Load the Filament
Place your spool inside the dryer, ensuring it’s properly seated and not touching the heating element. Some dryers can accommodate multiple spools or have rotating mechanisms for better airflow.
4. Set the Timer
Program the drying time according to your filament material. If your dryer doesn’t have a timer, set an external reminder to avoid overheating.
5. Monitor the Process
Periodically check the spool to ensure it’s not overheating or deforming. Certain dryers offer humidity indicators, giving you a real-time view of moisture removal.
6. Print Directly from the Dryer (Optional)
Some advanced dryers allow you to feed filament directly from the dryer to your 3D printer, keeping it dry throughout long prints. This is especially useful in humid climates or for moisture-sensitive materials.
Storage After Drying: Keep It Dry!
After drying, store your filament in an airtight container with desiccant packets to prevent reabsorption of moisture. Even freshly dried filament can become compromised if left exposed for just a few hours.
DIY Alternatives to Filament Dryers
If you don’t have a dedicated filament dryer, you can use a food dehydrator or even a conventional oven (set at low temperatures and monitored closely). However, commercial filament dryers offer more precise temperature control and safety features.
Conclusion: Printing Success Starts With Dry Filament
Moisture in filament can silently sabotage even the most finely tuned 3D printer. Investing in a quality filament dryer and integrating it into your workflow yields more reliable, higher-quality prints and less wasted material. By understanding the impact of moisture and using filament dryers effectively, you’ll unlock the full potential of your 3D printing projects.
Leave a Reply