
Understanding Support Structures in Cura
When printing complex 3D models, supports are essential for overhangs or bridges. However, removing these supports cleanly can be challenging, often leaving marks or damaging your print. Cura, one of the most popular 3D slicers, provides a range of adjustable support settings to make support removal easier and improve your print’s final quality. Leveraging these settings effectively can be a game-changer for hobbyists and professionals alike.
Choosing the Right Support Type
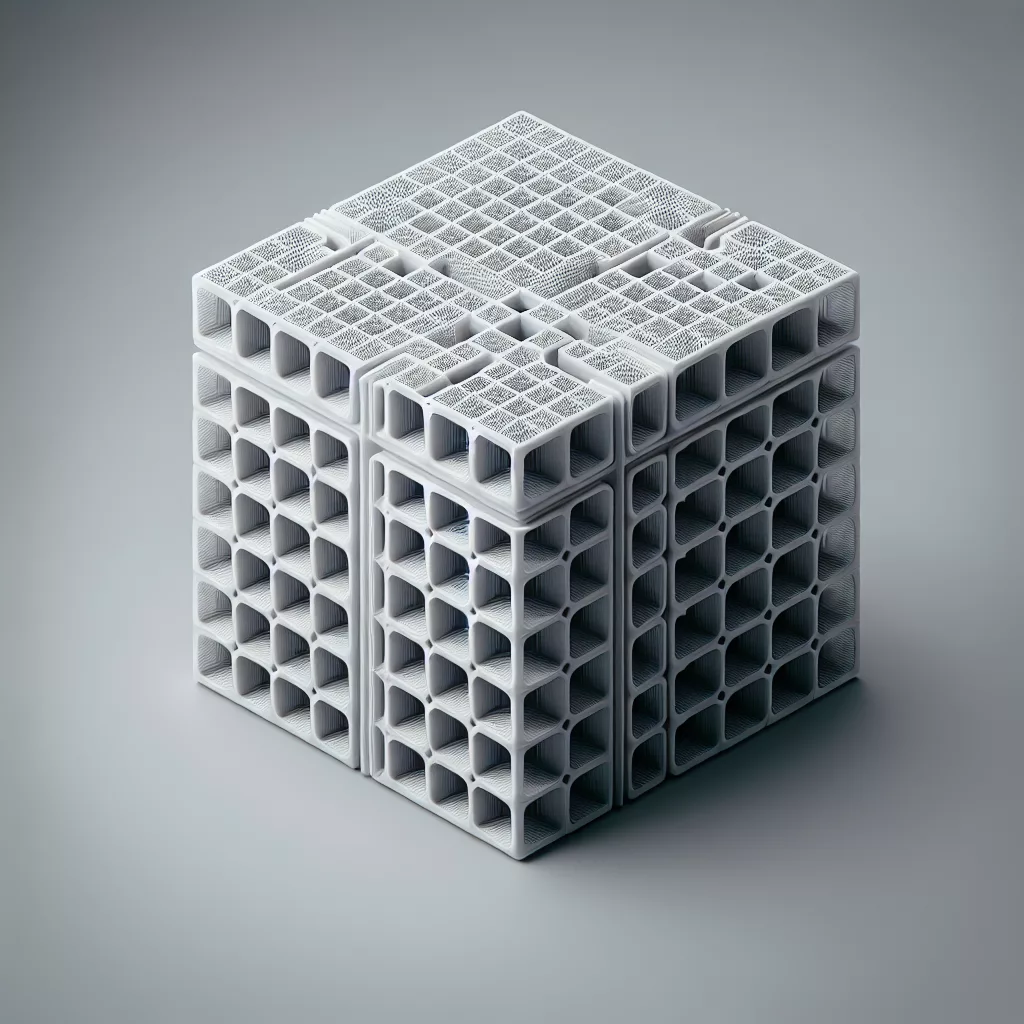
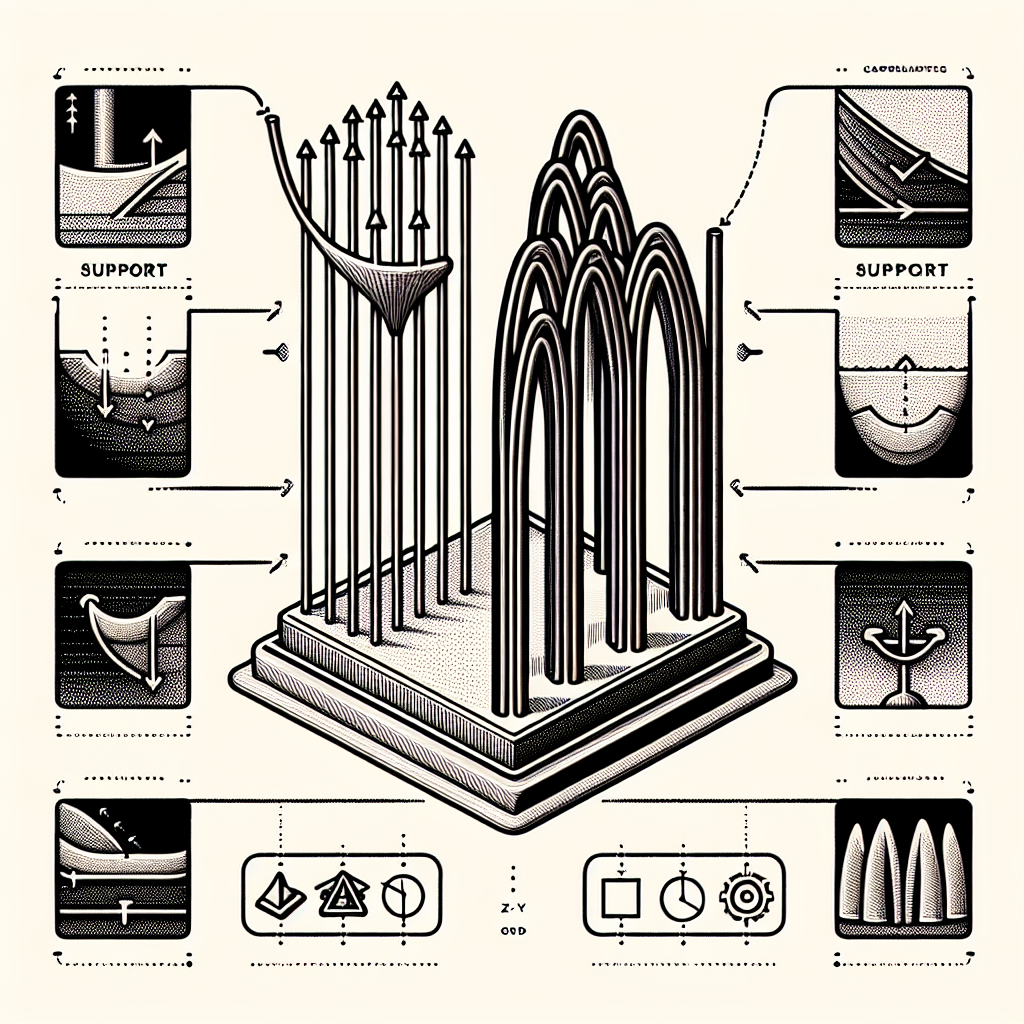
Cura offers two main support structures: Normal and Tree.
- Normal Supports are grid-like and consistent, making them reliable for most situations.
- Tree Supports grow upward like branches, usually using less material and being easier to remove for organic or overhanging models.
For models with minimal overhangs or organic shapes, try using Tree supports. They are often easier to break away and leave fewer marks on the print.
Optimizing Support Placement
The Support Placement setting in Cura lets you choose where supports generate: Everywhere or Touching Buildplate.
- Touching Buildplate: Generates supports only from the build plate. This often makes removal simpler, but may not reach some overhangs.
- Everywhere: Supports will be generated on the model itself as well, providing more comprehensive support but sometimes making removal trickier.
When possible, opt for Touching Buildplate for easier removal and less scarring on the model.
Tuning Support Density
The Support Density setting controls how solid your supports are. Lower densities (10-15%) usually suffice for most FDM prints and make supports much easier to remove. Higher densities offer more rigidity but can bond too tightly to the model, increasing the risk of damage or difficult removal.
Adjusting Support Z Distance
The Support Z Distance (Top and Bottom Distance) determines the gap between the support and your printed object. For PLA, a gap of 0.2–0.3 mm usually works well, allowing supports to break away cleanly without sagging. For PETG or flexible filaments, you might need a slightly larger gap due to their stickier nature.
Utilizing Support X/Y Distance
The Support X/Y Distance setting controls the horizontal gap between supports and your model. Increasing this value (e.g., to 0.7–1.0 mm) can significantly improve ease of removal and minimize support marks, especially on vertical walls.
Enable Support Interface Layers
Support Interface Layers are thin, denser layers placed between the support and your model. Enabling Support Interface in Cura creates a smoother surface for the supported areas and makes it easier to separate the support from the model. This is particularly useful for detailed prints or when surface finish is critical.
Experiment with Support Patterns
Cura offers different Support Patterns such as Zig Zag, Lines, or Grid. Patterns like Zig Zag or Lines are typically easier to remove compared to Grid, as they are less dense and can peel away like a sheet.
Use Support Blockers and Custom Supports
Cura’s support blockers let you manually indicate where supports should not be generated, reducing unnecessary supports and making removal simpler. Use the Blocker tool to fine-tune difficult areas, or import custom support meshes for maximum control.
Post-Processing Tips for Easier Support Removal
After printing, use a set of pliers, flush cutters, and a craft knife to carefully remove supports. Sometimes, gently heating the supports with a hair dryer or warm water (for certain filaments) can make them more pliable and easier to detach. For stubborn bits, a soft sanding stick can help smooth out small marks left behind.
Conclusion
Optimizing support settings in Cura can dramatically improve your printing experience and the quality of your models. By fine-tuning parameters like density, distance, type, and interface layers, you can achieve supports that are both effective and easy to remove. Don’t be afraid to experiment—every model and filament combination is unique. With experience, you’ll find the perfect support setup for your needs, leading to cleaner prints and less post-processing work.
Leave a Reply