
Understanding the Basics of 3D Scanning for Printing
3D scanning is a powerful technique that allows you to capture real-world objects and turn them into digital models for 3D printing. Whether you’re looking to replicate a broken part, design custom-fit accessories, or preserve a treasured item, a 3D scanner bridges the gap between the physical and digital worlds. Let’s walk through the process step-by-step, drawing on years of hands-on experience in both scanning and printing.
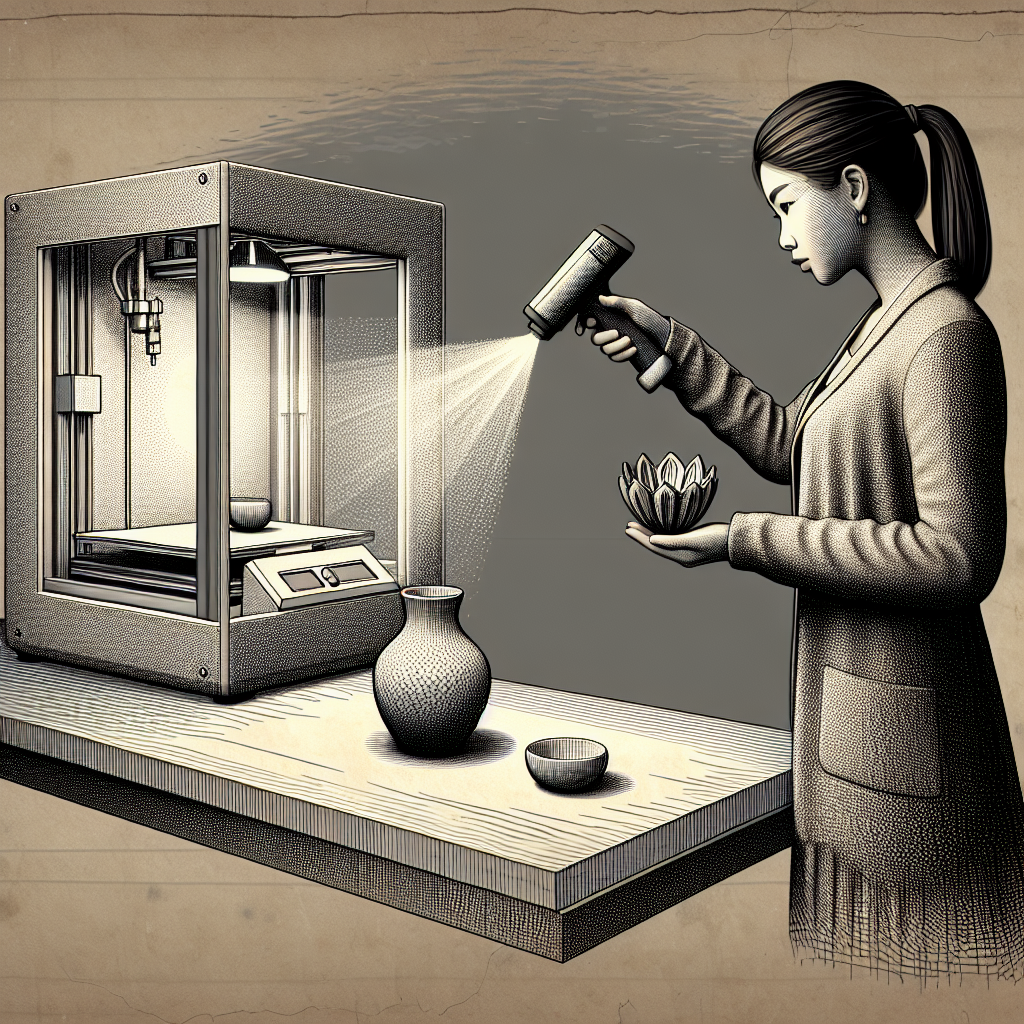
Choosing the Right 3D Scanner for Your Needs
There are several types of 3D scanners, each suited to different use cases and budgets:
- Handheld Scanners: Ideal for medium-sized objects, offering flexibility and ease of use.
- Desktop Scanners: Best for small, detailed objects like jewelry or mechanical parts.
- Photogrammetry: Uses a series of photos to reconstruct models; affordable but requires patience and good lighting.
- LIDAR/Structured Light Scanners: Offer high precision for professional applications.
For most home or hobbyist applications, a mid-range handheld or desktop scanner will suffice.
Preparing the Object for Scanning
Preparation is key to achieving clean, printable results. Here are some best practices:
- Clean the Object: Remove dust, fingerprints, and any debris.
- Surface Finish: Shiny or transparent objects can confuse scanners. Apply a light, temporary matte spray (like developer spray or talcum powder) to improve scan quality.
- Stable Positioning: Place the object on a non-reflective, stable surface to avoid unwanted movement during the scan.
Scanning: Tips for Capturing the Best Data
The scanning process varies by device, but these general tips will help:
- Scan in a well-lit area, avoiding direct sunlight or shadows.
- Follow the scanner’s software prompts to capture all necessary angles.
- If your scanner requires multiple passes, overlap scan paths for seamless alignment.
- Review the live preview to identify missed spots before finalizing the scan.
For complex or intricate objects, patience pays off. Take your time to thoroughly scan recesses, overhangs, and other tricky features.
Post-Processing the 3D Scan
Once you have your raw scan data, it’s time to refine it for 3D printing:
- Mesh Cleanup: Use software (like MeshLab or Blender) to remove noise, fill holes, and repair non-manifold edges.
- Simplification: High-detail scans can create huge files. Decimate unnecessary polygons to make the model manageable for slicing and printing.
- Watertight Model: Ensure the mesh is closed (watertight), with no gaps or open edges. This is crucial for successful 3D printing.
- Orientation and Scaling: Adjust the model’s orientation and scale to your printer’s build volume and intended final size.
Exporting for 3D Printing
Most slicers (such as Cura or PrusaSlicer) accept STL or OBJ files. Export your cleaned and processed model in one of these formats. Double-check for errors using mesh analysis tools, and consider running the file through a repair utility like Microsoft’s 3D Builder or Netfabb for added assurance.
Printing Your Scanned Model
Import your STL/OBJ file into your slicer of choice, set your desired print settings, and slice the model. Pay attention to supports, infill, and layer height—high-resolution scans deserve fine print settings! Once satisfied, transfer the file to your printer and start the print.
Common Challenges & How to Overcome Them
- Surface Artifacts: If the print surface looks rough, revisit the mesh cleanup step or increase print resolution.
- Fitment Issues: When replicating parts, use calipers to verify dimensions and adjust scaling in your slicer or modeling software as needed.
- Complex Geometry: Break the model into smaller parts for easier printing and assemble them post-printing.
Final Thoughts
Using a 3D scanner to create printable models unlocks incredible possibilities, from restoration to customization. With the right preparation, attention to detail, and post-processing, you can replicate almost any object for your 3D printer. Practice makes perfect—each scan and print will improve your results and expand your creative toolkit. Happy scanning and printing!
Leave a Reply