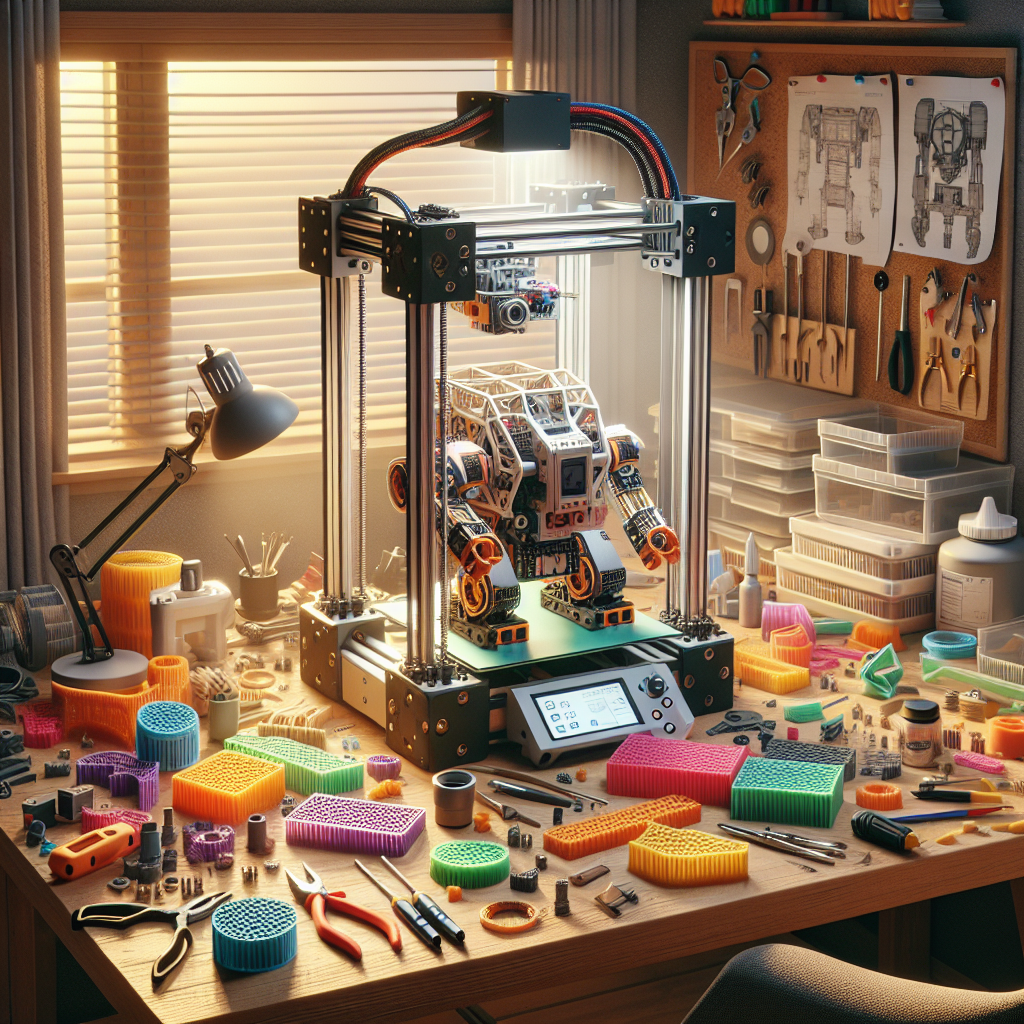
Why 3D Printing is a Game-Changer for DIY Robotics
The landscape of DIY robotics has been transformed with the advent of accessible 3D printing technology. Enthusiasts and makers now have the power to design, prototype, and manufacture custom parts right at home—something that was unthinkable just a decade ago. Whether you are building a simple line-following robot or a complex robotic arm, 3D printing streamlines the process, reduces costs, and opens up endless customization opportunities.
Planning Your Robotics Project
Before firing up your 3D printer, it’s crucial to define the scope and requirements of your robotics project. Consider the following steps:
- Determine Functionality: Identify what your robot needs to do. Will it need to grip objects, move autonomously, or interact with the environment?
- Sketch Your Design: Start with sketches or CAD models. Free tools like Tinkercad or more advanced options like Fusion 360 let you visualize your robot and its components.
- Think About Assembly: Design parts that are easy to print and assemble. Consider modular designs for easier maintenance and upgrades.
Designing 3D Printable Parts
When designing parts for robotics, there are some key best practices to keep in mind:
- Material Selection: Choose the right filament. PLA is easy to print but brittle, while PETG and ABS provide greater durability and impact resistance—vital for moving robots.
- Tolerances: Allow for small tolerances between moving or mating parts. Typically, a 0.2–0.5mm clearance prevents friction and ensures smooth movement.
- Component Integration: Include mounting points for motors, sensors, and electronics right in your design. This enhances structural integrity and simplifies assembly.
- Weight Optimization: Use honeycomb or lattice infill patterns to reduce weight while maintaining strength—particularly important for mobile robots.
Printing and Post-Processing Techniques
Once your designs are ready, it’s time to print:
- Print Orientation: Orient parts to minimize support material and maximize strength along stress lines. For example, print robot arms so that layers run parallel to the direction of force.
- Layer Height and Infill: Use finer layers (0.1–0.2mm) for critical components. Adjust infill density for balance between strength and print time.
- Sanding and Fitting: Post-print, lightly sand mating surfaces and test fit components. Some trimming may be necessary for a perfect assembly.
Integrating 3D Printed Parts with Electronics
The magic of robotics happens when 3D printed parts are combined with electronics:
- Enclosures: Design housings for microcontrollers (like Arduino or Raspberry Pi), batteries, and wiring. Include ventilation for heat dissipation.
- Custom Mounts: Print brackets for sensors, wheels, and actuators. Customization allows for precise sensor placement, which can boost performance.
- Cable Management: Incorporate cable channels or clips right into your prints for a neat, reliable assembly.
Real-World Examples and Inspiration
Here are a few classic 3D printing applications in DIY robotics:
- Robotic Arms: Custom grippers, gears, and structural components tailored for specific tasks.
- Mobile Robots: Chassis, wheel hubs, and suspension parts optimized for your terrain and payload.
- Humanoid Robots: Modular joints, exoskeletons, and faceplates for experimentation with human-like motions.
Troubleshooting Common Issues
3D printing for robotics isn’t without its challenges:
- Warping and Layer Separation: Use heated beds, proper adhesion aids, and enclosure for materials like ABS.
- Weak Joints: Reinforce by increasing wall thickness or adding gussets to high-stress areas.
- Imprecise Fits: Adjust tolerances in your CAD file and reprint—3D printing is iterative, and tweaks are part of the process.
Conclusion: Unleash Your Creativity
3D printing empowers makers to rapidly prototype, modify, and perfect their robotics projects. By mastering design, printing strategies, and post-processing, you can build robots that are not only functional but also uniquely tailored to your needs. The only real limit is your imagination—so start designing, start printing, and bring your robotic creations to life!


Leave a Reply