
Why Upgrade to Klipper Firmware?
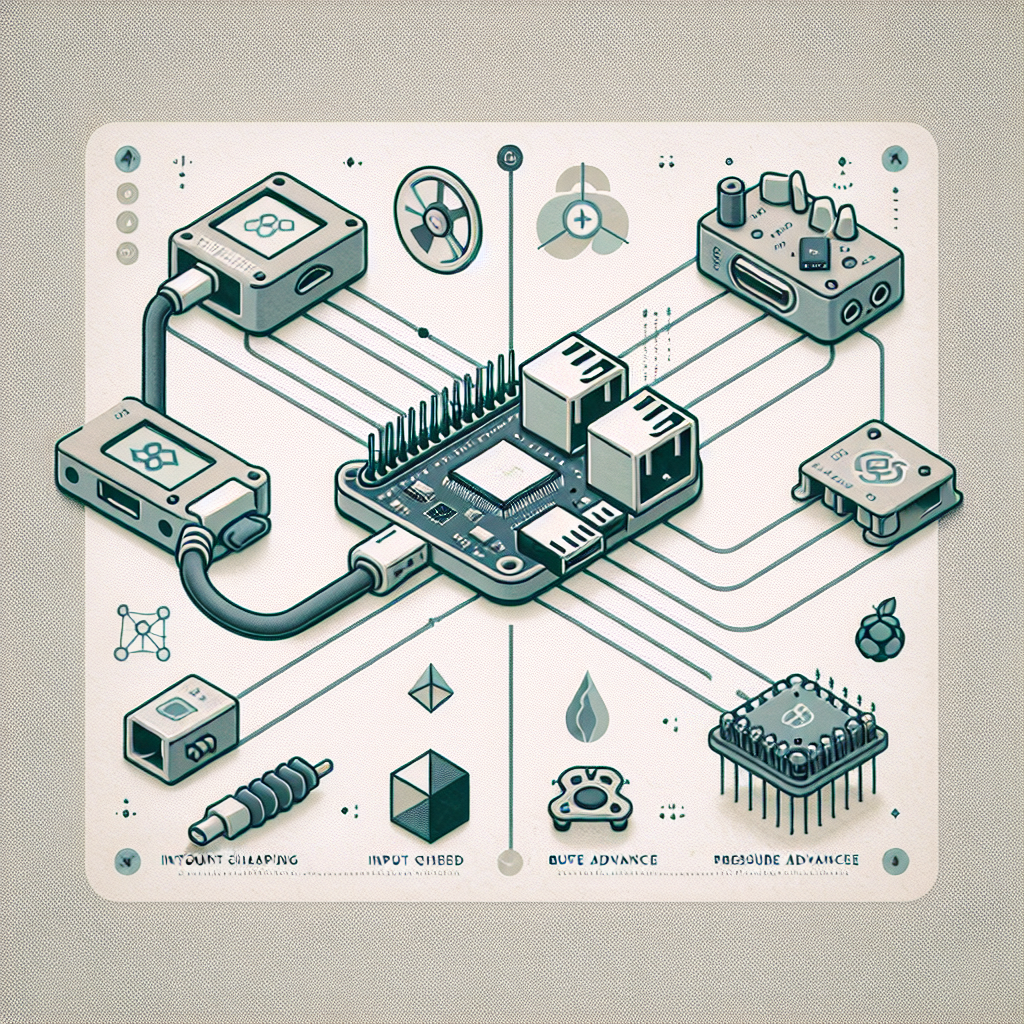
Klipper has quickly gained popularity in the 3D printing community for its ability to push the performance limits of your printer hardware. Unlike traditional firmware like Marlin, Klipper runs the high-level printer logic on a Raspberry Pi or similar SBC (Single Board Computer), while a lightweight microcontroller firmware handles only low-level real-time tasks. This separation can dramatically increase print speeds, improve print quality, and unlock advanced features like input shaping and pressure advance.
What You Need to Get Started
To install Klipper on your 3D printer, you’ll need:
- A compatible 3D printer (most popular models are supported)
- A Raspberry Pi (recommended: Pi 3 or newer) with a microSD card
- Screen or SSH access to your Pi
- Basic tools: USB cable, SD card reader, and access to your printer’s mainboard
Familiarity with command-line interfaces is helpful but not strictly required, as many guides and utilities make the process beginner-friendly.
Step 1: Prepare the Raspberry Pi
Start by flashing a fresh Raspberry Pi OS (Lite is sufficient) to your microSD card. Connect the Pi to your network and either use a keyboard and monitor or SSH into it. Update your Pi:
sudo apt update
sudo apt upgrade
Optional but helpful: Change your default password and set a static IP for easier access later.
Step 2: Install Klipper and Mainsail/Fluidd
Klipper works best with web interfaces like Mainsail or Fluidd for easy configuration and monitoring. Use the [KIAUH installer](https://github.com/th33xitus/kiauh) for a streamlined setup:
git clone https://github.com/th33xitus/kiauh.git
cd kiauh
./kiauh.sh
Within the installer, select Klipper, then Moonraker (an API server), and finally your preferred interface (Mainsail or Fluidd).
Step 3: Flash Klipper Firmware to Your Printer
Each printer and mainboard requires a slightly different process, but the general steps are:
- Find out your mainboard’s Microcontroller Unit (MCU) details (e.g., STM32F103, Atmega2560).
- Run Klipper’s configuration tool on the Pi:
cd ~/klipper
make menuconfig
Set the MCU type and communication interface (usually USB or serial).
- Build the firmware:
makeThe output firmware file will be located in
out/. - Flash the firmware to your board. For many boards, you’ll copy the firmware file (e.g.,
klipper.bin) onto an SD card, insert it into the printer, and reboot.
Follow your specific mainboard’s instructions. Klipper’s documentation is excellent for model-specific tips.
Step 4: Configure printer.cfg for Your Printer
Klipper uses a single printer.cfg file to define all printer parameters. Start with a sample configuration from Klipper’s config repository or your mainboard’s manufacturer. Upload this file via your web interface.
Edit printer.cfg to specify:
- Stepper pin assignments
- Bed and nozzle thermistor types
- Endstop configuration
- Printer dimensions and axis limits
- Any custom hardware (BLTouch, filament sensor, etc.)
Restart Klipper and verify connectivity. Most web UIs will display errors if the config is incorrect, making it easy to troubleshoot.
Step 5: Calibrate and Enable Performance Features
Here’s where Klipper shines! Advanced tuning unlocks serious speed gains:
- Input Shaping: Reduces ringing/ghosting. Use the built-in [Resonance Compensation](https://www.klipper3d.org/Resonance_Compensation.html) tools with an accelerometer or manual test prints.
- Pressure Advance: Compensates for extrusion lag at high speeds. Follow Klipper’s guide for tuning pressure advance.
- Max Acceleration & Speed: Gradually increase these values and observe your printer’s behavior. Klipper’s real-time graphing helps find stable limits.
Always test new settings with small prints before committing to larger jobs.
Troubleshooting Tips
- If Klipper does not connect, double-check your USB cable and port—poor cables are a common culprit.
- Carefully review error messages in the web UI; they are usually descriptive and point to specific configuration issues.
- Start with conservative speed and acceleration values. Increase gradually to avoid mechanical or print quality issues.
- Backup your
printer.cfgfrequently after successful changes.
Enjoy Faster, Smarter 3D Printing
Once dialed in, Klipper can dramatically cut print times—often by 2x or more—without sacrificing print quality. Input shaping and pressure advance are game changers, especially for fast prototyping. With regular updates and a vibrant community, Klipper is an excellent choice for anyone ready to take their 3D printing to the next level.
If you have any questions about Klipper setup for your specific printer model, feel free to ask in the comments below!
Leave a Reply