
Introduction: The Power of Smartphone 3D Scanning
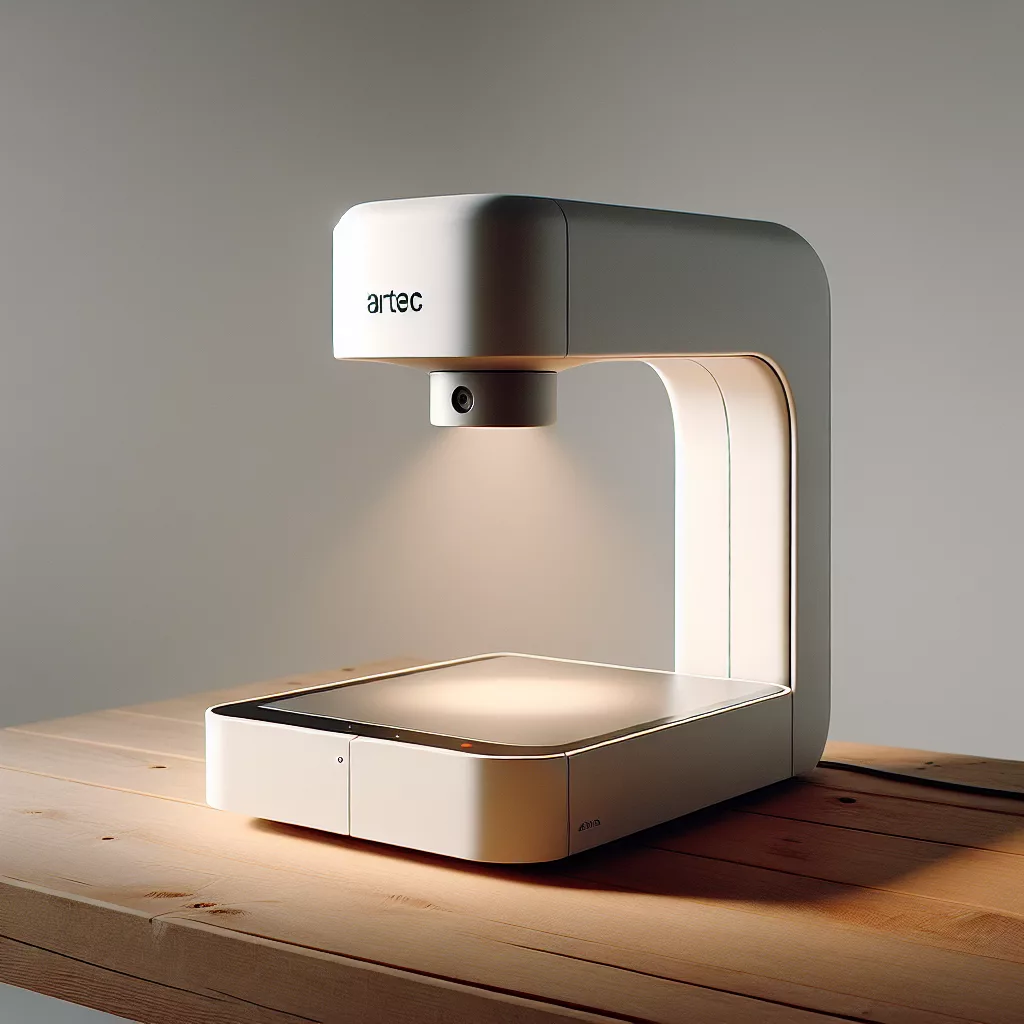
3D scanning has revolutionized the way we capture real-world objects for 3D printing. While professional scanners can be pricey, today’s smartphones offer surprisingly powerful solutions in the palm of your hand. With the right apps and techniques, you can scan everyday objects and bring them to life with your 3D printer. In this article, I’ll guide you through scanning objects for 3D printing using your smartphone, drawing on years of hands-on experience in the 3D printing field.
What You Need to Get Started
Before diving in, make sure you have the following:
- A modern smartphone (iOS or Android) with a good camera
- A 3D scanning app (such as Qlone, Polycam, or Trnio)
- Good lighting and a clutter-free area
- Optional: A turntable to make scanning smoother
Step 1: Choosing the Right 3D Scanning App
There are several 3D scanning apps available for smartphones. Here are some top choices:
- Qlone: User-friendly and perfect for beginners. Requires you to print a scanning mat.
- Polycam: Great for iPhones with LiDAR, but works with photogrammetry on most smartphones.
- Trnio: Easy to use and produces good quality meshes.
Most apps work by capturing multiple photos from different angles and then stitching them together using photogrammetry. For iPhones and some high-end Androids with depth sensors, scanning can be even more streamlined.
Step 2: Preparing the Object and Environment
Preparation is crucial for successful scans:
- Lighting: Ensure the object is evenly lit to avoid harsh shadows or bright spots. Natural daylight is ideal.
- Background: Use a neutral, clutter-free background. This helps the app focus solely on your object.
- Matte Finish: Shiny or transparent objects are difficult to scan. Apply a temporary matte spray or use baby powder if necessary.
- Stability: Place your object on a stable surface or a turntable for easy rotation.
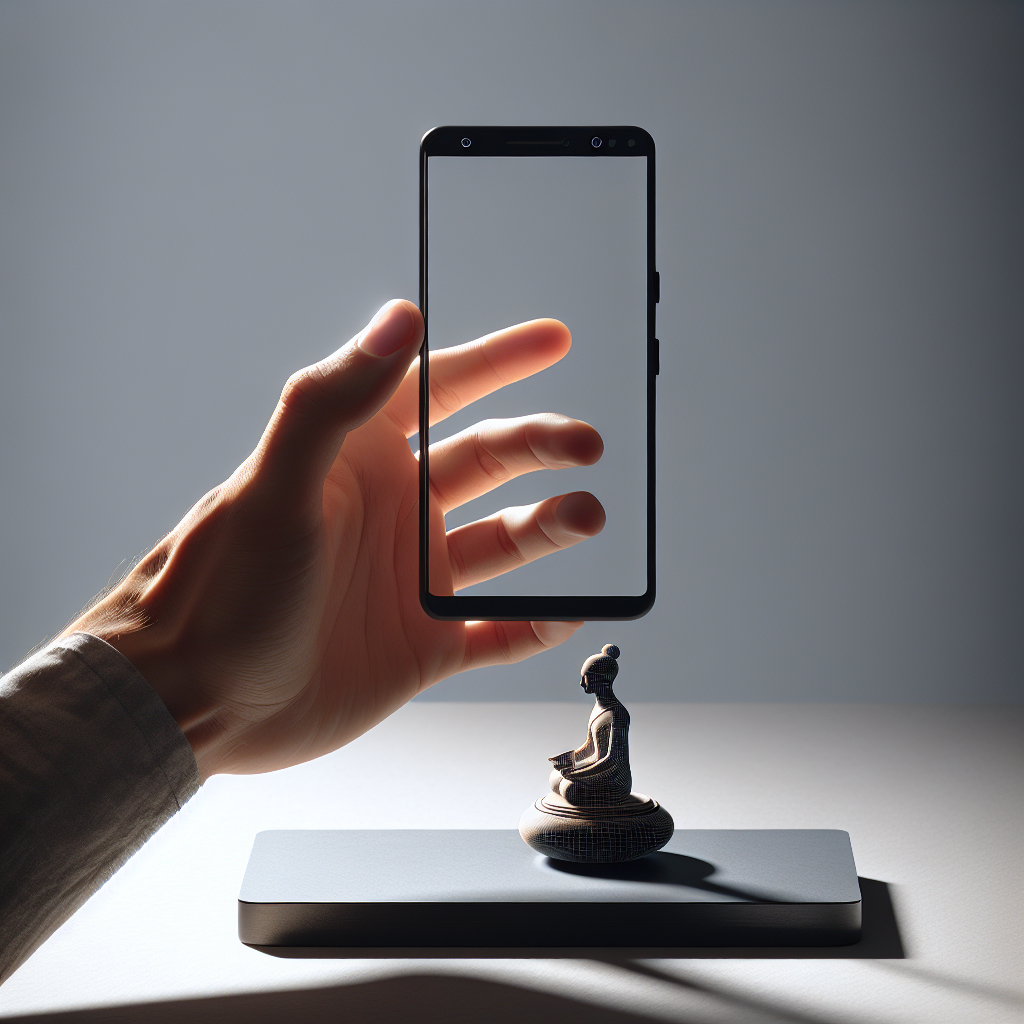
Step 3: Scanning Technique
Follow these tips for best results:
- Start Your App: Launch your chosen 3D scanning app and follow its prompts.
- Move Smoothly: Move your smartphone slowly and steadily around the object, capturing every angle. Overlapping images help the app stitch together an accurate model.
- Capture All Sides: Don’t miss the top or bottom. If possible, scan the object once, then carefully flip it to scan the other side. Some apps allow you to merge multiple scans.
- Check Progress: Many apps provide real-time feedback. Watch for areas that need more coverage and rescan as needed.
Step 4: Processing and Exporting Your 3D Model
Once you’ve captured all necessary images, the app will process them into a 3D model. This may take a few minutes depending on your phone and app.
When the model is ready:
- Inspect the Mesh: Preview the model for holes, distortions, or missing areas.
- Edit if Needed: Many apps allow basic editing like cropping, filling holes, or smoothing surfaces.
- Export: Save your model in a 3D printing-friendly format such as .STL or .OBJ. Most apps provide easy export options via email, cloud services, or direct file transfer.
Step 5: Preparing for 3D Printing
Before printing, import your scanned model into a slicer (like Cura, PrusaSlicer, or Lychee). Here’s what to check:
- Scale: Adjust the size of your model to fit your printer’s build volume.
- Mesh Repair: Run a mesh analysis to ensure the model is watertight and printable. Use tools like Microsoft 3D Builder or Meshmixer if fixes are needed.
- Orientation and Supports: Orient the model and add supports as required for successful printing.
Common Challenges and Pro Tips
From my own experience, here are a few tips to maximize your results:
- Avoid Reflective Surfaces: They can confuse the app and cause poor quality scans.
- Practice Makes Perfect: Your first scan might not be perfect. Experiment with lighting and motion for best results.
- Try Different Apps: Not all apps handle every object equally well. Test a couple for each project.
- Post-Processing: Don’t hesitate to touch up your model in 3D editing software before printing.
Conclusion: Bringing the Real World Into 3D Printing
Scanning objects for 3D printing with your smartphone is now more accessible than ever. With a bit of patience and the right technique, you’ll be able to replicate, modify, or preserve real-world objects for your creative projects. Give it a try—you might be surprised at just how powerful your phone can be as a 3D scanning tool!
Leave a Reply