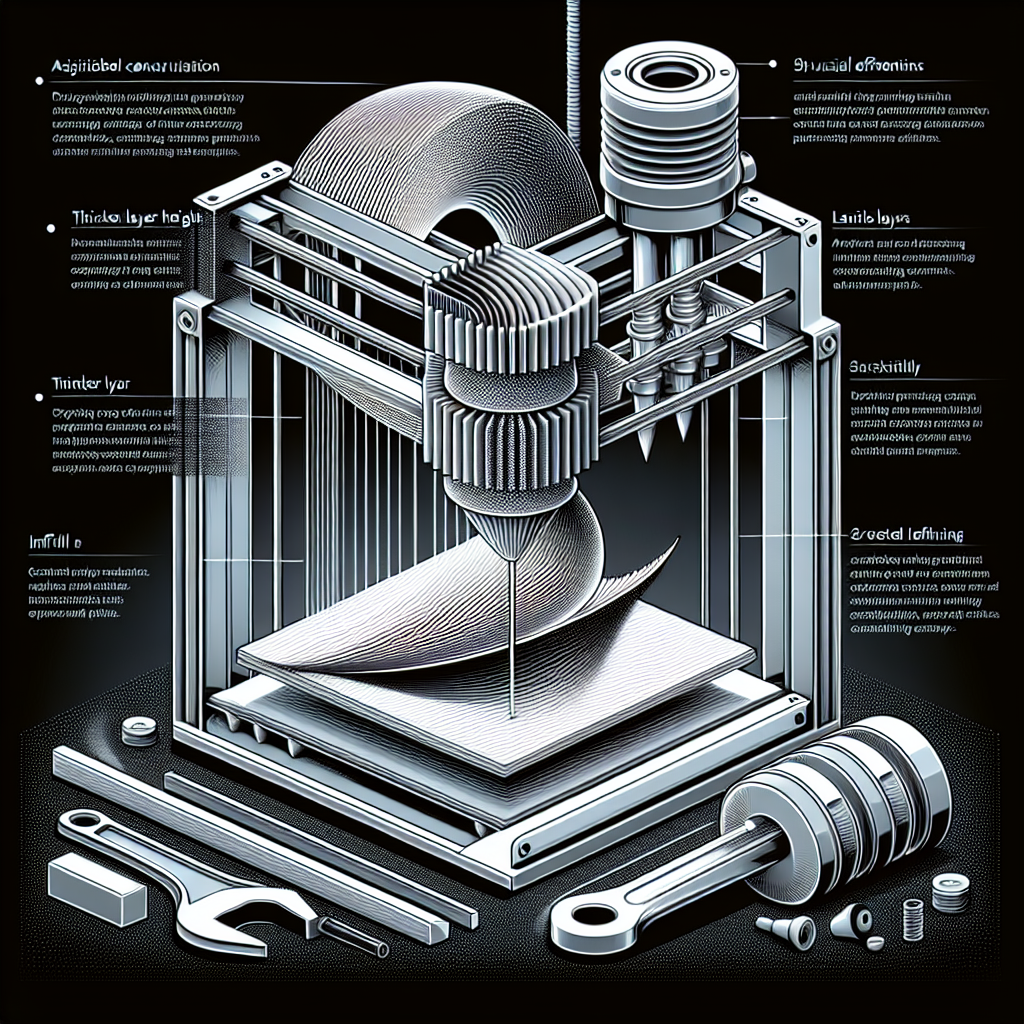
Understanding the Print Time vs. Quality Dilemma
One of the most common challenges faced by 3D printing enthusiasts and professionals alike is finding the sweet spot between rapid production and immaculate print quality. While faster prints are enticing for productivity, they often threaten to compromise the fine details and surface finish that define a successful project. Fortunately, with some strategic adjustments and a deep understanding of slicing settings, you can reduce print time significantly without sacrificing the quality your project deserves.
Optimize Layer Height for Speed and Detail
Layer height is one of the most influential factors in both print speed and quality. Thicker layers (e.g., 0.2mm or 0.3mm) reduce print time by requiring fewer passes, but can result in visible stepping on curved surfaces. For many functional parts or prototypes, using a 0.2mm layer height can offer a great compromise, providing both speed and reasonable surface quality. Reserve finer layer heights (like 0.1mm or below) for models where surface detail is paramount.
Adjust Infill Density and Patterns
Infill plays a critical role in structural integrity but is often overused. For non-load-bearing models, reducing infill density (to around 10–15%) can drastically cut print times. Additionally, choosing efficient infill patterns—like lines or grid—instead of more intricate options (like gyroid or cubic) speeds up the print without major sacrifices to strength for many applications. For visible parts, remember that infill affects weight and strength more than surface appearance.
Leverage Adaptive Layer Heights
Many modern slicers, such as Cura and PrusaSlicer, offer adaptive or variable layer height features. This setting automatically lowers the layer height for areas with curves or fine details, while increasing it for flat or less detailed sections. As a result, you maintain quality where it matters most, while accelerating the bulk of the print.
Increase Print Speed—But Wisely
Simply ramping up print speed settings in your slicer (e.g., moving from 50mm/s to 70mm/s) can reduce print times, but beware of going too fast. Excessive speed can cause missed steps, poor layer adhesion, and ringing artifacts. Incrementally raise your speed and perform test prints to find the maximum reliable threshold for your printer and material. For external perimeters, keep speeds lower to maintain surface quality, but you can increase speeds for infill, support, and internal walls.
Modify Shell Settings for Smart Savings
Often, prints use more perimeters (shells) than necessary. Reducing the number of outer walls from three to two can shave off significant time, especially on large prints. For models not requiring high strength or watertightness, this adjustment is typically safe and results in minimal impact on overall appearance.
Utilize Draft or Preview Modes for Prototypes
When rapid prototyping, consider using your slicer’s draft or preview modes. These modes optimize all settings for speed, allowing you to quickly assess form and fit before committing to a high-detail final print. This approach saves both time and material in early stages.
Optimize Support Structures
Support material can drastically increase print time. Always orient your model to minimize the need for supports. When supports are necessary, use the minimum density and interface layers required for successful removal and surface finish. Tree supports or custom supports can often reduce both print time and post-processing effort.
Efficient Bed Placement and Multiple Objects
When printing multiple objects, arrange them efficiently on the build plate. Printing objects one at a time (sequential printing) can sometimes be faster and yield higher quality than printing all objects simultaneously, depending on your printer and slicer capabilities.
Maintain Your Printer
A well-maintained machine prints faster and with better quality. Regularly check for loose belts, lubricate rails, and ensure your extruder is clean. This not only improves print quality but allows you to safely push speed and acceleration limits.
Conclusion: Balance and Experimentation is Key
Reducing 3D print time without sacrificing quality is a nuanced process that involves understanding and balancing various settings. By optimizing layer heights, infill, shell settings, and supports, and by maintaining your printer, you can significantly cut down on print times while preserving the detail and integrity of your final product. The best results come from continual experimentation—test, tweak, and refine your approach for each unique project.


Leave a Reply