
Understanding Polycarbonate Filament: The Basics
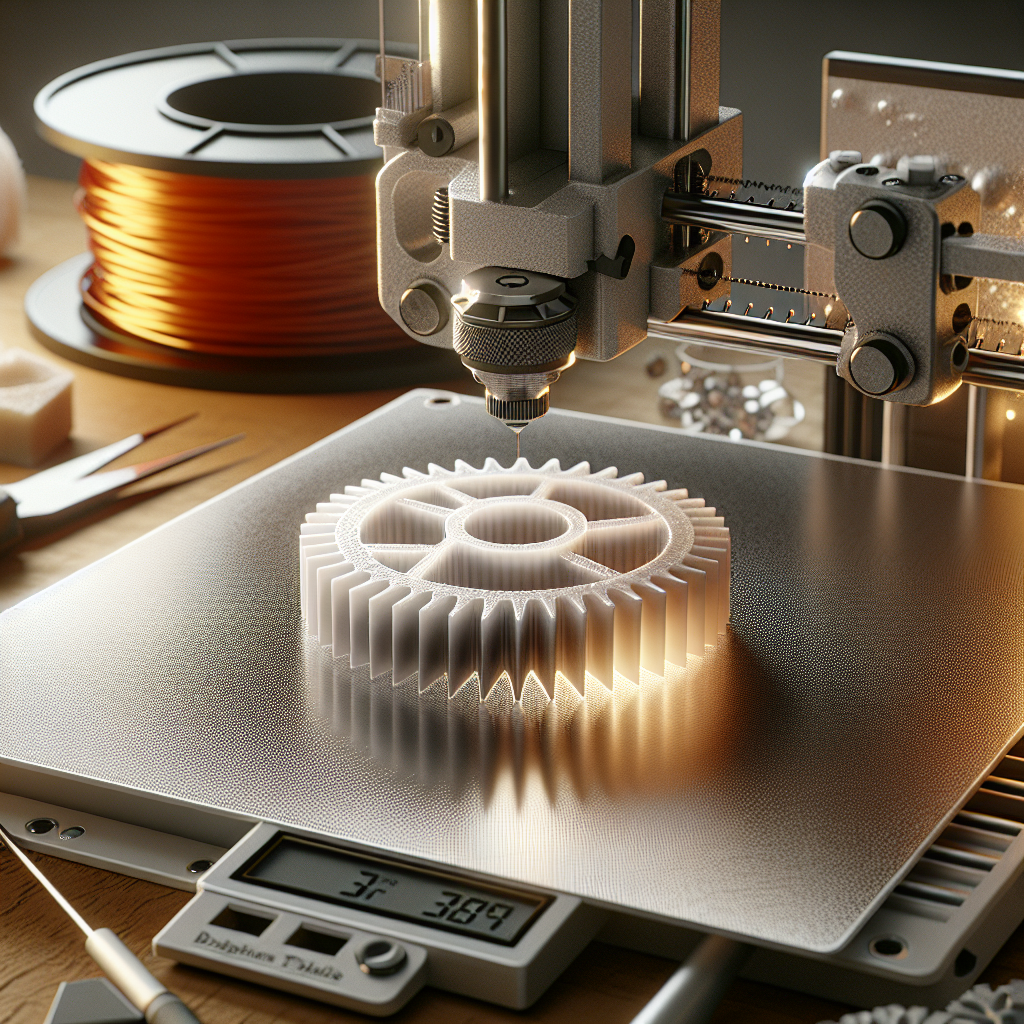
Polycarbonate (PC) is one of the most robust and versatile thermoplastics available in the 3D printing world. Renowned for its high impact resistance, optical clarity, and impressive heat tolerance—often exceeding 110°C—polycarbonate is a prime candidate for producing functional prototypes, engineering parts, and any high-strength application where durability is crucial. However, printing with PC is not as straightforward as common materials like PLA or PETG. With my years of hands-on 3D printing experience, here’s what you need to know to master polycarbonate printing.
Why Choose Polycarbonate for High-Strength Parts?
Polycarbonate’s unique properties make it a game-changer for parts demanding mechanical strength:
- Impact Resistance: Up to 250 times stronger than glass and nearly unbreakable under most use cases.
- Thermal Stability: PC maintains its shape and strength at elevated temperatures, making it suitable for automotive and industrial parts.
- Chemical Resistance: Withstands a wide range of chemicals and environmental factors.
- Transparency: When printed with fine-tuned settings, PC delivers optical clarity, ideal for light diffusers and protective covers.
Preparing Your 3D Printer for Polycarbonate
Printing polycarbonate comes with a set of requirements that not all printers meet out-of-the-box. Here’s how to set yourself up for success:
1. Hotend and Nozzle Selection
Polycarbonate requires extrusion temperatures between 260°C and 310°C. Ensure your hotend is rated for these temperatures. An all-metal hotend is highly recommended, as PTFE-lined hotends can degrade above 250°C, releasing toxic fumes.
Use a hardened steel or high-quality stainless steel nozzle, especially if you’re using polycarbonate blends with abrasive fillers.
2. Heated Bed and Build Surface
Set your heated bed between 100°C and 120°C. Polycarbonate has a high tendency to warp, so maintaining bed adhesion is critical. For the build surface:
- Polycarbonate Sheet (Lexan): Provides exceptional adhesion, but can be expensive.
- PEI Sheet: Offers a good balance of cost and performance.
- Glue Stick or Hairspray: Applied on glass, can help prevent warping, but requires careful cleanup.
Additionally, consider using an enclosure to stabilize ambient temperature and prevent drafts, which can cause layer splitting.
3. Filament Storage
Polycarbonate is hygroscopic—it absorbs moisture from the air, leading to weak prints and poor surface finish. Always store PC filament in a sealed, desiccated container and dry before printing (3-6 hours at 80-90°C in a filament dryer or oven).
Optimizing Print Settings for Strong, Reliable PC Prints
1. Temperature Settings
- Nozzle Temperature: 260–310°C (Check your filament manufacturer’s recommendation)
- Bed Temperature: 100–120°C
- Enclosure: Strongly recommended; maintain chamber temperature at 40–60°C if possible
2. Print Speed and Layer Height
Print at 30–50mm/s for best results. For maximum strength, use layer heights between 0.15–0.25mm—lower heights improve interlayer adhesion.
3. Cooling and Fans
Turn off part cooling fans, or use them minimally (maximum 20%). Excess cooling leads to warping and poor layer bonding.
4. First Layer Adhesion
Increase the first layer height (0.2–0.3mm) and slow the first layer speed (10–20mm/s). Use a brim or raft for larger parts to minimize warping.
Tips and Tricks for High-Strength Polycarbonate 3D Prints
- Wall and Infill Settings: Increase wall count to 3–5 perimeters and use at least 35% infill for functional parts. For maximum strength, use 100% infill.
- Dry Your Filament: Even brief exposure to humidity can compromise PC quality. Always dry before printing.
- Ventilation: Print in a well-ventilated area or use proper fume extraction, as PC can emit unpleasant odors at high temperatures.
- Post-Processing: Polycarbonate sands and drills well. For transparent parts, flame polishing can restore clarity, but practice on scrap material first.
Common Challenges and How to Overcome Them
1. Warping
Polycarbonate contracts significantly as it cools. To reduce warping:
- Print in an enclosure.
- Use a brim or raft.
- Avoid drafts and temperature fluctuations.
2. Layer Splitting
Increase nozzle temperature and disable part cooling fans. Slow down print speed and avoid printing very tall, thin parts.
3. Poor Bed Adhesion
Double-check bed leveling, clean the build surface, and try using specialized adhesives if needed.
Applications: Where Polycarbonate Shines
Polycarbonate is ideal for:
- Functional prototypes and engineering samples
- Protective housings and enclosures
- Automotive and aerospace components
- Lighting fixtures and transparent covers
- End-use mechanical parts subject to impact or heat
Conclusion
Mastering polycarbonate in 3D printing unlocks a world of possibilities for high-strength, durable parts. The material demands a well-tuned printer, careful preparation, and the right environment, but rewards you with professional-grade results. With these tips and best practices, you’ll be ready to tackle demanding applications and explore the full potential of polycarbonate for your next high-performance project.
Leave a Reply