
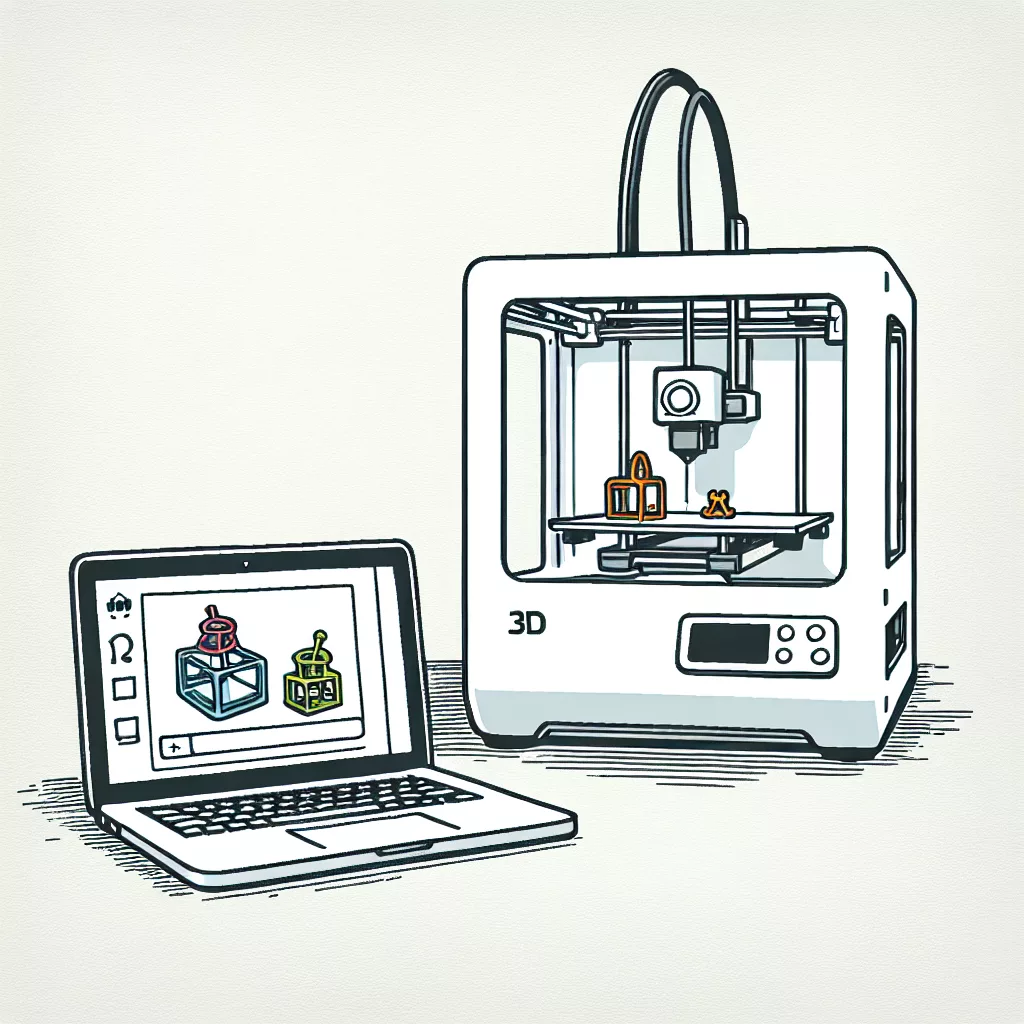
Introduction to Printing Transparent 3D Parts
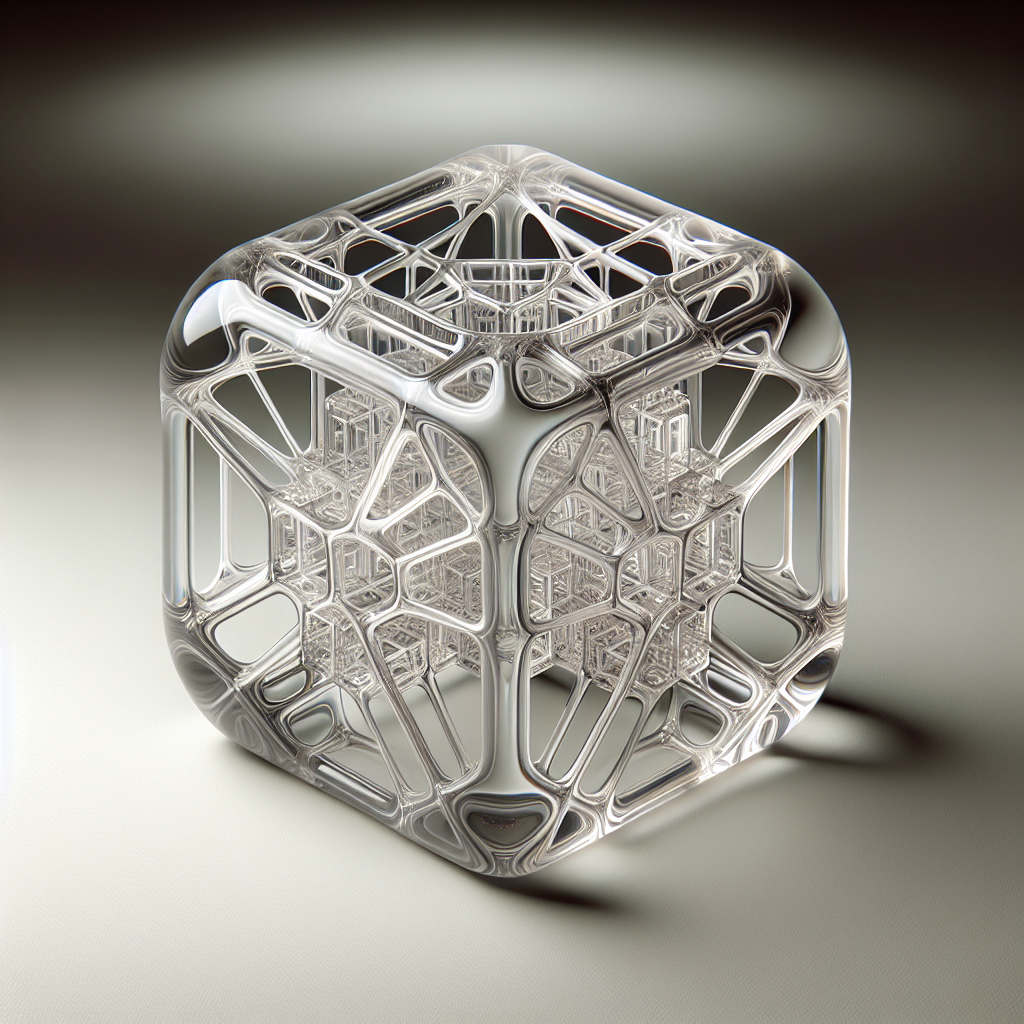
Transparent and clear 3D printed parts open a wide spectrum of possibilities, from decorative components and lenses to prototype casings and visual aids. Achieving transparency can be challenging due to the inherent properties and limitations of 3D printing technology. Fortunately, there are certain techniques and methods you can employ to drastically improve the clarity and transparency of your 3D prints. This guide will explore the best practices and tips to help you produce transparent parts successfully.
Selecting the Right Material for Transparency
Not all filament materials are created equal when it comes to transparency. To achieve clear, transparent prints, selecting appropriate materials is crucial.
- PETG (Polyethylene Terephthalate Glycol): PETG is widely known for its excellent transparency, durability, and ease of printing. PETG filament comes in clear forms and produces excellent results with minimal post-processing.
- Clear Resin: If you’re using resin-based SLA (Stereolithography) or DLP (Digital Light Processing) printers, a dedicated clear photopolymer resin is the optimal choice for ultimate transparency. Clear resins offer unmatched clarity, particularly after post-processing and polishing.
- Polycarbonate (PC): Polycarbonate filament provides high transparency and strength. However, PC typically requires higher printing temperatures and a heated enclosure to achieve optimal clarity.
- PLA (Polylactic Acid): Clear PLA is easy to print and affordable but tends to be milky and less transparent compared to PETG or polycarbonate. With significant post-processing, however, PLA transparency can improve noticeably.
Optimizing Print Settings for the Best Transparency
Proper configuration of your 3D printer settings is essential for achieving clear results:
- Increase Layer Height: Thicker layers mean fewer layer lines, potentially improving overall transparency. Layers around 0.2-0.3mm often yield better clarity than ultra-fine layers.
- Maintain High Temperatures Within Recommended Range: Ensure the filament or resin is fully melted or cured; insufficient heat may result in cloudiness or reduced transparency.
- Slow Down Your Print Speed: Printing at slightly slower speeds can help reduce bubbles or uneven extrusion, increasing the clarity of the final print.
- Avoid Excessive Infill and Perimeters: Reducing infill and wall thickness where possible minimizes internal reflections and haziness. Ideally, use 100% infill for thin-walled parts or zero infill with carefully controlled wall thickness for hollow parts.
- Adjust Fan Speeds: For filaments like PETG, slightly reducing fan speed can help layers fuse better, improving transparency. However, balance this carefully to avoid sagging or deformation.
Post-processing to Enhance Transparency
Even prints from optimized settings may need additional finishing touches to reach perfect transparency:
- Sanding and Polishing: Sanding your print progressively from lower grit (200-400) to higher grit (600-3000) removes visible surface imperfections. Wet-sanding is recommended to improve results further. After sanding, polish with a plastic polish or buffing compound to achieve a glass-like finish.
- Clear Coatings and Varnishes: Applying a clear coat or varnish after sanding can drastically improve clarity by filling in microscopic surface imperfections. Automotive clear-coats, epoxy coatings, or acrylic sprays are affordable and effective options.
- Resin Dipping Technique (For SLA Prints): For resin prints, dipping parts in clear resin followed by curing in UV light can dramatically improve clarity by smoothing imperfections and creating a uniform, glassy surface finish.
- Heat Treatment (Annealing): Carefully using heat (oven or heat gun) can slightly melt the outer surface, improving transparency. However, excessive heating can deform or warp printed parts, so proceed with caution and test on sample prints first.
Common Challenges and Tips to Overcome Them
- Cloudiness and Hazing: Usually due to moisture absorption or improper temperature. Always dry your filament thoroughly before printing and ensure correct temperature settings.
- Internal Bubbles and Voids: Caused by excessive moisture or air entrapment. Use dry material, check your extruder settings, slow your printing speed, and fine-tune retraction settings.
- Layer Lines Affecting Clarity: Adjust layer thickness, layer height, and temperature to minimize visible lines. Post-processing through sanding and polishing remains the most effective solution.
Conclusion: Achieving Crystal-Clear Results
Producing transparent and clear 3D printed parts requires a combination of careful material choice, optimized printing settings, and diligent post-processing. Experimentation and patience are keys to mastering the art of transparent 3D printing. By following these tips and methodologies, you will be well on your way to creating professional, crystal-clear 3D printed components suitable for prototypes, functional products, or artistic endeavors.
Leave a Reply