
Understanding Multi-Color 3D Printing Without a Multi-Extruder
If you’ve ever admired vibrant, multi-colored 3D prints, you might assume these are only possible with expensive multi-extruder or multi-material machines. However, as a seasoned 3D printing enthusiast, I can assure you that stunning multi-color prints are achievable on standard, single-extruder printers with some planning, creativity, and hands-on effort. Let’s explore the reliable methods and best practices to achieve multi-color 3D models without a multi-extruder.
Why Print Multi-Color Models?
Multi-color prints bring your models to life, adding realism, detail, and personality to your projects. Whether you’re making figurines, signage, or prototypes, adding color directly in the printing process saves post-processing time and can enhance both aesthetic and functional aspects.
Popular Methods for Multi-Color Printing on Single-Extruder Printers
There are several tried-and-true approaches you can use:
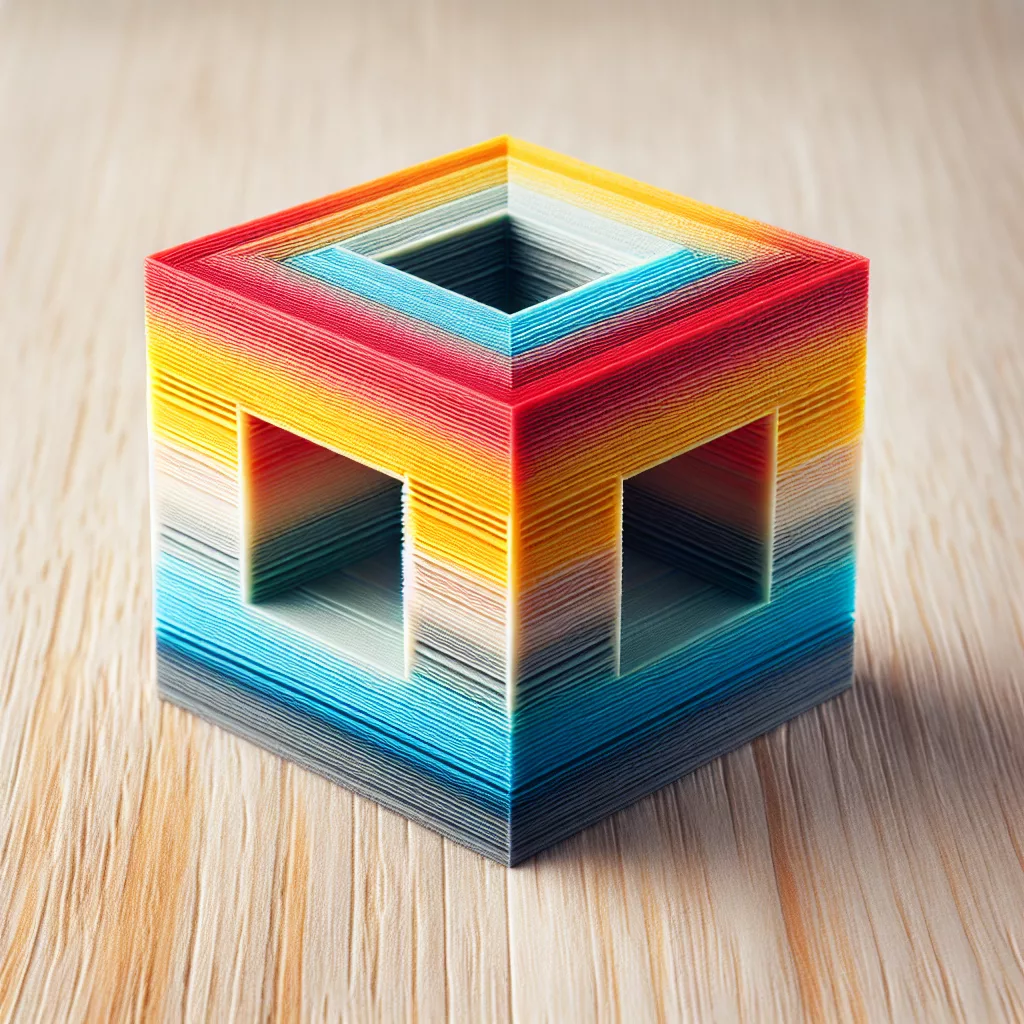
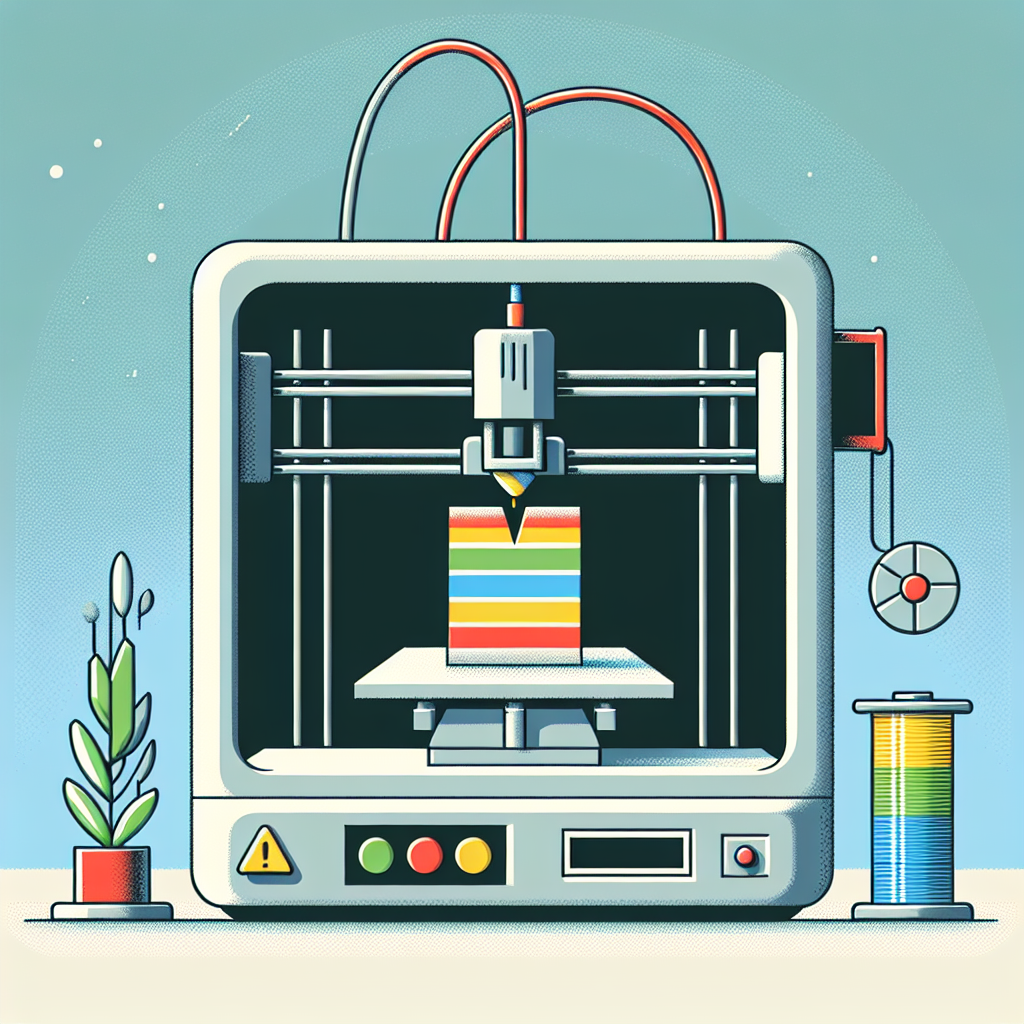
1. The Filament Swap (Pause and Change)
This is the most common and accessible method. Here’s how it works:
- Design for Color Changes: Your model needs clear layer or section breaks where colors change. This works best for models with horizontal color transitions.
- Pause the Print: Most slicers (like Cura, PrusaSlicer, or Simplify3D) allow you to insert “pause at height” or “change filament” commands at chosen layers. You can either automate this in the slicer or manually pause your printer mid-print.
- Swap Filament: When your printer pauses, carefully unload the current filament and load the new color. Purge the nozzle to ensure clean extrusion, then resume printing.
This technique is ideal for models with distinct stripes or sections, such as flags, nameplates, or simple figurines.
2. The Mosaic/Multi-Part Assembly Approach
For more complex models, split your design into separate parts by color in your CAD software or a tool like Meshmixer or Tinkercad. Print each part in its corresponding color, then assemble them post-print using glue or interlocking features.
- Best For: Models with color segmentation along non-horizontal axes, or any design where parts can be naturally separated (toys, puzzle pieces, logos).
- Tips: Design alignment features like pins and holes to make assembly easier.
3. The Manual Painting / Post-Processing Route
While not technically “3D printing in color,” painting your finished model is often the simplest way to achieve detailed multi-color results, especially for organic shapes, faces, or intricate designs. Use acrylic paints, spray paint, or even model markers. Sand your print for a smooth finish, prime it, and then apply your colors.
Advanced Techniques for Experienced Makers
4. Coloring Filament Tips (Marker Method)
For subtle gradients or color shifts, some tinkerers use permanent markers to color the filament just before it enters the hot end. While unpredictable, this can create faded or rainbow effects without changing spools.
5. Filament Splicing
You can pre-join different filament colors into a single strand (using a filament welder or a heat source and careful alignment) so your printer naturally transitions between colors. This requires planning – you must calculate how much filament each section will consume and splice accordingly.
6. Using Color Changing (Temperature/UV) Filaments
While not “multi-color” in the traditional sense, temperature-sensitive or UV-reactive filaments shift shades under different conditions and can create dynamic color effects.
Best Practices for Multi-Color Single-Extruder Printing
- Plan Your Model: Consider where the color transitions will occur and design accordingly.
- Use a Reliable Pause/Resume Feature: Not all printers resume perfectly. Test this function before committing to a large print.
- Purge Well After Filament Swaps: Run a purge line to ensure the new color is cleanly extruding, avoiding muddied color transitions.
- Test and Calibrate: Do small test prints to dial in the timing and process for swapping or assembling colored parts.
Recommended Tools and Software
- Slicers with Pause/Filament Change Support: Cura, PrusaSlicer, Simplify3D
- CAD/Remixing Tools: Meshmixer, Tinkercad, Fusion 360
- Superglue/Epoxy: For assembling multi-part prints
- Fine Sandpaper and Acrylic Paints: For post-processing and painting
Conclusion: Creativity is Key
Printing multi-color models without a multi-extruder is absolutely possible. Whether you’re pausing to swap filaments, assembling multi-part designs, or using creative post-processing, the possibilities are only limited by your imagination and willingness to experiment. With a bit of patience and planning, you can create eye-catching, vibrant prints on any desktop 3D printer. Happy printing!
Leave a Reply