
Introduction: The Challenge of Printing Big with Small Printers
Printing large-scale models or functional parts is a common goal among 3D printing enthusiasts and professionals alike. However, many desktop 3D printers come with build volumes that seem restrictive. Fortunately, with a bit of planning, creativity, and the right techniques, you can produce objects much larger than your printer’s bed. Here’s how to achieve impressive results, even on a modestly sized machine.
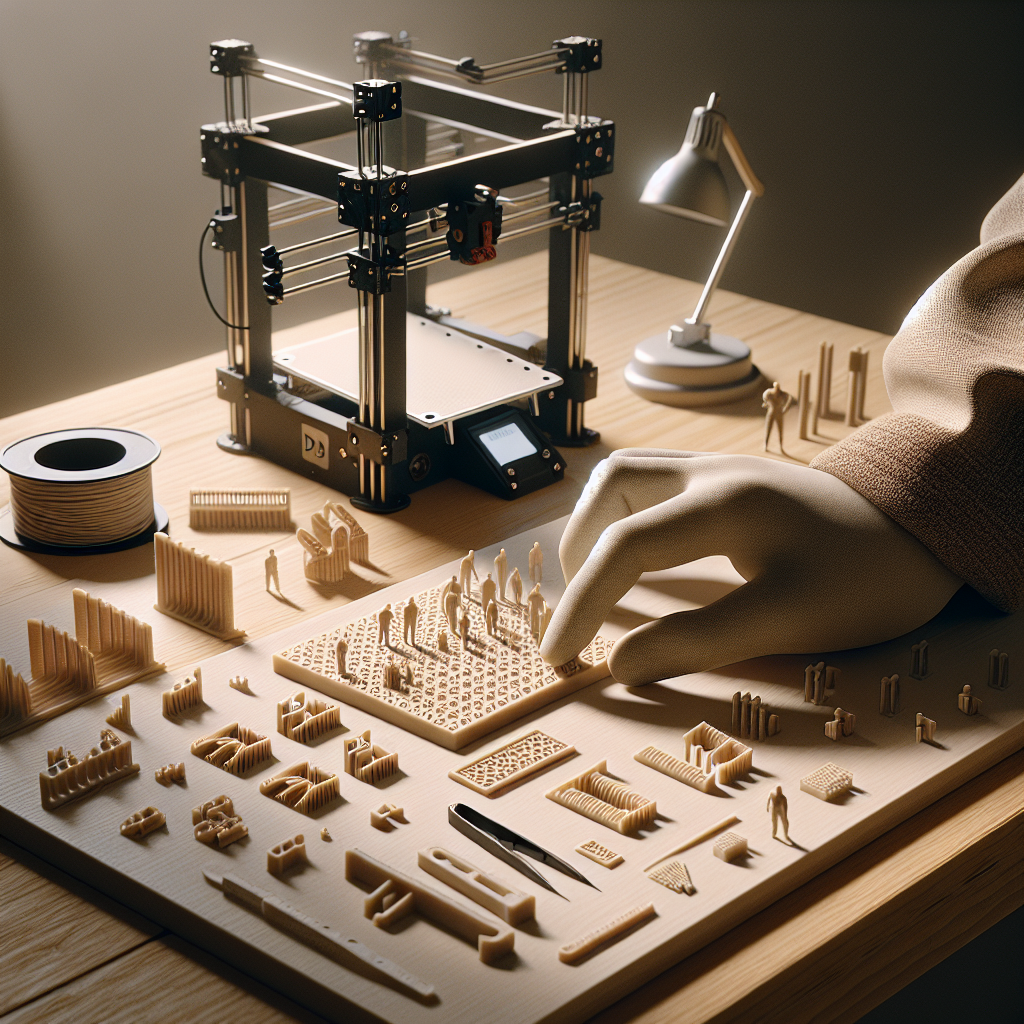
Plan Your Project: Designing for Sectional Printing
The first step in printing oversized objects is to design or modify your model for segmentation. Think of your project as a puzzle—each piece must fit together seamlessly. Use CAD software such as Fusion 360, Tinkercad, or Blender to divide your model into logical sections that fit within your printer’s build volume. Consider the following best practices:
- Strategic Splitting: Place split lines along flat surfaces or hidden areas to minimize visible seams.
- Alignment Features: Add registration keys, such as pegs and slots, to help with alignment during assembly.
- Tolerances: Account for printing tolerances; leave small gaps (typically 0.1–0.3mm) between connecting parts for easier fitting.
Prepare for Printing: Slicing and Orientation
Once your model is segmented, import each part into your preferred slicer (like Cura or PrusaSlicer). Pay special attention to part orientation and support requirements:
- Optimize Orientation: Position each part to minimize overhangs and the need for supports. Flat surfaces should ideally be placed on the print bed.
- Grouping Parts: If space allows, arrange smaller sections to print together, improving efficiency.
- Test Fit: Consider printing small test pieces of your joints or connectors to ensure a good fit before committing to the full run.
Assembly Techniques: Gluing, Welding, and Fasteners
After printing, it’s time to assemble your masterpiece. The joinery method you choose will impact the strength and appearance of your final object.
- Super Glue (CA Glue): Works well for PLA and small flat surfaces. Hold pieces together tightly until set.
- Plastic Welding: For a stronger bond, use a soldering iron to carefully melt and fuse the seam, particularly with ABS or PETG parts.
- Two-Part Epoxy: Ideal for larger or load-bearing segments. Provides a strong, durable bond but requires clamping while curing.
- Mechanical Fasteners: Design your model with screw holes or add bolts for extra rigidity in structural projects.
Finishing Touches: Seam Hiding and Surface Smoothing
Even with careful assembly, you may see seams or small gaps. Here’s how to achieve a professional finish:
- Filler: Use plastic putty or automotive filler to smooth over joints. Let it dry, then sand flush with the surrounding area.
- Sanding: Sand seams with progressively finer grit sandpaper, starting around 120 grit and working up to 400 or higher.
- Painting: Primer and paint can hide minor imperfections and give your project a unified look.
Useful Tools and Materials for Big Builds
Having the right tools on hand streamlines the process. Consider adding these to your 3D printing toolbox:
- Precision hobby knives or deburring tools
- Clamps (spring, bar, or corner clamps)
- Sandpaper in various grits
- Plastic-friendly glue or epoxy
- Optional: soldering iron for plastic welding
- Primer, paint, and brushes or spray cans
Advanced Tips: Interlocking Joints and Modular Design
Take your assemblies to the next level by designing interlocking joints—think dovetails, tongue-and-groove, or snap-fit connectors. Not only do these features strengthen your build, but they also make assembly more precise and sometimes eliminate the need for adhesives altogether. Modular design allows for easy transportation, maintenance, and even future expansions.
Conclusion: Unlock Big Projects with Smart Strategies
Printing large objects on a small 3D printer is entirely possible with thoughtful design and assembly techniques. By segmenting your model, optimizing print orientations, and using effective joining and finishing methods, you’ll be able to tackle ambitious projects without investing in a larger machine. As your skills grow, so will the scale of your creations—no matter the size of your printer!
Leave a Reply