Introduction to Large 3D Models and Printer Limitations
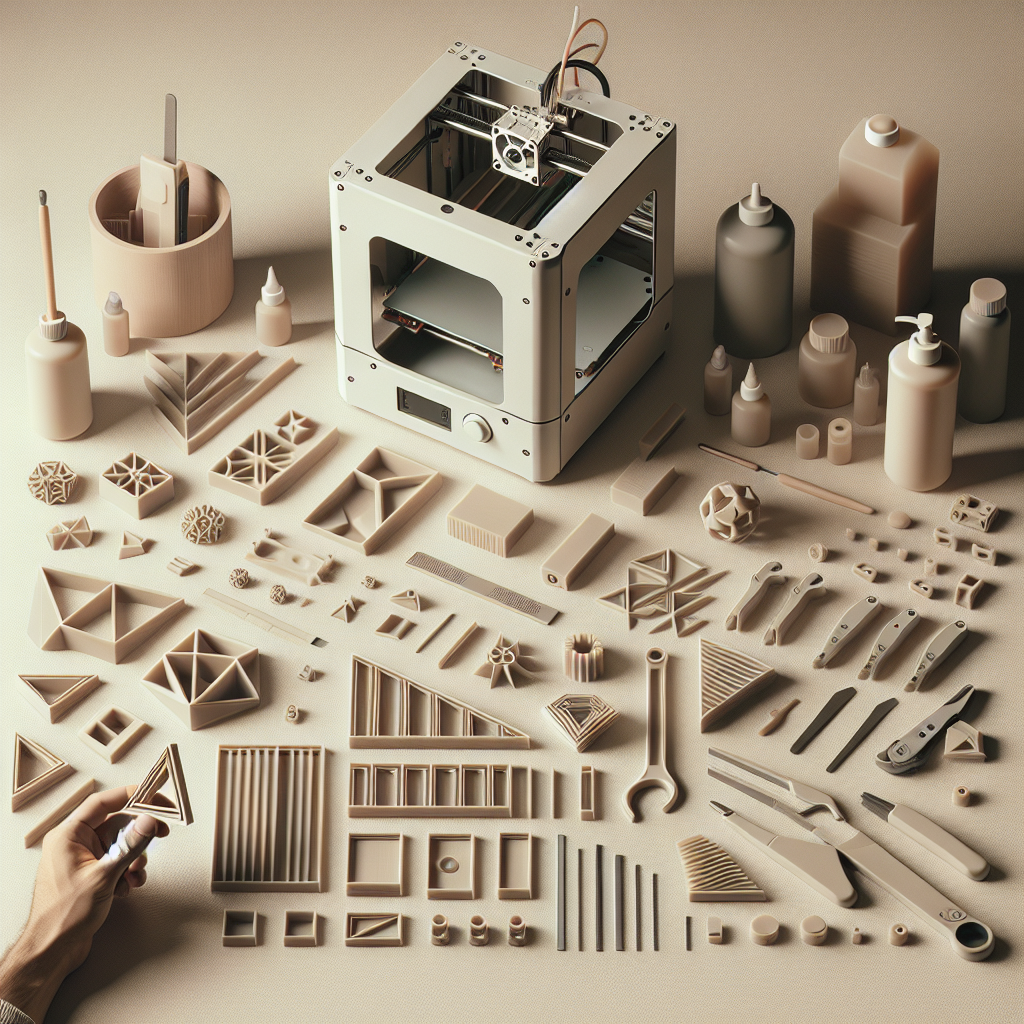
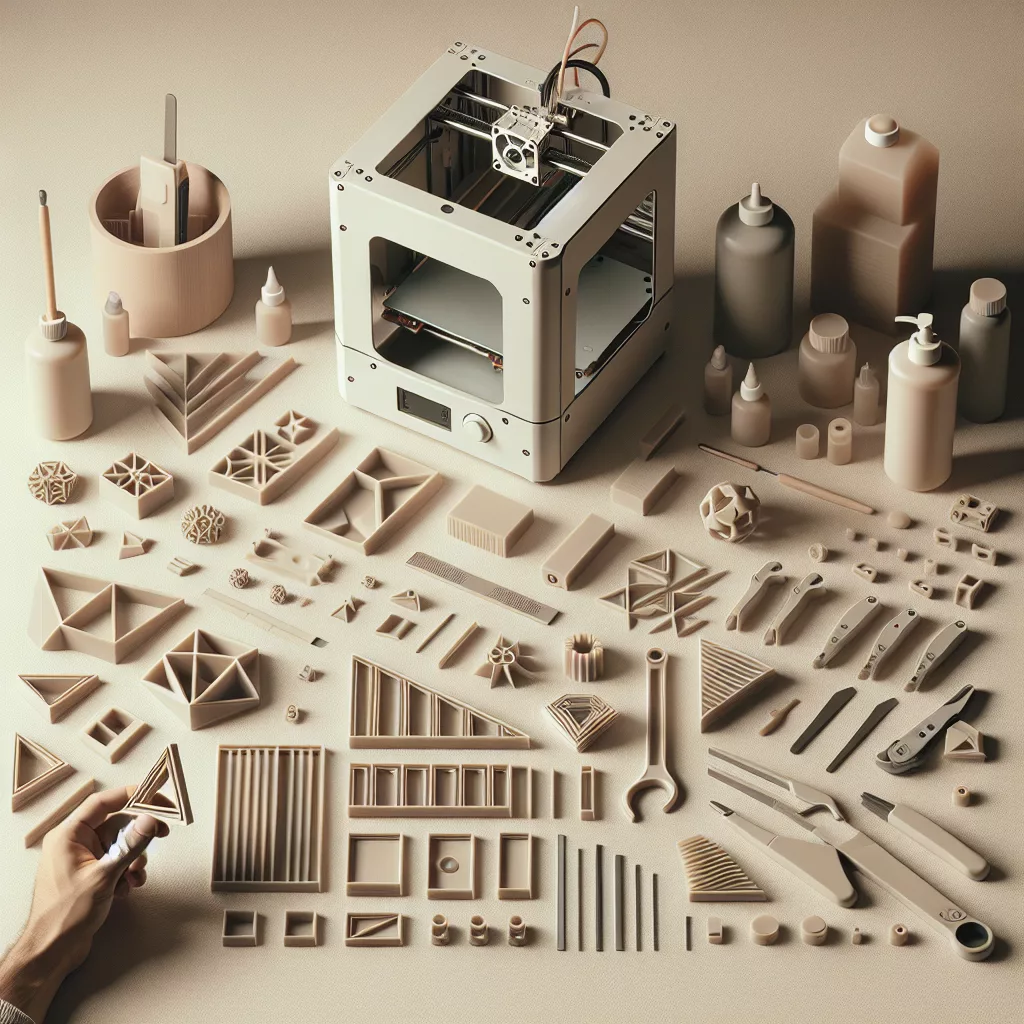
Printing large 3D models can seem daunting without access to a large-format 3D printer. However, limited printer size shouldn’t prevent you from creating impressive projects. By leveraging some simple yet effective techniques, even small desktop 3D printers can tackle ambitious, large-scale prints. Let’s dive into practical methods to accomplish large 3D printing projects with ease.
Why Size Restrictions Don’t Need to Limit Your Projects
Most hobbyist-level 3D printers have a modest print bed size, typically ranging from 150mm to 300mm. While these sizes suffice for many projects, larger items might seem impossible at first glance. However, by strategically dividing your model into smaller segments and precisely reassembling them, you can overcome these constraints and achieve outstanding results.
Step-by-Step Guide to Printing Large Models on a Small 3D Printer
1. Design or Find Your 3D Model
First, locate or design a detailed 3D model of your project. Many online communities like Thingiverse, Printables, or Cults3D offer pre-existing models you can download. Alternatively, you might prefer designing your own using software such as Fusion360, Blender, or SketchUp.
2. Splitting the Model into Smaller Parts
To print large models on smaller machines, you’ll need to split the object into printable segments. You can achieve this with specialized slicing software, such as Meshmixer, Cura, or Simplify3D. Let’s examine how to do this clearly:
- Meshmixer: Import your STL model into Meshmixer and use the “Plane Cut” tool to divide the model cleanly. Ensure alignment pegs or holes are included for easier assembly later on.
- Cura: Cura plugins like “Mesh Tools” or “Custom Supports” allow you to slice a model into multiple pieces and export each separately.
- Simplify3D: Use Simplify3D’s built-in slicing feature to separate large models into manageable parts. Simply position the model and slice it into segments according to your printer’s dimensions.
Aim to create segments that minimize visible seams while ensuring easy-to-print orientations.
3. Optimize Each Segment for Printing
After splitting your model, orient each part on your printer’s bed strategically. Proper orientation ensures minimal support material usage and a cleaner finish. Consider the following tips:
- Orient each piece to minimize overhangs and supports.
- Ensure flat surfaces are placed against the print bed for a sturdy base and good adhesion.
- Fine-tune slicer settings, like layer height, print speed, and infill percentage, to balance printing time and structural integrity.
4. Printing Your Model Pieces
With your segments ready for printing, start producing each part systematically. To achieve consistency:
- Use identical print settings for all parts to maintain uniformity.
- Label or number each segment clearly in your printing software, making assembly straightforward.
- Monitor prints closely, especially initial layers, to ensure quality and adherence.
5. Cleaning and Post-processing
After printing, carefully remove supports and clean each piece thoroughly. Sanding or filing down rough edges or seams ensures a precise fit. For even better aesthetics, consider using primers, fillers, or spray paint to smooth surfaces and hide joint lines.
6. Assembling the Final Model
To assemble your printed parts seamlessly:
- Aligning: Dry-fit all segments first to ensure alignment. Sand or trim parts slightly as necessary for a perfect fit.
- Joining: Adhere segments with strong adhesives, such as cyanoacrylate (super glue), epoxy, or specialized bonding solutions like Weld-On or 3D Gloop.
- Strengthening: Consider reinforcing joints internally with dowels, metal rods, or alignment pins for added durability and stability.
Advanced Tips for Seamless Large-Model Prints
- Design alignment features: Include alignment pegs or holes during the slicing phase, significantly simplifying assembly and strengthening the final product.
- Utilize filler compounds: Automotive body filler, wood filler, or epoxy putties can seamlessly smooth out gaps or seams between assembled pieces.
- Surface finishing: Applying a primer and paint layer helps unify surface texture, minimizing any noticeable segment lines or layer variations.
Conclusion: Creativity Beyond Printer Size
Not having a large-format printer shouldn’t hold back your creativity or ambition. By employing model splitting, precise printing techniques, careful post-processing, and strategic assembly methods, your small printer can confidently produce large-scale, professional-quality 3D models.
With practice, patience, and the right approach, you’ll find yourself pushing the limits of what’s possible with your desktop printer, unlocking endless possibilities for your next big project.


Leave a Reply