Introduction to Flexible and Living Hinges in 3D Printing
Flexible hinges and living hinges are revolutionary features you can create using 3D printing technology. Unlike traditional mechanical hinges, these hinges are integrated into the component itself, offering smooth, frictionless movement without the need for assembly or extra hardware. In this guide, we’ll discuss the essentials of printing durable, functional, and flexible hinges, as well as tips and techniques to enhance your 3D printing results.
What Are Flexible and Living Hinges?
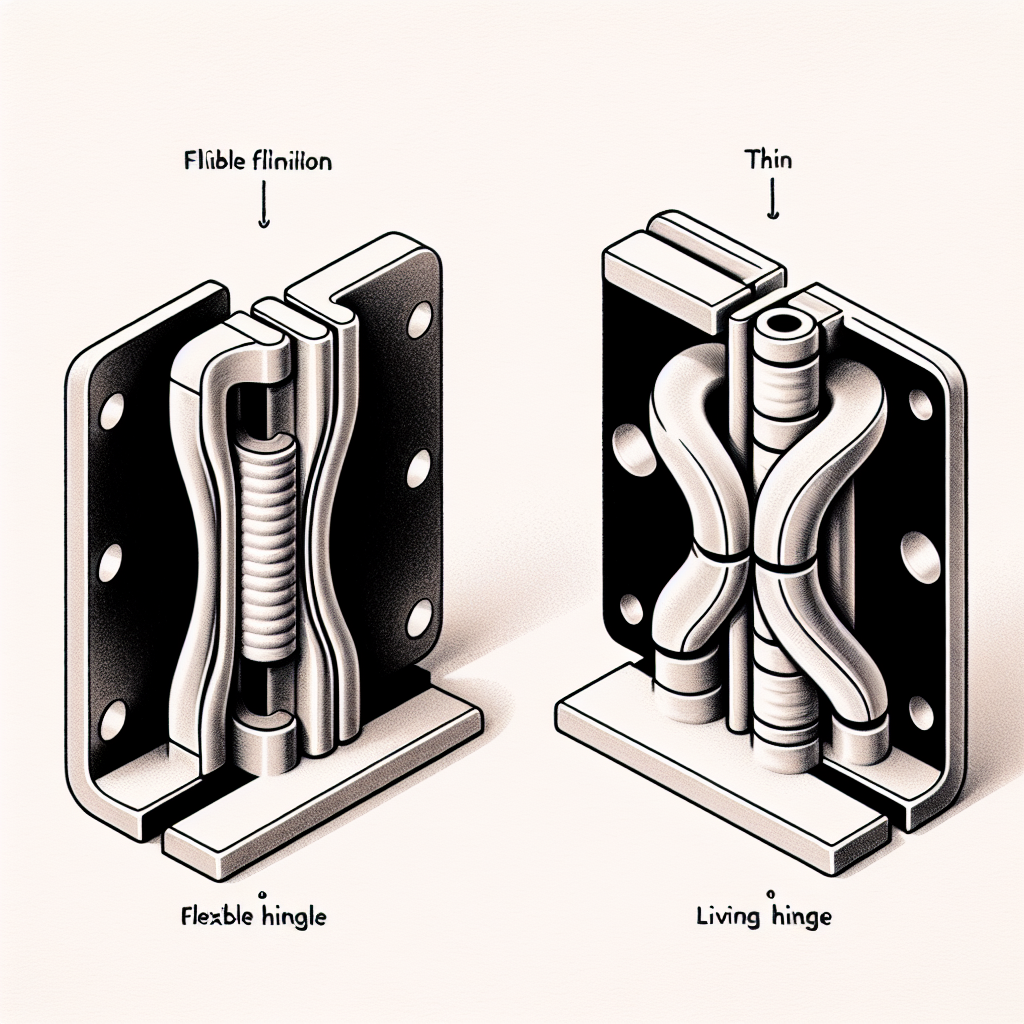
Flexible hinges are designed to bend or flex repeatedly without breaking or deforming significantly. They are generally created using flexible filaments such as TPU (Thermoplastic Polyurethane) or TPE (Thermoplastic Elastomer). These materials provide elasticity, durability, and resistance to fatigue.
Living hinges, on the other hand, are thin sections within rigid parts, printed from semi-flexible or rigid plastics like polypropylene (PP), PETG, or nylon. They rely on precise geometry and thinness to achieve flexibility, enabling repeated bending without breaking or cracking.
Choosing the Right Material
Material selection is crucial when printing flexible or living hinges. Here are some popular choices:
- TPU and TPE: Ideal for flexible hinges due to their high elasticity, durability, and impact resistance.
- Nylon: Excellent strength, flexibility, and fatigue resistance. Good for functional prototypes requiring durability.
- PETG: Offers a balance between flexibility and rigidity, suitable for living hinges that require moderate flexing.
- Polypropylene (PP): Known specifically for its excellent fatigue resistance, widely used in injection-molded living hinges and increasingly popular in 3D printing.
Designing Your Hinges for Successful 3D Printing
The success of flexible and living hinges begins with careful design. Here are essential guidelines:
- Thickness: For living hinges, a thickness of around 0.2 to 0.6 mm generally provides the right balance between strength and flexibility. Flexible hinges in TPU or TPE can be slightly thicker, depending on the desired stiffness and flexibility.
- Geometry: Rounded corners and smooth curves enhance durability by distributing stress evenly, reducing concentrated stress points.
- Build Orientation: Orient hinges parallel to the print bed when possible, which helps achieve uniform layers, better flexibility, and increased durability.
- Layer Height: Using thinner layers (approximately 0.1 to 0.2 mm) results in smooth surfaces and increased flexibility while reducing potential weak points.
Optimizing Print Settings
Correctly tuning your printer settings ensures a hinge that can withstand repeated use without failure. Consider the following:
- Temperature: Slightly increased extrusion temperatures can improve layer adhesion and flexibility. However, too high temperatures may result in stringing or loss of dimensional accuracy.
- Cooling: For flexible materials (TPU, TPE), less cooling often yields better layer adhesion and improved flexibility. For semi-rigid materials like PETG and PP, moderate cooling can help ensure dimensional accuracy.
- Print Speed: Slower printing speeds (around 20-40mm/s for flexible filaments and 40-60mm/s for semi-rigid filaments) enhance print quality and material consistency.
Post-Processing and Improving Durability
A few post-processing steps can significantly improve hinge functionality:
- Annealing: For materials like Nylon and PETG, annealing (controlled heating and slow cooling) can greatly increase durability, flexibility, and fatigue resistance.
- Flexible Coatings: Applying a flexible coating or sealant after printing can enhance durability, reduce surface friction, and improve lifespan in certain applications.
Testing and Validating Your Hinges
After printing and post-processing, test your hinges carefully to ensure functionality and durability. Methods include:
- Repeated Flex Tests: Manually bend your hinge numerous times to simulate typical usage scenarios, checking for stress whitening, cracking, or permanent deformation.
- Load Testing: Apply gentle pressure to assess hinge strength and identify potential stress points and weaknesses before extensive use.
Common Issues and Solutions
Even experienced users occasionally face challenges. Here are solutions to common 3D-printing hinge issues:
- Hinge Cracking or Breaking: Increase hinge thickness slightly, adjust print orientation, or switch to a more flexible material.
- Poor Layer Adhesion: Increase extrusion temperature slightly or reduce cooling fan speed to boost inter-layer bonding.
- Inconsistent Flexibility: Reduce print speed and inspect filament quality; uneven extrusion can compromise hinge integrity.
Final Thoughts and Best Practices
Successfully creating flexible or living hinges in 3D printing is achievable with proper material selection, thoughtful design, careful print settings, and thorough testing. Remember to approach each new design iteratively, making incremental adjustments to find the optimal balance of flexibility, strength, and reliability.
With patience, experimentation, and adherence to these guidelines, you can confidently produce hinges that are not only functional but also durable enough for practical, real-world applications.


Leave a Reply