

Introduction to Post-Processing 3D Prints
Post-processing your 3D prints is a crucial step that transforms ordinary-looking printed objects into professionally finished products. Even the best 3D printers can produce visible layer lines and minor imperfections that require additional steps to achieve a polished, professional appearance. In this guide, we’ll walk through proven techniques and best practices to give your 3D printed creations a smooth, visually appealing finish.
Removing Supports and Rafts
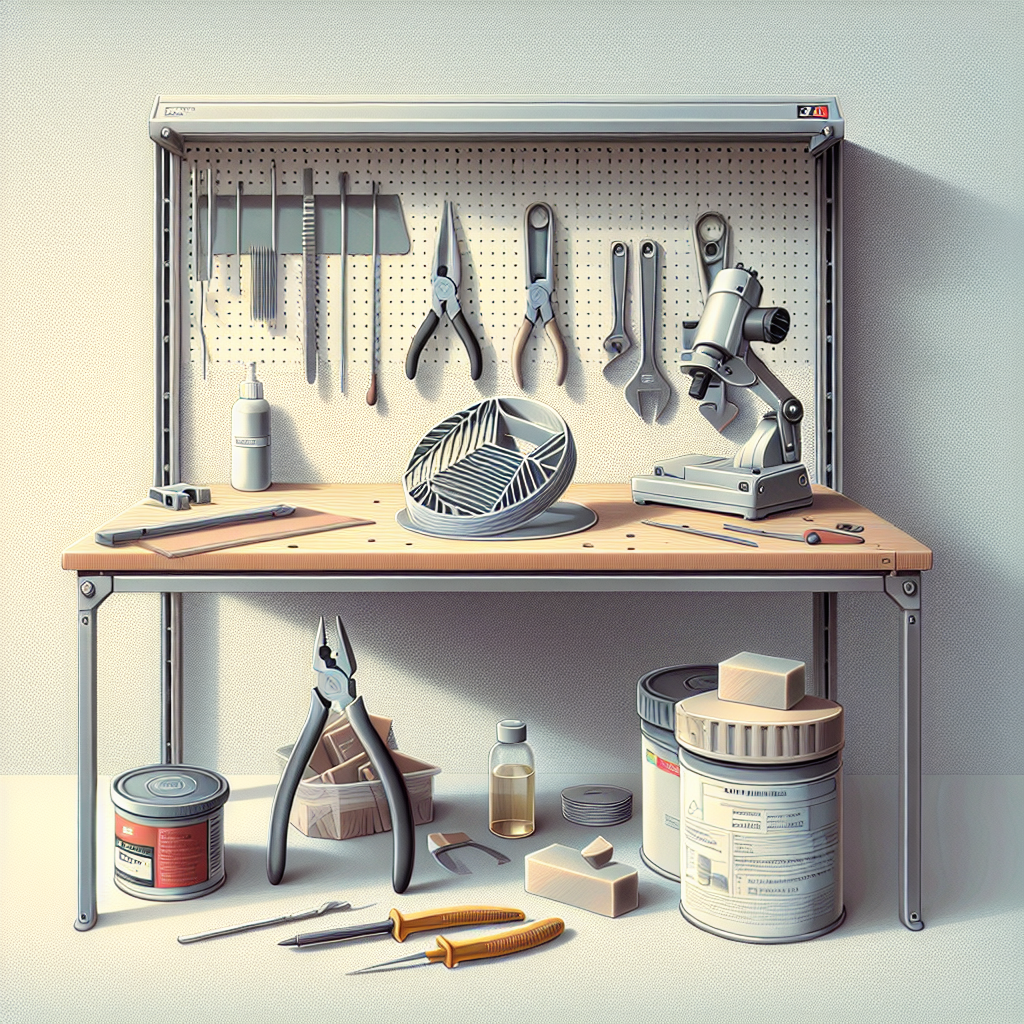
After printing, the first step is to carefully remove support structures and rafts. Using the right tools at this stage ensures minimal damage to the print surface.
Recommended Tools:
- Flush cutters or precision snips
- Needle-nose pliers
- X-Acto knife or hobby scalpel
Technique:
- Begin by gently pulling away larger supports with your fingers or pliers.
- Use flush cutters to cut supports close to the print surface, ensuring that no damage occurs to the model itself.
- Finish the cleanup by trimming small remaining imperfections with a hobby knife.
Sanding and Smoothing Your Prints
Sanding is often essential for removing visible layer lines and leftover support marks, offering a smoother and cleaner surface.
Steps for Effective Sanding:
- Start with coarse sandpaper (100-200 grit) to remove obvious layer lines and stubborn imperfections.
- Gradually move to finer sandpaper (400 to 1000 grit or higher) for a smoother finish. Wet sanding is recommended at higher grit levels to reduce friction and achieve a glass-like finish.
- Sand in circular movements, and always apply even pressure to avoid gouging the surface.
Filling and Priming the Surface
Applying fillers and primers can significantly enhance the final look by correcting imperfections and preparing the surface for painting.
Recommended Filling Materials:
- Bondo glazing putty or automotive filler
- Epoxy putty for larger gaps and seams
- Filler primer, which combines filling and priming in one easy step
How to Apply Filler and Primer:
- Apply the filler in thin layers using a spatula or hobby knife. Allow it to fully cure before sanding smooth.
- Once sanded, spray an even layer of primer. Primer highlights areas needing more sanding or filling.
- Repeat this filling and priming process if needed until the surface is smooth and uniform.
Painting Your 3D Printed Model
A professional paint job dramatically elevates the aesthetic appeal of your printed model or product.
Painting Steps:
- Choose suitable paints (acrylic or enamel spray paints typically work best).
- Apply thin, even coats of paint from a distance of approximately 8-12 inches, moving the spray in smooth, even strokes.
- Allow ample drying time between coats; multiple thin coats give better results than one thick application.
- Consider adding a protective clear coat or matte finish for durability and desired glossiness.
Advanced Techniques for Finishing
To further enhance your prints, you can explore advanced post-processing methods such as vapor smoothing and epoxy resin coating.
Acetone Vapor Smoothing (For ABS prints):
- Expose the print briefly to acetone vapor in a sealed container. This method slightly melts the surface, smoothing out layer lines and textures.
- Ensure safety precautions such as working in ventilated areas and proper disposal of acetone.
Epoxy Resin Coating:
- Epoxy resin produces a durable, glossy finish that greatly improves strength and appearance.
- Carefully mix epoxy resin according to manufacturer’s instructions and apply thin, smooth coats with a brush or sponge.
- Allow resin to cure completely, typically 24-48 hours, before handling or further finishing.
Practical Tips for Achieving Professional Results
- Patience is key—taking your time during sanding, priming, and painting will yield professional results.
- Always handle your model carefully during post-processing to avoid accidental scratches or damage.
- Experiment with different materials and techniques to find the optimal combination for your project’s specific requirements.
- Document your process and settings to quickly replicate successful results in future projects.
Conclusion: Elevate Your 3D Printing Projects
Achieving professional-quality finishes on your 3D printed parts takes patience, practice, and the right techniques. By systematically removing supports, sanding, filling, priming, and painting, you can transform your basic print into a stunning, polished result. With dedication and a steady hand, post-processing can become a rewarding aspect of your 3D printing journey, unlocking endless possibilities for craft, design, and prototyping.
Leave a Reply