
Understanding Lithophanes: The Magic of Light and Depth
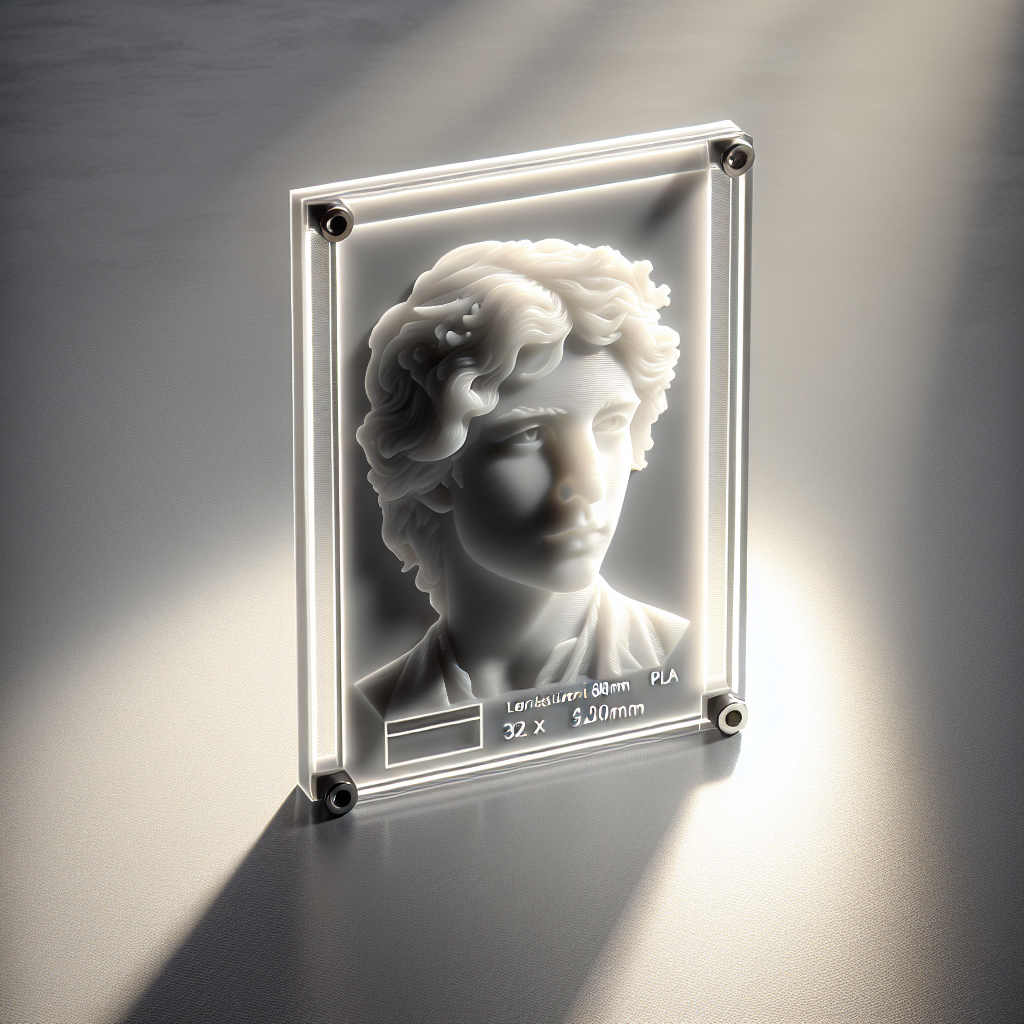
Lithophanes are unique 3D prints that transform ordinary 2D images into stunning works of translucent art. When backlit, these delicate panels reveal detailed images created by varying thicknesses in the print, allowing light to pass through at different intensities. Thanks to modern 3D printing technology, anyone can now convert their favorite photos or artwork into breathtaking lithophanes with relative ease.
Choosing the Right Image for Lithophanes
Not every image translates well into a lithophane. For the best results, select images with a good range of contrast and clear details. Portraits, landscapes with distinct features, and high-contrast artwork work particularly well. Avoid images that are overly dark or lack definition, as subtle details may be lost in the final print.
Preparing Your Image
– **Convert to Grayscale:** Lithophanes rely on light and dark areas, so start by converting your image to black and white. Most photo editing software, like Photoshop, GIMP, or even online tools, can accomplish this easily.
– **Adjust Contrast and Brightness:** Boost contrast to emphasize the subject and clarify details. Use brightness adjustments to ensure that the image isn’t too dark or too bright overall.
– **Crop and Resize:** Crop your image to your desired proportions. Typical lithophane sizes range from 80mm x 60mm (for ornaments) to full A4 sheets for lampshades. A resolution of at least 200 dpi is recommended for good detail.
Converting Your 2D Image to a 3D Lithophane Model
There are several tools and software options available for converting images into lithophane-ready 3D models. Some popular choices include:
– **3DP Rocks Lithophane Generator:** This free online tool (https://3dp.rocks/lithophane/) makes the process incredibly simple. Upload your image, tweak settings (like shape, size, thickness, and border), then download an STL file ready for 3D printing.
– **PhotoToMesh:** A Windows-based program offering more control over mesh generation and output settings.
– **Image to Lithophane add-on for Cura:** Some slicers have plugins or built-in features for lithophane generation.
**Key Settings to Consider:**
– **Shape:** Flat, curved, lamp, or cylinder. Start with a flat rectangle if you’re new.
– **Maximum Thickness:** Typically 2.5–3mm ensures durability and good light transmission.
– **Minimum Thickness:** Around 0.8–1mm prevents fragile sections.
– **Border or Frame:** Adds strength and a finished look to your lithophane.
Slicing Your Lithophane for 3D Printing
After generating your STL, import it into your preferred slicer (such as Ultimaker Cura, PrusaSlicer, or Bambu Studio). Lithophanes require specific print settings for optimal results:
– **Layer Height:** Use a fine layer height (0.1–0.15mm) to preserve detail.
– **Infill:** Set infill to 100% for consistent translucency.
– **Perimeters/Walls:** 2–3 perimeters help maintain structural integrity.
– **Print Orientation:** For maximum detail, print the lithophane standing upright (vertical orientation), not flat on the bed. This ensures the finest details appear crisp and the layers run parallel to the image.
– **Supports:** Minimal or no supports are needed for vertical prints, unless your model includes overhanging features.
Selecting the Right Filament
For lithophanes, filament color and translucency are crucial. The most popular and effective options are:
– **White or Natural PLA:** These transmit light well and render the most contrast in your lithophane.
– **Translucent PETG or PLA:** These can give a different effect but may reduce image sharpness.
– **Avoid colored filaments** as they can block light and obscure details.
Stick to trusted filament brands to avoid issues like inconsistent opacity or surface blemishes.
Printing Your Lithophane
– **Print Slowly:** Lower print speeds (30–40mm/s) improve surface quality and detail.
– **Cooling:** Ensure adequate part cooling, especially for upright prints, to prevent warping.
– **First Layer:** A good first layer is essential for adhesion, especially for tall, thin prints.
– **Monitor the Print:** Since lithophanes often have a small footprint, watch for first-layer adhesion issues and consider using a brim if needed.
Finishing Touches and Displaying Your Lithophane
Once printed, remove the lithophane carefully from the build plate, as thin sections can be fragile. No post-processing is usually necessary, but you can lightly sand the back side for an even finish if desired.
**Display Ideas:**
– **Backlight Frames:** Use LED photo frames, night lights, or custom lamp bases to illuminate your lithophane.
– **Windowsills:** Natural sunlight brings out the details beautifully.
– **Gift Projects:** Lithophanes make memorable personalized gifts for holidays, weddings, or memorials.
Troubleshooting Common Lithophane Print Issues
– **Blurry Details:** Try a finer layer height and ensure the print is upright.
– **Poor Light Transmission:** Make sure you’re using white or natural filament, and check that infill is set to 100%.
– **Warping or Detachment:** Use a brim or raft, and verify the bed is level and clean.
Conclusion
Turning cherished memories or favorite images into 3D printable lithophanes is a rewarding and creative process. By carefully selecting your image, optimizing settings, and using suitable materials and techniques, you can produce beautiful, light-revealed artwork with your 3D printer. With a little experimentation, you’ll master the art of lithophanes and unlock a new dimension of personalized 3D printing projects. Happy printing!
Leave a Reply