
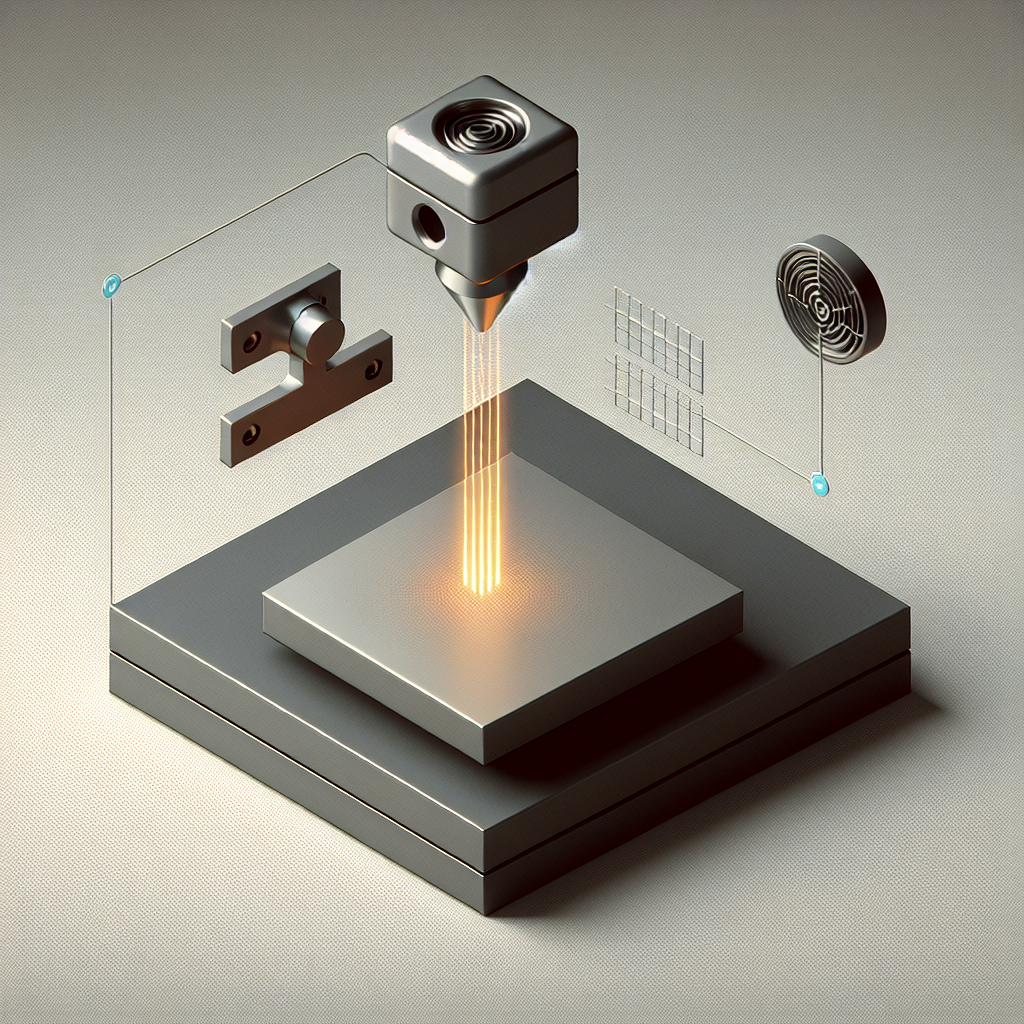
Understanding Bridging in 3D Printing
Bridging is a common scenario in 3D printing where your printer lays down material across open gaps, creating a “bridge” between two points. When executed well, these bridges are clean and strong without drooping or sagging. However, without supports, improper bridging can lead to poor surface quality, stringing, or even failed prints. Improving bridging is crucial for producing professional-quality results, especially for models designed to minimize support usage.
Optimize Print Speed
Slower print speeds give the extruded filament less momentum and more time to cool and solidify as it spans the gap. Try reducing your print speed for bridges in your slicer settings—typically to 20-30 mm/s. Many slicers, such as Cura or PrusaSlicer, let you set specific bridge speeds for optimal results.
Increase Cooling for Bridges
Efficient cooling is vital for successful bridging. The faster the extruded filament cools, the sooner it can support its own weight across a gap. Ensure your part cooling fan is running at 100% when bridging. If possible, consider adding additional cooling fans or adjusting the print head to maximize airflow over the bridge area.
Reduce Extrusion Temperature
High extrusion temperatures make filament more fluid, increasing the risk of sagging during bridges. Lower your nozzle temperature by 5–15°C during bridging. This makes the filament slightly firmer as it is laid down, helping it hold its shape across open spans. Be cautious not to lower temperatures too much, as under-extrusion may occur.
Adjust Bridging Flow Rate
Some slicers allow you to separately tune the extrusion (flow) rate for bridging moves. Slightly reducing the flow (to around 90–95% of normal) can help prevent excess material from sagging or drooping. On the other hand, some materials and printers perform better with a minor increase. Test with small calibration models to find the sweet spot for your specific setup.
Use Correct Layer Height
Lower layer heights (e.g., 0.1–0.2 mm) mean each bridge strand is narrower and lighter, making it less likely to droop. If your model allows, use a smaller layer height for sections with bridges to enhance their quality.
Optimize Bridge Geometry in Your Designs
If you design your own models, consider the direction and length of bridges. Shorter bridges are easier to print cleanly. Align bridge spans with the X or Y axis for more consistent results, as most printers have higher accuracy along these axes. If possible, add small chamfers or arches beneath bridges to minimize unsupported spans.
Choose the Right Filament
Some filaments bridge better than others. PLA is generally superior for bridging compared to PETG, ABS, or flexible materials, due to its rigidity and fast cooling properties. If your prints require excellent bridging, start with PLA while you refine your settings.
Test with Calibration Bridges
Calibration models, such as the “bridging torture test,” are invaluable tools. Print these to evaluate how changes in speed, cooling, or temperature impact your bridging. Incremental adjustments and careful observation will lead to substantial improvements over time.
Clean Your Nozzle and Maintain Your Printer
A partially clogged or worn nozzle can worsen bridging by causing uneven extrusion. Regularly clean your nozzle, check for obstructions, and ensure your extruder is properly calibrated for consistent flow.
Conclusion
Mastering bridging without supports is a combination of dialing in your slicer settings, optimizing your printer hardware, and understanding your materials. With careful tuning and practice, you’ll be able to produce complex, support-free prints that are both efficient and visually impressive. Start with small changes, observe the results, and iterate—your bridging game will improve significantly!
Leave a Reply