
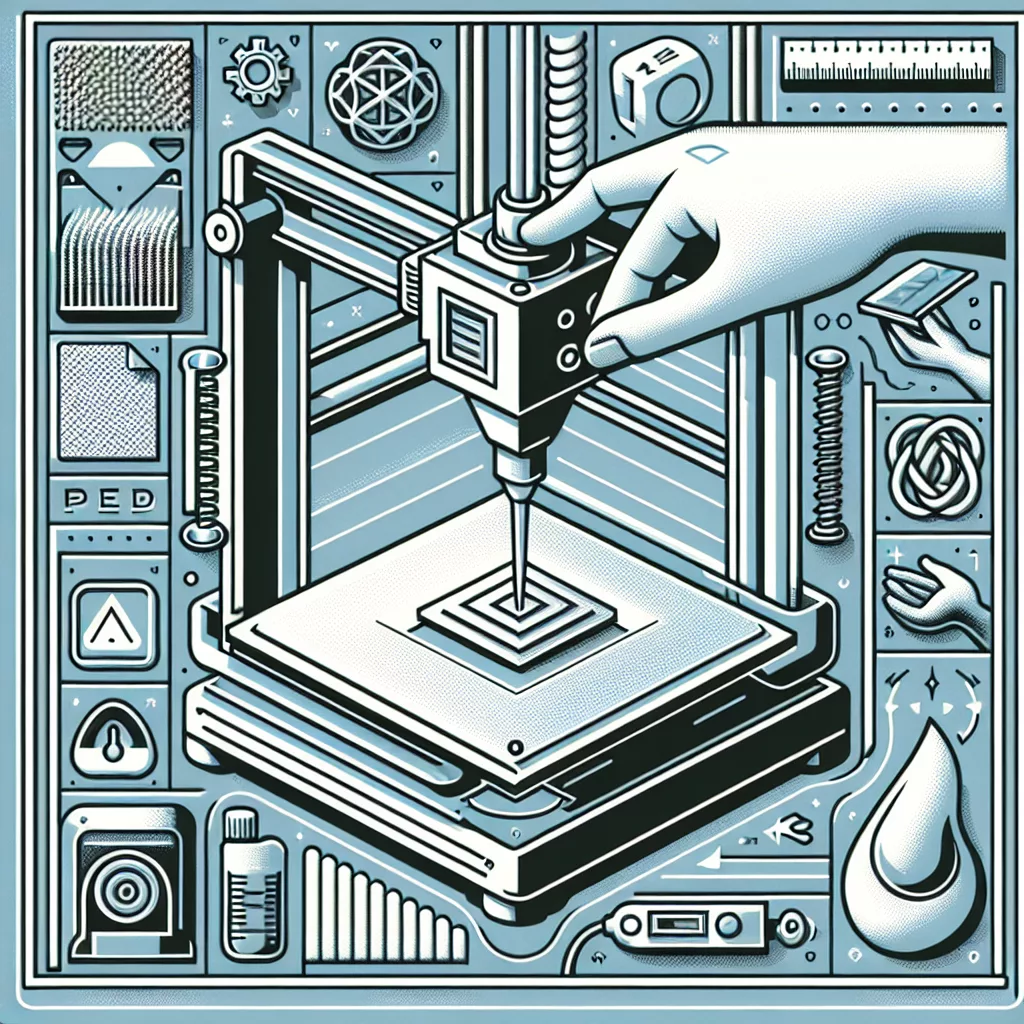
Understanding Bed Adhesion in 3D Printing
Bed adhesion is a cornerstone of successful 3D printing. Without proper adhesion, prints can warp, shift, or even fail entirely. Traditionally, many makers rely on glue sticks, painter’s tape, or sprays to improve adhesion. However, these methods can be messy, time-consuming, and sometimes ineffective. Drawing on years of hands-on experience, I’ll share practical and proven techniques to improve bed adhesion—without the need for glue or tape.
Optimize Your Print Surface
The type and condition of your print bed play a major role in adhesion.
- Glass Beds: Ensure your glass surface is squeaky-clean—use isopropyl alcohol to remove oils and dust. Some users lightly sand the glass with very fine grit sandpaper (like 2000 grit) to add a subtle texture, but caution is advised to avoid scratches.
- PEI Sheets: PEI (Polyetherimide) is a popular print surface for its excellent natural adhesion. Regularly clean with isopropyl alcohol, and occasionally refresh with acetone (for PEI, not glass!) to restore its ‘bite’.
- Textured Surfaces: BuildTak, textured spring steel, or powder-coated beds often require just thorough cleaning for optimal adhesion. Avoid oils from your fingers—use gloves or handle only the edges.
Perfect Your Bed Leveling
A well-leveled bed is fundamental for good first-layer adhesion. If your nozzle is too far from the bed, filament won’t stick. If it’s too close, you risk nozzle clogs or poor extrusion.
- Manual Leveling: Use a sheet of paper or a dedicated feeler gauge to ensure the nozzle barely drags against the bed as you move it across all corners and the center.
- Automatic Bed Leveling: If your printer supports it, use mesh bed leveling. Even then, occasionally double-check for mechanical issues like loose screws or warped beds.
Dial in First Layer Settings
Several slicer settings can significantly impact adhesion:
- First Layer Height: A slightly higher first-layer height (e.g., 0.2 – 0.3mm) allows the filament to squish and bond better.
- First Layer Speed: Slow down the first layer (20-30mm/s is common) to give the filament more time to adhere before the nozzle moves on.
- First Layer Temperature: Bump up the bed and nozzle temperature by 5-10°C for the first layer to enhance stickiness.
- Increase Flow Rate: Increasing first-layer extrusion by 5-10% can help ensure a solid, squished line.
Utilize Brims and Rafts
Brims and rafts are built-in slicer features that physically increase the contact area between your print and the bed. A brim adds a single-layer outline around your object, while a raft lays down a thicker base beneath your print.
- When to Use: Employ brims for models with small footprints, or rafts for particularly challenging shapes or materials prone to warping.
- Easy Removal: Unlike glue or tape, these features are designed for easy post-print removal and don’t require bed cleanup.
Choose the Right Bed Temperature
Each filament type has an ideal bed temperature range. PLA usually adheres well between 50-60°C, while ABS and PETG may need 80°C or higher. Experiment within the manufacturer’s recommended range and observe how bed temperature affects your first layer.
Control Your Environment
Drafts, cold air, and humidity can impact adhesion. If you’re having trouble:
- Print in a draft-free room or use an enclosure, especially with ABS or other high-warp materials.
- Keep ambient temperature stable; sudden cooling can cause warping and loss of adhesion.
Keep Your Bed Spotless
Even finger oils can sabotage adhesion. Develop a routine:
- Wipe beds with 70%+ isopropyl alcohol before every print job.
- Occasionally, give the bed a deeper clean with dish soap and water, particularly after multiple prints or handling.
Consider Filament Quality
Not all filaments are created equal. Cheap or old filament may have impurities or moisture content that interfere with adhesion. Always store filament in a dry, sealed container, and use reputable brands for best results.
Final Thoughts
Improving bed adhesion doesn’t have to involve glue sticks or painter’s tape. By focusing on print surface cleanliness, bed leveling, first-layer tuning, and your print environment, you can achieve reliable adhesion for most print jobs. These practices not only deliver better prints but also make post-processing and maintenance easier. Happy printing!
Leave a Reply