
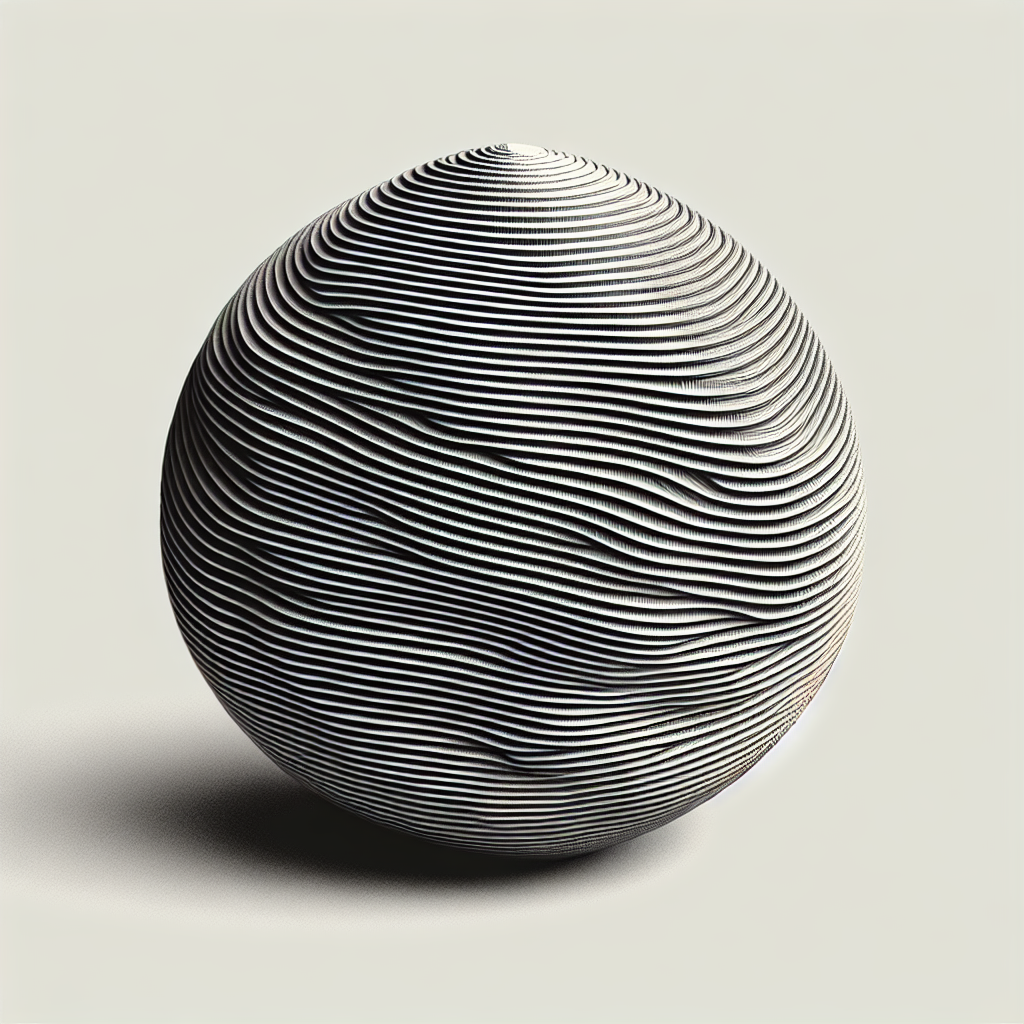
Understanding Z-Banding in 3D Printing
Z-banding, also referred to as ribbing or vertical striping, is a common surface quality issue in FDM/FFF 3D prints. These are visible horizontal lines or patterns that run parallel to the layers, typically at regular intervals. While slight layering is inherent to the FDM process, pronounced Z-banding can dramatically affect your print’s aesthetics and dimensional accuracy.
What Causes Z-Banding?
To fix Z-banding, it helps to understand its root causes. The primary culprits are:
- Inconsistent Lead Screw Movement: If the Z-axis lead screw isn’t moving smoothly or is slightly bent, it will variably move the hotend or bed, causing layer inconsistencies.
- Poor Z-Axis Coupling: Flexible couplers or misaligned motors can introduce wobble, translating into visible banding.
- Printing Parameters: Too high or low layer height, poorly tuned extrusion, or incorrect print speeds can exacerbate the problem.
- Frame and Bed Stability: A loose or misaligned frame/bed can cause vibrations or shifts, impacting layer registration.
- Temperature Fluctuations: Inconsistent hotend temperature can affect filament flow and cause slight variations between layers.
Step-by-Step Guide to Fixing Z-Banding
Repairing Z-banding is a systematic process. Follow these steps to diagnose and resolve the issue:
1. Inspect and Straighten the Z-Axis Lead Screw
A bent or dirty lead screw is the most common source of Z-banding. Power off your printer and manually rotate the Z-axis. Watch for any visible wobble or irregular movement. If the lead screw is bent, replace it. Clean the threads and apply a quality lubricant (like lithium grease) to minimize resistance.
2. Check Z-Axis Couplers
Most printers use flexible couplers to connect the lead screw to the stepper motor. Overly flexible or compressed couplers can actually worsen Z-banding. Ensure the coupler is tightened evenly, the lead screw is fully inserted, and the connection is secure. Avoid over-tightening, which can introduce new stresses.
3. Align the Z-Axis Motor and Lead Screw
If the lead screw and stepper motor are not perfectly aligned, the lead screw will “wobble,” causing periodic surface defects. Gently loosen the motor mount screws, then retighten while ensuring the lead screw remains centered in the nut.
4. Reduce Layer Height Incrementally
Sometimes, large layer heights can accentuate minor mechanical flaws. Try reducing your layer height to 50% of your nozzle diameter (e.g., for a 0.4mm nozzle, use 0.2mm layers or less). This can smooth out the appearance of banding.
5. Stabilize Your Frame and Bed
Check that all bolts on your printer’s frame are tight. Any wiggle or vibration can lead to surface inconsistencies. Similarly, make sure the bed is level and securely mounted.
6. Calibrate Extrusion and Temperature Settings
Over- or under-extrusion, as well as temperature swings, can manifest as banding. Perform an extrusion calibration (using a calibration cube and digital caliper) and tune your flow rate as needed. Make sure your hotend maintains a stable temperature (within ±1°C).
7. Optimize Firmware and Stepper Drivers
Check your printer firmware’s steps-per-mm settings for the Z-axis. If your printer uses microstepping or advanced drivers, ensure they are configured correctly for smooth motion. Upgrading to TMC stepper drivers can sometimes reduce mechanical resonance, further improving print quality.
Advanced Tips to Improve Surface Quality
Beyond fixing Z-banding, consider these best practices to achieve crisp, professional-looking prints:
- Use High-Quality Filament: Cheap or inconsistent filament can compromise flow and adhesion, highlighting banding.
- Enclose Your Printer: Enclosures stabilize ambient temperature, reducing thermal expansion and contraction effects.
- Install Anti-Backlash Nuts: These upgrade kits can reduce play in the Z-axis, further smoothing your layers.
- Enable Linear Advance: If your firmware supports it, linear advance can compensate for extrusion lag and improve corners and infill.
Troubleshooting Checklist
Use this quick checklist when you encounter Z-banding:
- Is the lead screw straight and clean?
- Are the Z-couplers tight and not compressed?
- Are the frame and bed bolts secure?
- Is extrusion calibrated and temperature stable?
- Is the Z-axis aligned and moving smoothly?
- Have you minimized vibrations and optimized your layer height?
Conclusion
Z-banding can be frustrating, especially when striving for perfect print surfaces. By methodically inspecting your hardware, optimizing your print parameters, and maintaining your printer, you’ll not only eliminate Z-banding but also elevate your overall print quality. Consistent maintenance and careful calibration are the keys to producing smooth, professional 3D prints every time.
Leave a Reply