Why 3D Print Your Own Custom Phone Case?
3D printing allows you to break free from generic phone case designs and create something truly unique. Whether you want to showcase your personal style, print a case with your favorite character, or design something functional like a card holder or stand, 3D printing makes it possible—and surprisingly easy with the right tools and knowledge.
Step 1: Choosing the Right Materials for Your Phone Case
Selecting the right filament is crucial for a phone case that is both durable and aesthetically pleasing. The most popular choices include:
- PLA: Easy to print, comes in many colors, but less flexible and not as impact-resistant.
- TPU: A flexible, rubber-like material ideal for shock-absorbing cases.
- PETG: Combines strength and flexibility, making it a good compromise between PLA and TPU.
For most users, TPU is the go-to for phone cases due to its flexibility and durability, protecting your phone from drops and bumps.
Step 2: Measuring Your Phone
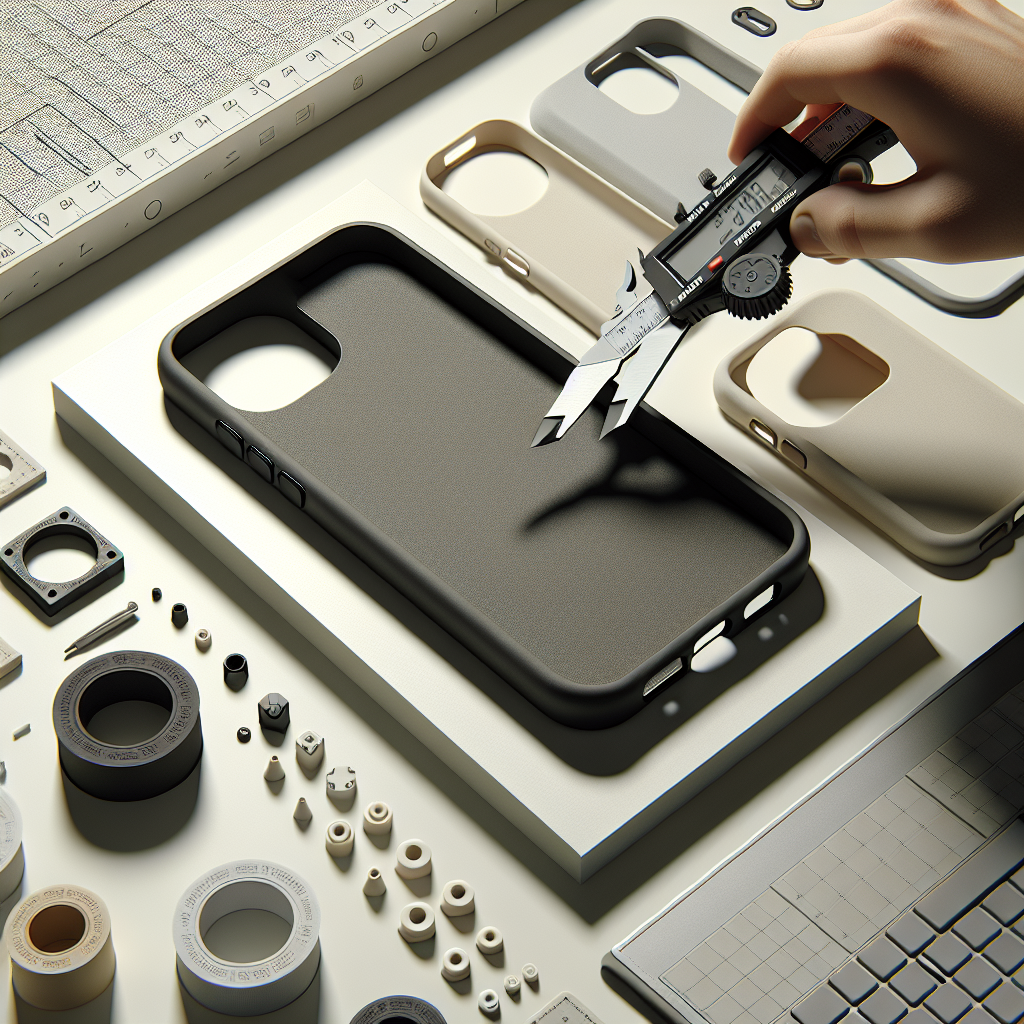
Accurate measurements are the foundation of a perfect fit. Use a caliper to measure:
- Length, width, and thickness of your phone.
- Camera, button, and port positions.
Many phone models have their dimensions readily available online, but measuring your actual device ensures perfect accuracy—especially if you use screen protectors or other accessories.
Step 3: Designing Your Custom Case
You can design a phone case from scratch or use templates from platforms like Thingiverse or Printables. For total customization, use CAD software such as Fusion 360, Tinkercad, or Blender. Here’s the basic workflow:
- Start with a template: Download or create a basic “shell” matching your phone’s dimensions.
- Edit cutouts: Add holes for the camera, speakers, buttons, and charging port. Test fit these in your 3D model to avoid blocking functionality.
- Customize the outside: Add textures, logos, text, or patterns. Use embossing or engraving features in your CAD software for raised or recessed details.
- Check wall thickness: Aim for 1.5-2.5mm for rigidity with some flexibility, especially if printing with TPU.
Step 4: Preparing for 3D Printing
Once your design is ready, export it as an STL file and open it in a slicer like Cura or PrusaSlicer. Key settings for phone cases include:
- Layer Height: 0.2mm for a good balance of speed and detail.
- Wall/Perimeter Count: 3-4 perimeters for strength.
- Infill: 10-20% is usually sufficient, as most strength comes from the walls.
- Supports: Enable only where necessary (e.g., under camera cutouts), but design your case to minimize overhangs for cleaner prints.
- Print Speed: For TPU, print slower (20-30mm/s) to avoid stringing or deformation.
Step 5: Printing Your Phone Case
Load your filament, heat your printer bed (if required), and start the print. If you’re using flexible filaments like TPU, make sure your printer’s extruder is compatible—direct drive extruders work best. Watch the first few layers to ensure proper adhesion.
Printing a phone case typically takes 2-4 hours depending on the complexity and size.
Step 6: Post-Processing and Finishing Touches
After printing, you may need to:
- Remove supports: Carefully remove any support structures using pliers or a craft knife.
- Smooth Edges: Sand down any rough spots, especially around buttons and cutouts.
- Test Fit: Place your phone in the case to check fit and access to all buttons and ports.
- Paint or Seal: If desired, paint your case with acrylics or spray sealant for extra durability and appearance.
Common Issues and Troubleshooting
- Loose fit: Adjust your case design to tighten the grip or increase wall thickness.
- Warping: Use a heated bed, and consider printing with a brim to prevent corners from lifting.
- Stringing (with TPU): Lower print temperature and enable retraction settings in your slicer.
Show Off Your Creation!
Once your custom phone case is finished, snap a few photos and share them with the 3D printing community! Sites like Reddit’s r/3Dprinting or Instagram are great places to showcase your design and inspire others. And if you discover a design that works especially well, consider uploading your STL to a repository like Printables or Thingiverse to help others make great cases, too.
With your own custom 3D printed phone case, you’ll have a unique accessory that combines protection, style, and the satisfaction of hands-on fabrication. Happy printing!


Leave a Reply