

Introduction to 3D Printed Hinges and Moving Parts
Creating functional parts such as hinges and moving components is one of the exciting benefits that 3D printing brings to makers, designers, and engineers. The ability to print assemblies as one piece that operate smoothly right off the print bed opens incredible possibilities. However, designing effective hinges and moving parts requires some knowledge of design considerations, materials, tolerances, and best practices.
In this guide, we’ll dive into how you can design effective, functional hinges and movable parts on your 3D printer, ensuring reliability and durability.
Choosing the Right Hinge Type
Before starting your design, you must first select the type of hinge suitable for your project’s purpose and constraints. Common hinge types include:
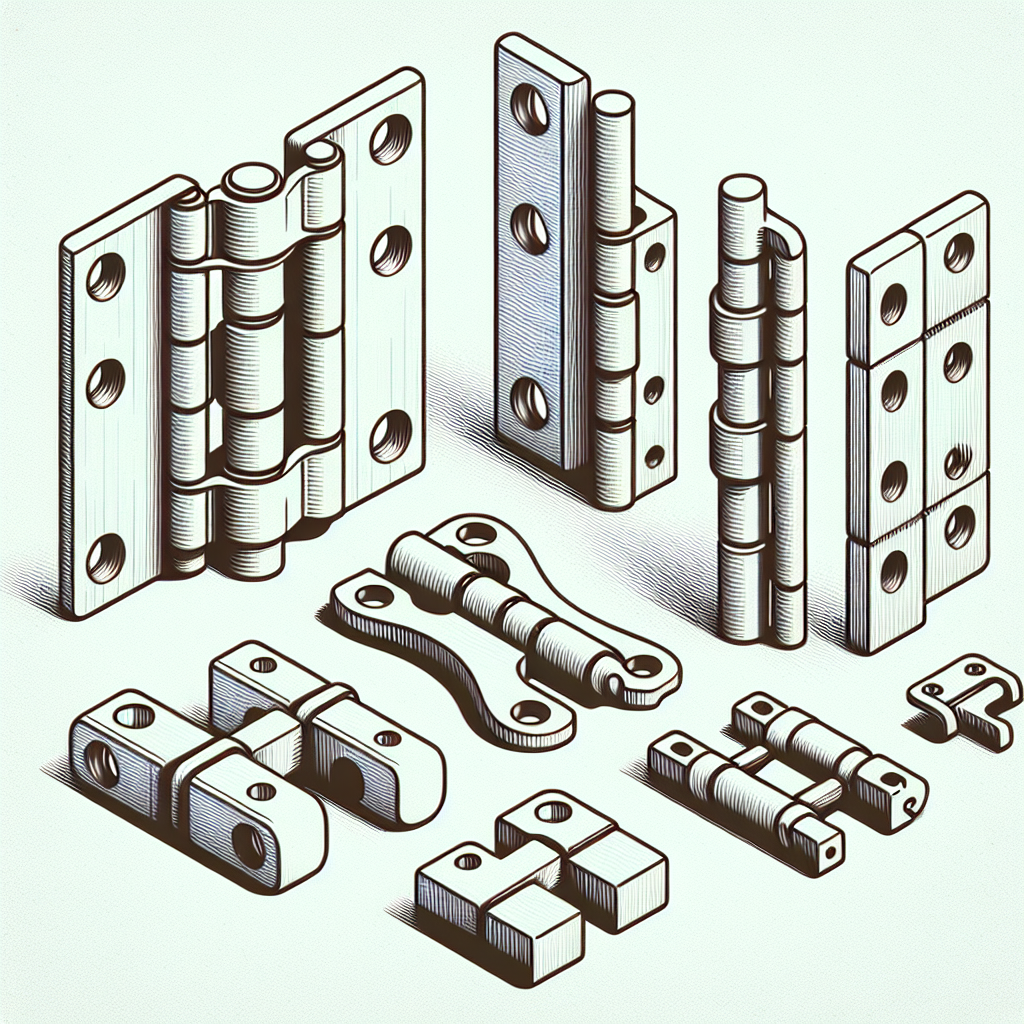
- Integrated (Living) Hinges: These hinges are printed as part of the model itself and rely on material flexibility to enable movement. Ideal for flexible materials like TPU or thin PLA applications.
- Pin Hinges: Two separate printed parts connected by a removable pin. Great for applications needing repeated movement or part replacement.
- Ball-and-Socket Hinges: Allow multi-directional movement and flexibility, ideal for figurines, toys, or adjustable mounting solutions.
Select your hinge type based on factors like load-bearing capacity, range of motion, frequency of use, material availability, and printing complexity.
Designing for Tolerance and Clearance
In 3D printing, tolerances and clearances are critical, especially for moving parts. Unlike injection molding or machining, 3D printed parts can vary slightly in dimension due to layer height, extrusion width, and printer calibration.
A good starting rule of thumb for clearance is 0.2-0.5 mm space between surfaces. Here are some guidelines:
- If your printer is precisely calibrated and you use fine layer resolutions (0.1 – 0.2 mm), try clearances around 0.2 mm.
- For faster prints or less precise machines, increase clearance to 0.4 mm or more.
- Design interlocking joints loosely enough to ensure free movement, but not so loose that they become unstable or rattly.
Always consider printing a tolerance test piece before committing to a larger, more complex print.
Optimizing Layer Orientation for Strength and Durability
Layer orientation significantly impacts the durability and strength of 3D printed hinges and moving parts. Due to the anisotropic nature of 3D printing, strength can vary depending on how the print layers align with mechanical stresses.
- Integrated Hinges: Place layers perpendicular to the direction of the hinge’s movement to maximize flexibility and minimize breakage.
- Pin and Socket Hinges: Orient so the cylindrical hinge pins print horizontally. This orientation usually creates smoother curves and stronger hinge pins.
- Ball-and-Socket Joints: Orient ball shapes vertically, ensuring smoother curvature and better dimensional accuracy.
Proper orientation can significantly improve your printed hinge’s performance and lifespan.
Selecting the Appropriate Material
Choosing the right material is critical when designing functional hinges and moving parts. Each material comes with unique strengths, weaknesses, and characteristics:
- PLA: Easy to print, rigid, affordable, great for prototypes or moderately used parts. Limited flexibility and prone to fatigue in integrated hinges.
- PETG: Offers greater strength, flexibility, and durability than PLA. PETG is ideal for hinged parts that experience repeated stress or outdoor use.
- ABS/ASA: Excellent mechanical properties and heat resistance. Requires a heated bed and enclosed chamber, but great for functional parts exposed to heat and UV light.
- TPU/TPE (Flexible Filaments): Ideal for integrated hinges and flexible joints, offering superb flexibility, durability, and toughness.
Selecting the correct material ensures longevity, reliability, and proper functionality in your printed hinges.
Reducing Friction and Improving Smoothness
Printed hinges and moving parts inherently have layer lines that can introduce friction. To reduce this friction and improve smoothness, consider:
- Printing with finer layer height settings to decrease roughness.
- Post-processing surfaces gently with sandpaper or filing tools.
- Applying dry lubricants such as PTFE-based sprays or silicone lubricant to internal hinge surfaces.
- Designing tiny ridges or features to minimize the contact surface area, thus reducing friction.
These steps significantly enhance hinge motion and durability, improving overall functionality.
Testing and Iterating Your Designs
Iterative testing is a crucial part of successful hinge and moving part designs in 3D printing. Always print smaller test models or sections of your hinge designs first to validate clearances, tolerances, strength, and functionality. Adjust the model parameters based on test results until you’re happy with the outcome before scaling up to your final design.
Common Mistakes to Avoid
When designing your hinges, steer clear of common pitfalls such as:
- Ignoring clearance: Too tight or too loose clearances can lead to failure.
- Incorrect layer orientation: Leads to weak parts and premature failure.
- Choosing inappropriate materials: Selecting rigid materials for hinges that require repeated flexing.
- Neglecting post-processing: Missing simple post-processing steps that can significantly enhance the longevity and functionality of hinges.
Conclusion and Final Thoughts
Designing functional 3D printed hinges and moving parts opens up endless possibilities for practical and innovative creations. By carefully choosing your hinge styles, managing clearances, optimizing layer orientation, selecting appropriate materials, and reducing friction, you can produce reliable, resilient, and fully functional hinges suitable for numerous applications.
With thoughtful planning and iterative testing, you’ll be creating effective, reliable hinges and moving parts in no time.
Leave a Reply