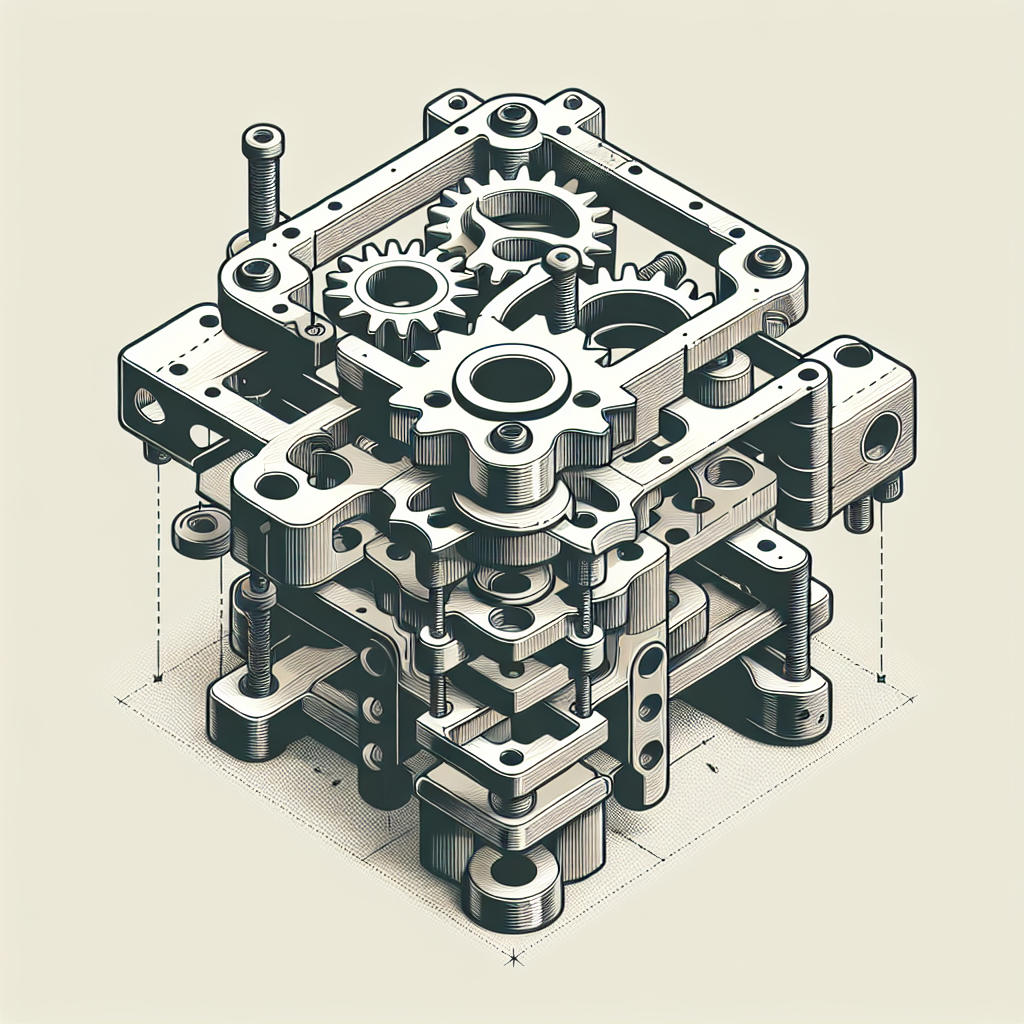
Understanding the Benefits of Multi-Part 3D Printing
Breaking your 3D models into multiple parts isn’t just about making big prints possible—it’s also about maximizing quality, minimizing print failures, and enabling functional assemblies. Multi-part designs allow you to optimize orientation for stronger parts, reduce support material waste, and print components in different colors or materials. Whether you’re designing mechanical assemblies, complex figurines, or modular prototypes, mastering multi-part printing opens up a world of possibilities.
Planning Your Multi-Part Model
Begin with the end in mind. Consider the following before you start modeling:
- Printer Build Volume: Split large models so each part fits comfortably within your printer’s build space.
- Functionality: Identify areas where moving parts, hinges, or mechanical joints are required.
- Ease of Printing: Separate complex overhangs or intricate geometry to avoid excessive supports and improve print quality.
- Assembly Access: Ensure you can reach internal features for assembly, gluing, or screwing parts together.
Designing for Easy Assembly
A successful multi-part print relies on a design that’s easy to assemble. Here are some expert tips:
1. Use Alignment Features
Incorporate alignment pins, sockets, or notches to ensure parts fit together perfectly. These guides reduce assembly error and help hold pieces in place while adhesives cure.
2. Plan for Tolerances
3D printers aren’t perfect—parts can swell, shrink, or warp. Design gaps (typically 0.1mm–0.3mm depending on your printer and material) between mating surfaces to ensure snug but not overly tight fits. Test-fit with simple calibration shapes before committing to a full design.
3. Snap-Fit Joints
For tool-free assembly, consider snap-fit joints. Tabs, hooks, or flexible clips can lock parts together securely. Use fillets and chamfers on snaps to prevent cracking and to ease insertion.
4. Screws, Bolts, and Inserts
For strong, repeatable assembly, integrate holes for screws or heat-set threaded inserts directly in your design. Make sure to account for thread size and tolerances. Brass inserts can be installed after printing with a soldering iron for durability.
5. Glue and Solvent Welds
If a permanent bond is acceptable, design flat or interlocking surfaces for adhesive or solvent welding. Textured surfaces or dovetails increase bonding area and strength.
Splitting and Exporting Your Model
Modern CAD software and slicers offer robust tools for splitting models:
- CAD Tools (Fusion 360, TinkerCAD, Blender): Use the ‘Split’ or ‘Separate’ functions to divide your model along logical planes.
- Netfabb and Meshmixer: Great for repairing models and preparing them for printing by splitting, hollowing, or adding custom supports.
Export each part as an individual STL or OBJ file. Label files clearly to avoid confusion during slicing and assembly.
Slicing and Printing Considerations
When slicing, orient each part for minimal supports and maximum strength:
- Flat Surfaces Down: Place large, flat areas on the print bed for better adhesion.
- Critical Features Up: Orient detailed or visible surfaces facing upward to maximize print quality.
- Layer Lines: Consider how layer orientation will affect the strength and appearance of assembly joints.
Print test pieces for critical joints before committing to a full plate of parts—this saves time and material.
Finishing and Assembly
Once your parts are printed, do a dry fit before final assembly:
- Clean Up: Remove supports, sand mating surfaces, and trim stringing or blobs.
- Test Fit: Check tolerances and make small adjustments with a file or hobby knife if necessary.
- Fasten: Glue, snap, or screw your parts together as designed.
- Post-Processing: For a seamless look, use filler putty on joints, sand, and paint as needed.
Pro Tips for Flawless Results
- Keep your nozzle and bed clean for accurate tolerances.
- Use a consistent material for all parts, or adjust settings for each material if mixing types.
- Document your assembly process, especially for complex models—photos and notes help if you need to rebuild.
- Don’t be afraid to iterate! The first version is rarely perfect—dial in your tolerances and assembly features with test prints.
Conclusion
Mastering multi-part 3D printed models unlocks new potential for your projects—whether you’re building intricate art, functional prototypes, or robust mechanical systems. With thoughtful design, careful planning, and a bit of patience, you’ll achieve professional-quality assemblies that rival injection-molded products. Happy printing!


Leave a Reply