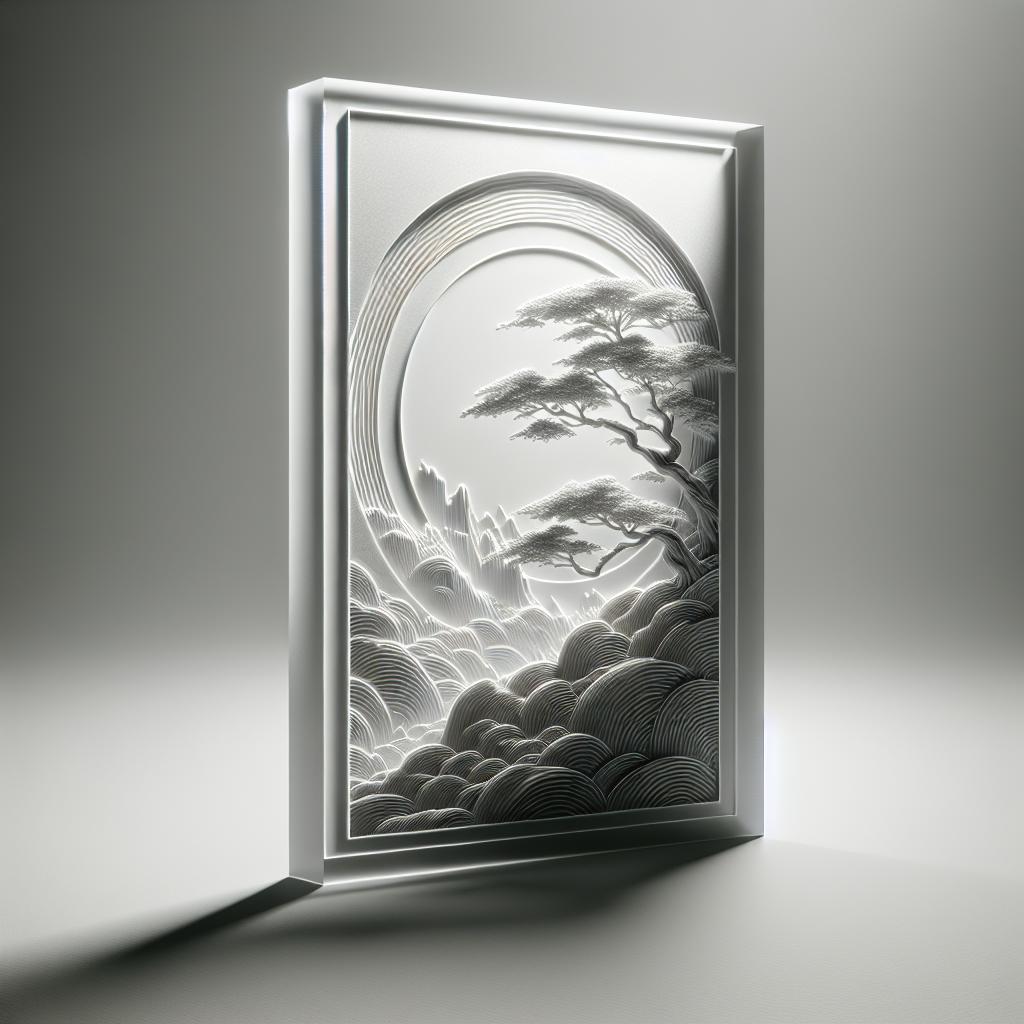
What is a Lithophane?
Lithophanes are magical 3D objects that reveal stunningly detailed images when illuminated from behind. Unlike traditional photographs, lithophanes are crafted by varying their thickness—thin areas let more light pass through, while thick sections block it, creating a beautiful grayscale image. With 3D printing, anyone can make personalized lithophanes from their favorite photos, turning cherished moments into art pieces, lampshades, or nightlights.
Choosing the Right Photo
Great lithophanes start with great photos. Select high-contrast images with clear subjects and good lighting. Portraits, nature scenes, and pets are all popular choices. Avoid images with lots of cluttered backgrounds or low contrast, as details can get lost in the translation to 3D.
Converting Photos into 3D Lithophane Models
To turn a photo into a lithophane, you’ll need to convert it into a 3D-relief model. Luckily, several free online tools and software make this step easy:
- 3DP Rocks Lithophane Generator: A popular and simple tool (3dp.rocks/lithophane/) that lets you upload an image, adjust settings, and download an STL file ready for 3D printing.
- Image to Lithophane (Lithophane Maker): Offers more customization, including shapes like curved panels, spheres, and lampshades.
- Cura and PrusaSlicer Plugins: Some slicers have built-in lithophane tools or plugins for direct photo-to-lithophane conversion.
When using these tools, experiment with options like thickness, resolution, and shape (flat, curved, cylinder) to fit your project.
Preparing Your Lithophane for 3D Printing
Once you’ve exported your STL file, it’s time to slice it for your printer.
- Layer Height: Use a fine layer height (0.1–0.2 mm). Thinner layers capture more image detail.
- Infill: Lithophanes are typically printed with 100% infill for solid light diffusion.
- Wall/Perimeter Settings: Increase wall count for extra strength, especially for larger or curved lithophanes.
- Print Orientation: Stand the lithophane upright (vertical orientation) for best detail and sharpness. Laying it flat causes the layers to obscure details.
- Supports: Flat and curved panels usually don’t need supports; check your preview for overhangs if you use unusual shapes.
Filament Selection: The Key to Stunning Lithophanes
Material matters. For the best results:
- PLA: White or very light-colored PLA is the gold standard for lithophanes. Avoid colored or translucent filaments, as they can distort the image.
- Matte Filament: Matte white PLA helps eliminate unwanted glossiness and enhances the image clarity.
- Temperature: Standard PLA settings (190–210°C hotend, 50–60°C bed) work well. Always check your filament manufacturer’s recommendations.
Fine-Tuning Your Print
Getting perfect lithophanes sometimes takes a bit of experimentation. Here are a few troubleshooting tips:
- Check Light Source: Preview your lithophane with different backlights—warm white LEDs work beautifully.
- Brightness: If your image is too washed out or too dark, tweak the min/max thickness in your lithophane software or adjust the photo’s contrast before conversion.
- Warping: If panels warp or curl, ensure proper bed adhesion. A brim or raft can help, as can leveling your bed and cleaning your build surface.
- Resolution: Higher print resolution (lower layer height) means longer print times but dramatically sharper results.
Finishing Touches and Display Ideas
When your lithophane is printed and cooled, gently remove it from the bed. For the most dramatic effect, display it in front of a light source—LED panels, fairy lights, or even in custom lamp frames. Many creators design frames or holders, or you can print a stand to make a freestanding nightlight or lampshade.
For gifts or special occasions, lithophanes are a unique way to preserve memories, offer a personalized touch, and showcase your 3D printing skills.
Conclusion
Creating custom 3D printed lithophanes is a rewarding project that blends art, technology, and personal touch. With the right photo, tools, and filament, you can turn treasured memories into luminous keepsakes. Dive in, experiment, and let your creativity shine through the power of 3D printing!


Leave a Reply