Introduction to 3D Lithophanes
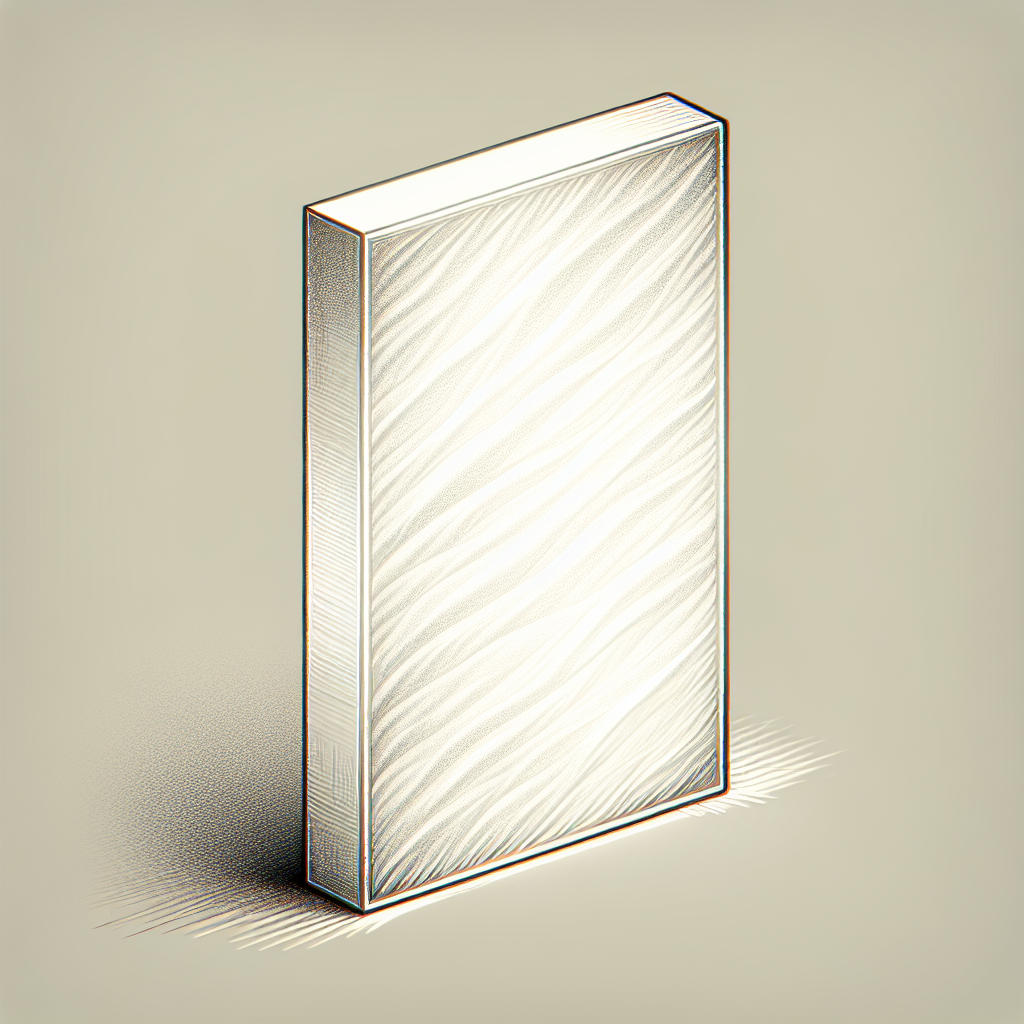
Imagine transforming your favorite photograph into a stunning, tangible keepsake that comes alive with light. That’s precisely what lithophanes offer. A lithophane is a unique type of 3D print whose varying thicknesses allow light to pass through, revealing detailed images when lit from behind. With the rising popularity and accessibility of 3D printing, creating your own lithophane has never been easier. In this guide, we’ll walk you step-by-step through the process of turning your beloved images into beautiful 3D printed lithophanes.
What You’ll Need to Get Started
Before diving into the creative process, ensure you’ve got the necessary equipment and resources ready:
- A 3D Printer: FDM printers with a fine nozzle (0.2mm or 0.4mm) or resin printers are ideal.
- Filament: White or semi-translucent filament offers the best results. PLA material typically provides excellent detail and is beginner-friendly.
- Digital Photos: High-resolution photos with clear details and good contrast produce the best lithophane results.
- Lithophane Software: Free online tools such as Lithophane Maker, 3DP Rocks, or Cura slicing software.
- LED Lights or a Light Source: For illuminating your finished lithophane to highlight the beautiful detail.
Selecting the Right Photo for Your Lithophane
Not every photo makes a great lithophane. To ensure your finished project is clear, detailed, and visually appealing, follow these guidelines to choose the perfect image:
- High Contrast: Images with strong contrasts between dark and bright areas translate into clearer lithophanes.
- Sharpness and Resolution: Higher resolution images yield better and clearer details.
- Simplicity: Complex scenes with too many details can become blurry or unclear when translated into a lithophane. Aim for simple, clear compositions.
Creating Your Lithophane File
Now that you’ve chosen your ideal photo, you’re ready to create your lithophane file.
- Choose Your Lithophane Creation Tool: Navigate to an online lithophane generator like 3DP Rocks (free) or use built-in lithophane plugins in slicing software such as Cura.
- Upload Your Photo: Select your chosen photo and upload it to the lithophane creation tool.
- Customize Your Settings: Adjust settings to fine-tune your lithophane’s appearance:
- Thickness: Generally, lithophanes between 2mm-5mm thick yield excellent results. Thinner lithophanes are more transparent, whereas thicker ones are more durable.
- Shape and Size: Select the shape (flat, curved, cylindrical, or spherical) that suits your preference and lighting solution. Enter your desired dimensions.
- Borders: Consider adding borders for structural support and an attractive finished appearance.
- Download Your STL: Once you’ve customized your settings, download the generated STL file for printing.
Preparing and Slicing the Lithophane Model
The next step is to convert your STL file into G-code using slicing software such as Cura or PrusaSlicer.
- Orientation: For best results, print lithophanes vertically to achieve finer detail.
- Layer Height: Set your layer height to 0.1mm or 0.12mm to enhance the lithophane’s detail and quality.
- Infill Density: Set infill to 100%; lithophanes rely on varying thickness rather than internal patterns.
- Speed and Temperature: Reduce your printing speed (e.g., 30-50 mm/s) and keep your print temperatures optimal for your specific filament to get clear details.
- Brim or Support: A brim around the lithophane base helps improve adhesion, but avoid supports unless necessary, as supports can ruin surface details.
Once your slicing is complete, save the G-code to an SD card or send it directly to your 3D printer.
Printing Your Lithophane
With the G-code file ready, you’re now prepared to print your lithophane:
- Ensure your printer bed is level and clean, providing good adhesion for the print.
- Verify the filament is loaded correctly and that the nozzle temperature matches your filament’s recommended settings.
- Start your print and carefully monitor the first layers to ensure proper adhesion and quality.
- Allow sufficient printing time; detailed lithophanes may take several hours depending on their dimensions and resolution.
Post-Processing and Illuminating Your Lithophane
Once your lithophane has finished printing, carefully remove it from the build plate and inspect it for any imperfections or stringing. Minimal cleanup may be required—usually just minor trimming or sanding on edges.
To truly appreciate your lithophane, you must illuminate it properly:
- LED Backlighting: Create a frame or stand with LED strip lights or tea lights behind your lithophane for superb results.
- Natural Light: Positioning your lithophane near a window or natural light source can provide soft, beautiful illumination.
- Decorative Display: Consider incorporating your lithophane into lamps, nightlights, or wall art for stunning household décor and personalized gifts.
Tips and Tricks for Perfect Lithophanes
As you get comfortable with lithophane printing, keep these expert tips in mind:
- Always experiment with small test prints to perfect settings and save filament.
- Use translucent filaments for brighter and clearer images.
- Protect your lithophane prints by placing them in frames or protective casings.
- If your lithophane appears too dark, reduce filament thickness or enhance your photo’s brightness and contrast before converting to STL.
Final Thoughts
Creating lithophanes from your favorite photos is a fun, creative, and rewarding 3D printing project. Whether you’re crafting personalized gifts, sentimental keepsakes, or impressive home décor, lithophanes offer a unique way to transform cherished memories into beautiful, tactile works of art. With the right tools, materials, and a bit of creativity, you’ll soon be making stunning lithophanes that everyone will admire.


Leave a Reply