
Understanding Waterproof and Airtight 3D Printed Containers
3D printing has revolutionized how we create custom containers for various uses, from storing food and liquids to protecting sensitive electronics. However, achieving true waterproofness and airtightness with 3D prints can be challenging due to the inherent layer-by-layer nature of FDM (Fused Deposition Modeling) and even resin printing. In this article, I’ll draw on years of hands-on experience to guide you through proven techniques, materials, and post-processing tips to reliably create waterproof and airtight containers.
Choosing the Right Material
Material selection is the foundation of success. Not all filaments or resins perform equally when it comes to moisture and air resistance:
- PETG: This filament is naturally more water-resistant than PLA and ABS, thanks to its chemical structure. It also bonds layers better, reducing the risk of leaks.
- ABS: Offers good water resistance but may require enclosure printing and post-processing to ensure full airtightness.
- Nylon: Highly durable and water-resistant, but can be tricky to print due to warping and moisture absorption during storage.
- Resin: SLA or MSLA resin prints can be highly airtight and waterproof due to their solid, non-porous nature, but careful post-curing is essential.
Always check the food-safety and chemical compatibility of your chosen material if your container will contact consumables or harsh substances.
Optimizing Print Settings for Better Sealing
Printing parameters can make or break your container’s integrity. Here are key settings to focus on:
- Layer Height: Use a smaller layer height (e.g., 0.1-0.16mm). This creates smoother walls and reduces micro-gaps between layers.
- Wall Thickness: Increase your wall line count and overall wall thickness (minimum 1.2-1.6mm, preferably 2mm+ for containers). Thicker walls mean less chance for leaks.
- Top and Bottom Layers: Use at least 6-8 solid top and bottom layers to prevent pinholes.
- Infill Density: For solid, pressure-resistant containers, use 100% infill or at least 50% with overlapping infill pattern (lines or grid) for extra strength.
- Flow Rate/Extrusion Multiplier: Slightly increase (e.g., to 105%) to ensure solid extrusion and fill any potential gaps between lines and layers.
- Print Speed and Temperature: Reduce speed and use the upper end of your material’s recommended temperature range. This promotes better layer fusion.
Designing for Airtightness
How you design your container is just as important as settings:
- Avoid Sharp Internal Corners: Fillets or chamfers can help ensure consistent material flow and reduce weak points.
- Simple Geometry: Fewer seams, overhangs, and complex features mean fewer potential leak points.
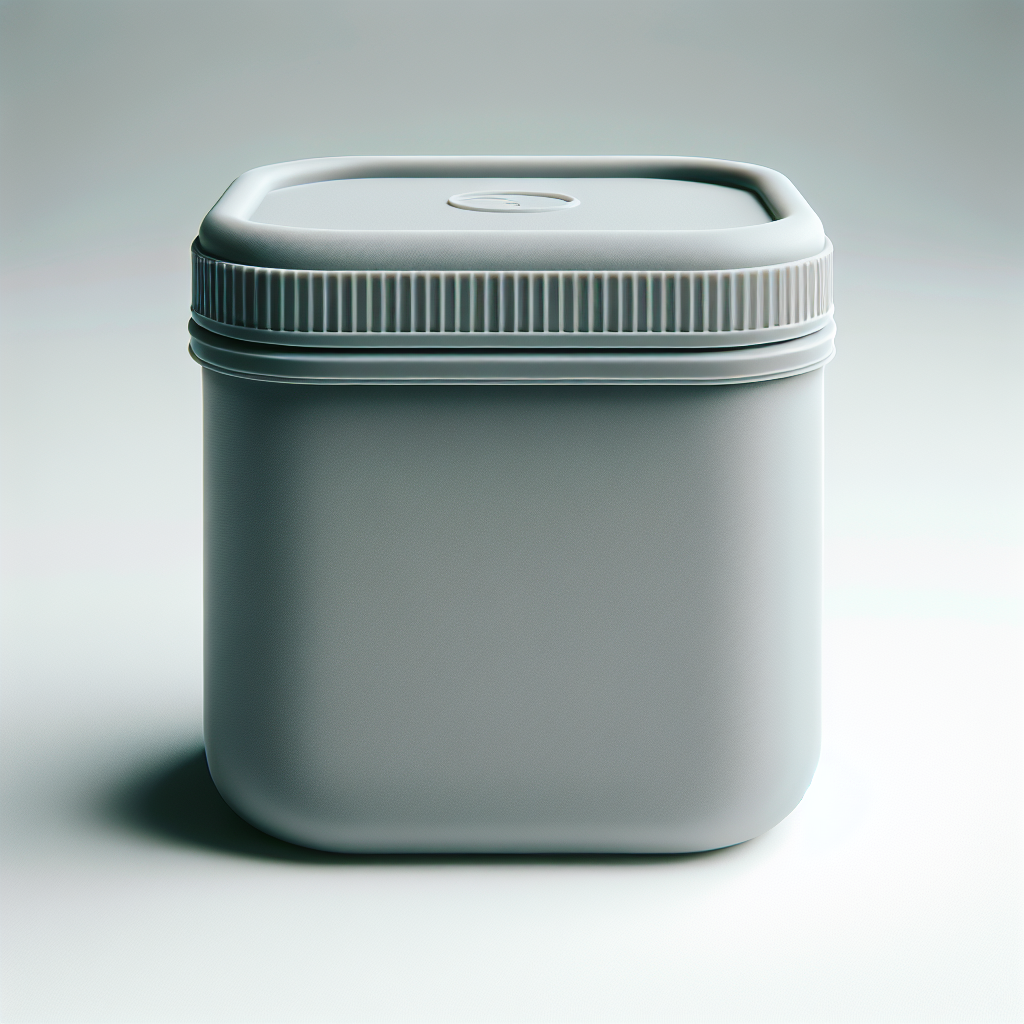
- Threaded vs. Snap-Fit Lids: Threaded lids with an O-ring groove provide the best airtight seal. For snap-fit designs, consider a channel for an O-ring or gasket.
- Design for Post-Processing: Consider the ease of applying a sealant or epoxy to the inside if needed.
Post-Processing for Perfect Sealing
For truly waterproof and airtight results, post-processing is often essential:
1. Chemical Smoothing
- ABS: Acetone vapor smoothing can fuse layers and fill small gaps, resulting in a glassy, water-tight surface.
- PETG/Nylon: Chemical smoothing is trickier, but dichloromethane can sometimes be used for PETG (with extreme caution and proper ventilation).
2. Epoxy or Sealant Coating
- Applying a thin layer of food-safe epoxy resin (such as XTC-3D) to the interior and/or exterior can make almost any FDM print waterproof and airtight.
- Silicone-based sealants are excellent for lid edges and seams, especially for containers holding liquids under pressure.
3. Testing for Leaks
- Fill your printed container with water, seal it, and check for drips or moisture after several hours.
- For airtightness, submerge the sealed container and gently squeeze; look for escaping bubbles.
Special Tips for SLA/Resin Printing
Resin prints are inherently less porous, but curing is key. Ensure you fully wash and post-cure your prints to harden all surfaces. For added safety, a thin coat of UV-cured resin on the inside can guarantee a flawless, non-porous seal.
Common Pitfalls and Troubleshooting
- Porosity: If you find leaks, try increasing wall thickness, applying more overlap, or switching to a different material.
- Warping: Warped bases or lids won’t seal – use a heated bed and enclosure, and ensure your print surface is level.
- Threaded Lid Leaks: Design threads with a groove for a gasket or O-ring. Soft TPU printed rings can work as gaskets too.
Conclusion
Creating waterproof and airtight 3D printed containers is absolutely achievable with careful material selection, optimized print settings, thoughtful design, and, when necessary, effective post-processing. By combining these techniques and rigorously testing your prints, you’ll be able to fabricate custom containers that stand up to even the toughest sealing requirements. Happy printing!
Leave a Reply