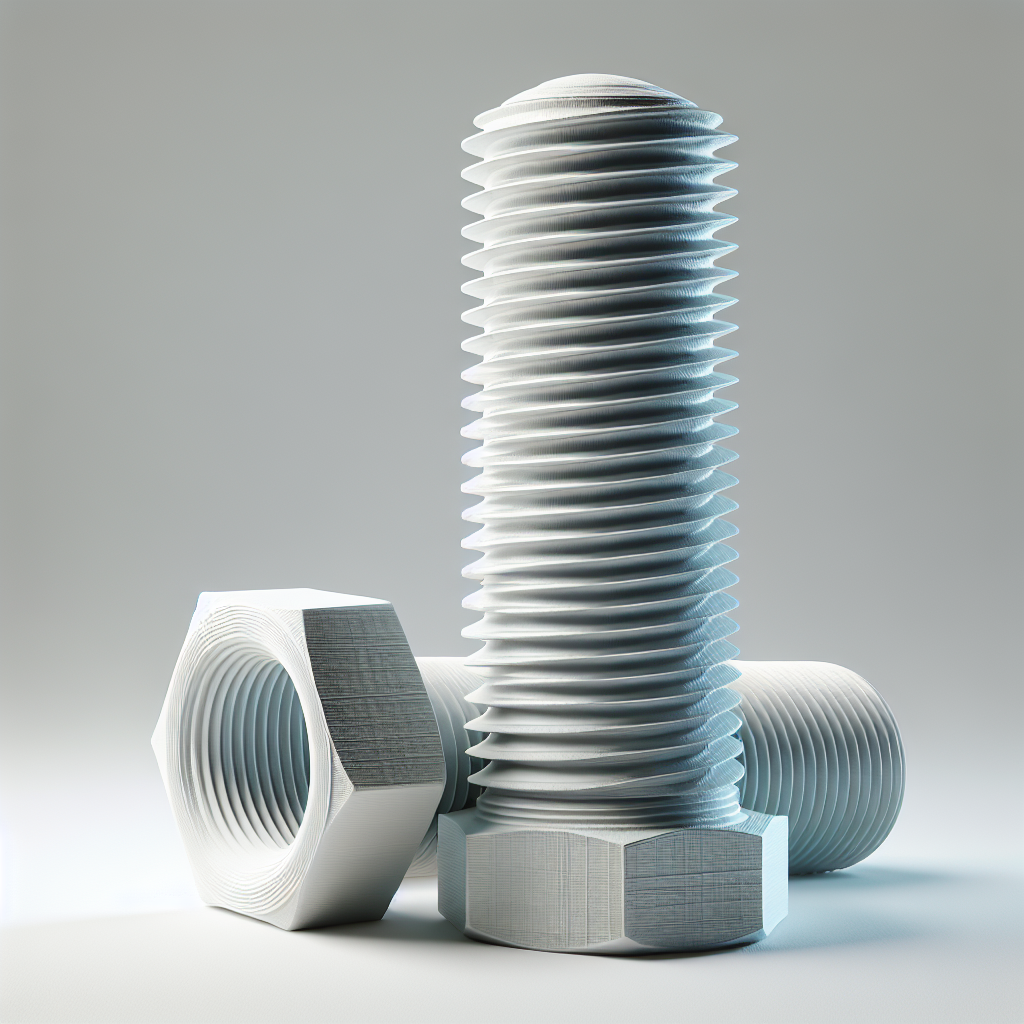
Understanding the Challenge: Why Threads Are Tricky in 3D Printing
3D printing nuts, bolts, and threaded parts is a fantastic way to create custom fasteners, prototypes, and replacement parts on demand. However, printing functional threads is notoriously challenging. Issues like poor fit, weak threads, and failed prints are common—especially with FDM (Fused Deposition Modeling) printers. The root of these problems lies in the fine detail required for strong, reliable threads and the limitations of most desktop 3D printers.
Fortunately, with the right approach, you can 3D print robust, functional threads for nuts and bolts that work perfectly with minimal post-processing. Let’s dive into best practices, design considerations, slicer settings, and post-print tips that will help you print threads without failures.
Designing Threads for 3D Printing Success
- Choose the Right Thread Profile: Standard thread profiles (like ISO Metric or UNC/UNF) can be challenging due to fine pitch and sharp details. Consider using coarser threads and modifying the design for 3D printing, such as slightly blunted or “trapezoidal” threads, which are easier for printers to handle.
- Increase Thread Clearance: Unlike machined parts, 3D printed parts require more clearance to compensate for printer tolerances and material expansion. Increase the internal diameter of your nut or the external diameter of your bolt by 0.1–0.3 mm, depending on your printer’s accuracy. For FDM, err on the generous side; for resin printing, you can use tighter tolerances.
- Use Thread Generators: CAD plugins (like Fusion 360’s thread creator, OpenSCAD’s threads library, or online generators like “threadcreator.com”) are invaluable for creating printable threads. Ensure you select settings optimized for 3D printing, not just for standard machining.
- Avoid Overly Fine Threads: For FDM, avoid pitches finer than 1 mm. Larger threads print better and are more reliable. For small fasteners, consider using heat-set inserts or tap the threads after printing.
Optimizing Your Print Settings
- Print Orientation: For the strongest threads, print bolts vertically (thread axis aligned with Z-axis). This ensures the layers run perpendicular to the shear force, giving the threads maximum strength. However, if you must print horizontally, consider increasing perimeters and infill.
- Layer Height: Use a layer height that is no more than half the pitch of your thread. For example, with a 1.5 mm pitch, stick to ≤0.3 mm layers. Finer layers capture thread details better.
- Wall/Perimeter Count: Increase perimeters to at least three. More perimeters mean stronger, more defined threads and less risk of de-lamination.
- Use Slower Speeds: Slowing down print speed for threaded parts (<30 mm/s) improves accuracy and thread definition, reducing stringing and blobbing.
- Avoid Supports If Possible: Threads printed with support material inside are difficult to clear. Design with overhangs ≤45° where possible, or use soluble supports.
Material Matters: Best Filaments for Threads
- PETG: Strikes a great balance between strength, flexibility, and layer adhesion. Threads printed in PETG are tough and less likely to strip.
- ABS/ASA: Excellent choice for high-strength, heat-resistant threads. Requires a heated bed and enclosure for best results.
- Nylon: Ultra-strong and slightly flexible—great for high-wear threads. It can be harder to print but yields durable results.
- PLA: Works for non-load-bearing threads but is brittle. Use for prototypes only.
Post-Processing: Getting the Perfect Fit
- Chasing Threads: After printing, chasing the threads with a metal nut or tap (for internal threads) and die (for external threads) cleans up any imperfections and ensures smooth operation.
- Sanding and Lubrication: Lightly sanding threads or using a dab of PTFE/silicone lubricant can make them operate more smoothly, especially if there’s slight over-extrusion.
- Heat-Set Inserts: For small or frequently-used threads, consider embedding heat-set brass inserts during or after printing for metal-on-metal strength.
Common Problems and How to Fix Them
- Threads Won’t Fit: Increase clearance in your design, calibrate your extruder steps, and check for over-extrusion.
- Weak or Stripping Threads: Use more perimeters, stronger material, print in the optimal orientation, or use inserts for high-wear applications.
- Stringy or Incomplete Threads: Lower printing temperature, reduce speed, and ensure your cooling is adequate.
Pro Tips from the Print Bench
- Always print a short test section of your thread first to dial in fit and function before committing to a full part.
- If designing for external hardware, reference real-world nuts and bolts with a caliper to ensure compatibility.
- Consider “lead-in chamfers”—a 1–2 mm bevel at the start of the thread makes it easier to engage printed threads.
Conclusion
With careful design, the right print settings, and a bit of post-processing, 3D printing functional threads for nuts and bolts can be reliable and repeatable. Whether you need custom fasteners, jigs, or prototypes, mastering this skill unlocks a world of engineering possibilities—all from your desktop printer. Happy printing!


Leave a Reply