
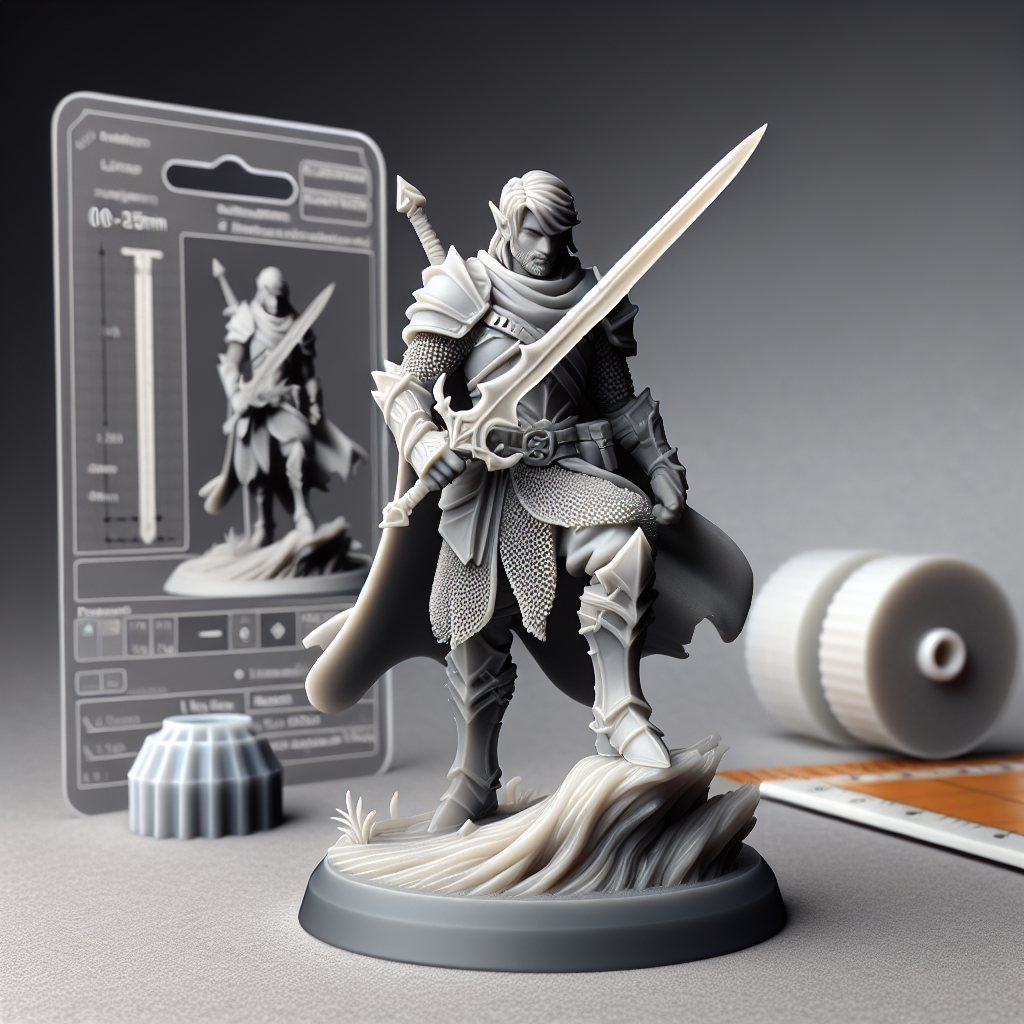
Understanding the Basics: Why Detail Matters in Miniature 3D Printing
When it comes to 3D printing miniatures—whether for tabletop games, display, or prototyping—detail is everything. The tiny facial expressions, fine textures, and sharp edges are what set apart a professional-looking miniature from an average one. Achieving that exceptional detail isn’t just about pressing ‘print’; it requires thoughtful preparation, the right hardware, quality materials, and precise post-processing. Here’s how you can produce miniatures with truly incredible detail, based on years of hands-on 3D printing experience.
Choosing the Right 3D Printer: FDM vs. Resin
For miniatures, your choice of printer is paramount. There are two major types:
- Fused Deposition Modeling (FDM): While FDM printers are great for larger items and functional parts, they struggle with very fine details due to their nozzle size and layer height. Even at 0.1mm layers and a 0.2mm nozzle, you’ll notice stair-stepping and less smooth surfaces on miniatures.
- Stereolithography (SLA) / MSLA Resin Printers: Resin printers cure liquid resin with UV light, offering layer heights as low as 0.025mm and XY resolutions below 50 microns. For miniatures, especially those under 50mm tall, resin printers like the Elegoo Mars, Anycubic Photon, or Prusa SL1S are the gold standard.
If you’re serious about detail, invest in a resin 3D printer.
Optimizing Your 3D Model for Printing
No matter how good your printer is, a poorly prepared model will result in poor prints. Here are crucial steps:
- High-Resolution Models: Start with a model designed for print, with enough polygon detail to capture tiny features. STL files should be watertight and error-free.
- Proper Scaling: Make sure your model is sized appropriately. Undersized features like thin swords or tiny hands can break or fail to print properly.
- Orient for Success: Orient miniatures at a slight angle (usually 30–45 degrees) to the build plate. This reduces the likelihood of print lines and supports delicate details.
- Smart Support Placement: Use your slicer’s manual support tools to add supports only where needed. Avoid placing supports on faces or other high-detail areas that you don’t want to sand later.
Printer Settings: Unlocking the Best Detail
Dialing in your printer settings makes a huge difference:
- Layer Height: For resin printers, set your layer height between 0.025mm and 0.05mm. For FDM, go as low as your printer and nozzle will allow (usually 0.1mm or less).
- Exposure Times: Find the sweet spot for your specific resin—too little exposure leads to detail loss, too much can over-cure and soften details. Run exposure tests with your resin batch.
- Anti-Aliasing: Enable anti-aliasing in your slicer to smooth out stepping on curved surfaces.
- Bed Adhesion: Use a good raft or brim to prevent warping and ensure your miniature stays put throughout the print.
Material Matters: Choosing the Right Resin
The type of resin you use can impact both the level of detail and the post-processing experience. For miniatures:
- Standard Grey Resin: Offers good detail and is usually the easiest to paint after curing.
- ABS-Like Resin: Provides a bit more toughness, which helps with fine, fragile parts.
- High Detail / Model Resin: Specifically formulated for sharper details and crisper prints. Consider resins from brands like Siraya Tech or Elegoo’s “Model” line.
Post-Processing: Bringing Out the Detail
After printing, the real magic happens. Proper post-processing will preserve and enhance the small features you worked so hard to print.
- Cleaning: Gently clean your print in 99% isopropyl alcohol. Use a soft brush to reach crevices but avoid excessive scrubbing which could damage details.
- Curing: Cure your print evenly using a UV lamp or sunlight. Over-curing can make the miniature brittle and cause detail loss.
- Support Removal: Take your time removing supports with flush cutters and a hobby knife. Support marks can be minimized with careful placement and gentle sanding, if necessary.
- Surface Finishing: Sand only if needed, using very fine grit (800-2000+). For FDM prints, apply filler primer before sanding to preserve small details.
Painting: Making Details Pop
High-quality printing deserves high-quality painting:
- Priming: Always prime your miniatures to help paint adhere and to bring out subtle details. Use a spray primer formulated for miniatures.
- Brush Technique: Use thin layers of paint and consider washes or dry-brushing to enhance textures and fine features.
Common Problems (and Solutions) in High-Detail Miniature Printing
- Missing Fine Details: Try lowering your layer height, slowing down print speed, or using a higher-quality resin.
- Warping or Layer Shifts: Ensure your build plate is level and your printer is vibration-free.
- Support Scars: Experiment with lighter supports and reposition to less noticeable areas.
Final Thoughts: Practice Makes Perfect
Mastering miniature 3D printing with incredible detail is a journey. Invest in the right equipment, take time to prepare your files, and don’t rush the post-processing. Over time, you’ll develop a workflow that consistently produces jaw-dropping miniatures ready for the tabletop or display case.
Happy printing!
Leave a Reply