
Why 3D Printing Timelapses Are So Popular
3D printing timelapse videos have exploded in popularity over the past few years, captivating viewers with mesmerizing footage of objects seemingly growing out of thin air. Whether you’re sharing your latest project on social media, building your brand on YouTube, or showcasing your shop’s capabilities, a well-crafted timelapse turns a lengthy print into a visually stunning experience. But what makes a great 3D printing timelapse? In this guide, I’ll share the top techniques for capturing smooth, impressive, and professional-looking 3D printing timelapse videos.
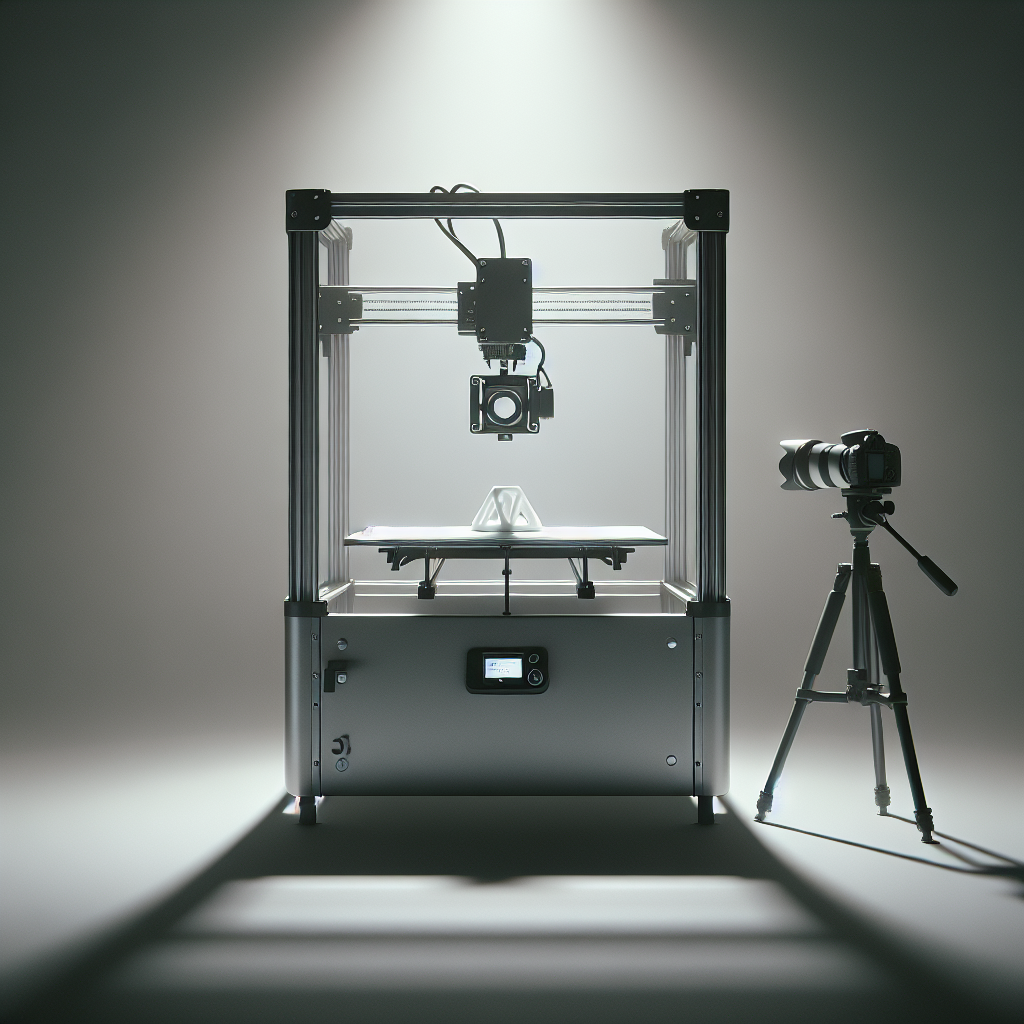
Choosing the Right Camera Setup
The camera you use can make a significant difference in the quality of your timelapse. You have three main options:
- Smartphones: Modern smartphones offer excellent camera quality and built-in timelapse features. They’re easy to set up but may be limited in manual control and long-duration reliability.
- DSLR or Mirrorless Cameras: These provide the best image quality and flexibility for settings like exposure, ISO, and focus. Many have built-in intervalometers or can be paired with external ones.
- Action Cameras (GoPro, etc.): Widely used in the 3D printing community thanks to their compact form, wide angles, and timelapse modes. Mounting is easy, and USB power extends recording time.
Placement matters: Ideally, position the camera at bed level and perpendicular to the area you want to highlight. For dramatic effect, try an oblique angle to emphasize the object’s growth. Steady mounting is crucial—use tripods, articulated arms, or custom mounts attached to your printer’s frame.
Lighting for Consistent Footage
Lighting can make or break your timelapse. Inconsistent lighting causes distracting flicker and ruins the smoothness of your video. Here’s how to get it right:
- Use continuous, diffused lighting—LED panels or ring lights work wonders.
- Block out ambient or fluctuating natural light by covering windows or filming at night.
- Set your camera to manual exposure and white balance to prevent auto adjustments mid-print.
Classic Timelapse vs. Layer-by-Layer Timelapse
There are two primary styles for 3D printing timelapses:
1. Classic Interval Timelapse
This is the simplest method: set the camera to take a photo every few seconds (usually between 5 and 30 seconds). Most smartphones and action cameras have a built-in mode for this. The resulting video shows the print growing, but with visible movements of the print head and bed, which can look messy or distracting.
2. Layer-by-Layer (“Octolapse”/PrusaSlicer) Timelapse
For a truly magical effect, use a technique called “layer-synchronized” or “motionless timelapse.” Software like Octolapse (for OctoPrint users) or built-in PrusaSlicer timelapse scripts coordinates the printer to move the print head out of the way after every layer, pausing briefly so the camera can take a photo. The result? A smooth video where the print appears to grow upwards, with the nozzle and bed never obscuring the view.
How to Set Up Layer-by-Layer Timelapse (Octolapse & Alternatives)
- Octolapse: Install the plugin in OctoPrint, connect your camera, and configure your print profile. Octolapse will synchronize each snapshot with the printer’s G-code, moving the nozzle out of the frame before each photo. This requires some setup (calibration, specifying bed size, etc.), but the results are phenomenal.
- PrusaSlicer/Other Slicers: Many slicers can insert custom G-code at the end of each layer to trigger a camera or move the head. For DIY setups, connect a camera’s remote shutter to your printer’s controller, or use a Raspberry Pi to control both camera and printer.
Tips for More Professional Results
- Manual Focus: Autofocus can cause focus jumps. Set your focus manually to keep the object sharp throughout the print.
- Stable Mounting: Vibrations from the printer will ruin your shots. Use a heavy tripod or rigid mount separated from the printer’s moving parts.
- Consistent Framing: Avoid bumping the camera during long prints. Check framing before starting—leave space for the full height of your print.
- Battery & Storage: Power your camera externally if possible, and use large memory cards. Some cameras can save directly to external drives.
- Post-Processing: Use video editing software to stabilize shaky footage, adjust exposure, and add titles or music. Free tools like DaVinci Resolve or Shotcut are great options.
Advanced: Automated Camera Triggers & Multiple Angles
For advanced creators, consider integrating external camera triggers (via GPIO or Arduino) to synchronize your DSLR with your printer, or using multiple cameras for different perspectives. You can intercut close-ups, wide shots, and even behind-the-scenes angles to make your timelapse stand out.
Common Pitfalls to Avoid
- Running out of power or storage mid-print
- Bumping or misaligning the camera during the print
- Poor lighting causing flicker or color shifts
- Unstable mounts causing blurred images
Conclusion: Your Signature 3D Printing Timelapse
Creating eye-catching 3D printing timelapse videos is both a technical and creative process. By investing in the right camera setup, mastering lighting, and using layer-synchronized techniques, you can produce smooth, compelling videos that showcase your prints in their best light. Experiment with angles, lighting, and editing to develop a style that’s uniquely yours. With practice and patience, your timelapse videos can become as impressive as the prints themselves!
Leave a Reply