
Understanding the Importance of 3D Print Speed Settings
Finding the perfect print speed is crucial for achieving both high-quality prints and efficient production times. While faster speeds can shorten production cycles, they can also compromise print quality. On the other hand, excessively slow speeds might yield perfect prints but significantly increase printing duration. Balancing these factors is essential for optimal results.
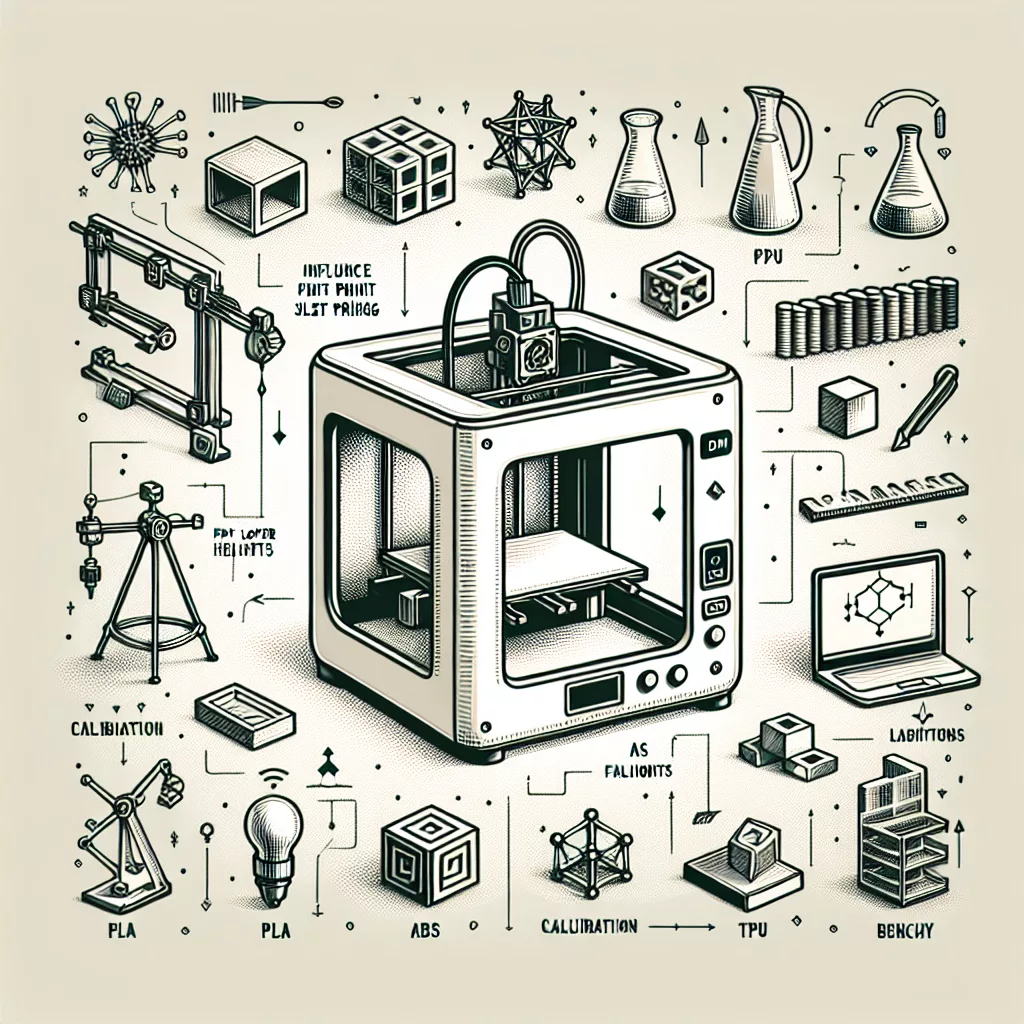
Factors Impacting Print Speed Settings
Several variables influence optimal print speeds:
- Printer type and model: Each printer has its own optimal speed range, depending on build quality, motor performance, and stability.
- Filament type: Different materials require specific speeds to ensure proper layer adhesion and quality.
- Nozzle size and layer height: Smaller nozzles and thinner layers generally require slower speeds, while larger nozzles can handle faster speeds without sacrificing much quality.
- Model complexity: Complex or detailed models generally require slower speeds to ensure fine features are printed accurately.
Recommended Speeds for Common Filament Types
Different filament materials come with varying viscosity and temperature sensitivities. Here’s a general guideline to help you achieve quality prints efficiently:
PLA (Polylactic Acid)
- Standard print speed: 50–70 mm/s
- High quality/detail: 30–50 mm/s
- Draft prints/high speed: 70–100 mm/s (may sacrifice some quality)
ABS (Acrylonitrile Butadiene Styrene)
- Standard print speed: 40–60 mm/s
- High quality/detail: 30–40 mm/s
- Draft prints/high speed: 60–80 mm/s (with increased risk of warping)
PETG (Polyethylene Terephthalate Glycol)
- Standard print speed: 40–60 mm/s
- High quality/detail: 30–45 mm/s
- Draft prints/high speed: 60–80 mm/s (may cause stringing or blobbing)
TPU (Thermoplastic Polyurethane)
- Standard print speed: 15–30 mm/s
- High quality/detail: 10–20 mm/s
- Draft prints/high speed: 30 mm/s maximum (exceeding this tends to cause extrusion issues)
Adjusting Speed for Model Complexity
Complex models containing intricate features or pronounced overhangs require speed adjustments. Slower speeds, around 30–50 mm/s, greatly enhance fine detail, minimize stringing, and improve layer adhesion. For simpler geometric shapes or functional prototypes, higher speeds can be utilized effectively.
Optimizing Speeds by Print Area or Features
Using slicing software (such as Cura, Simplify3D, or PrusaSlicer), you can specify different speeds for various parts of your print:
- Outer walls: Slow down to increase surface quality (30–50 mm/s).
- Inner walls: Moderate speed as quality is less critical here (40–60 mm/s).
- Infill: Higher speed can improve efficiency without significantly affecting quality (60–100 mm/s).
- Support structures: Moderate to high speed depending on the complexity (50–70 mm/s).
- First layer: Always print slower (20–30 mm/s) to enhance bed adhesion and reliability.
Testing and Fine-Tuning Your Print Speeds
The speeds outlined above provide a solid starting point, but optimal settings vary depending on your specific printer, filament, and model. Conducting test prints and adjusting speed settings incrementally can help achieve the perfect balance between quality and efficiency. Common calibration tests, such as benchy or calibration cubes, can assist in fine-tuning your settings.
Final Thoughts: Achieving the Perfect Balance
The best 3D print speed settings rely on balancing your needs for quality and print duration. Always consider your filament type, model complexity, and printer capabilities. By carefully adjusting and testing your speed settings, you’ll soon become proficient at consistently producing impressive, efficient, and reliable prints.

Leave a Reply