
Introduction: The Quest for Smooth PLA Prints
3D printing enthusiasts strive for flawless results, but one of the most common challenges is achieving smooth surfaces on PLA prints. While sanding and acetone smoothing are widely discussed, they aren’t always ideal—sanding is labor-intensive, and acetone doesn’t work on PLA. Luckily, several alternative techniques can help you achieve a professional finish without the dust or harsh chemicals. Drawing from years of hands-on 3D printing experience, let’s delve into effective ways to smooth PLA prints that go beyond the usual methods.
1. Use a Heat Gun for Surface Smoothing
A heat gun is a favorite tool in the maker’s arsenal for post-processing PLA prints. By carefully applying controlled heat, you can slightly melt the outer layer of your print, softening the ridges created by layer lines.
How to Do It:
- Choose a heat gun with adjustable temperature (around 200–220°C works for most PLA brands).
- Hold the print with tweezers or gloves to avoid burns.
- Pass the heat gun quickly and evenly over the surface. Keep it moving to prevent warping or melting details.
- Start on a test piece to find the perfect distance and speed—too much heat in one spot can ruin your print.
This method is fast and effective, but practice is key to avoid damaging your model.
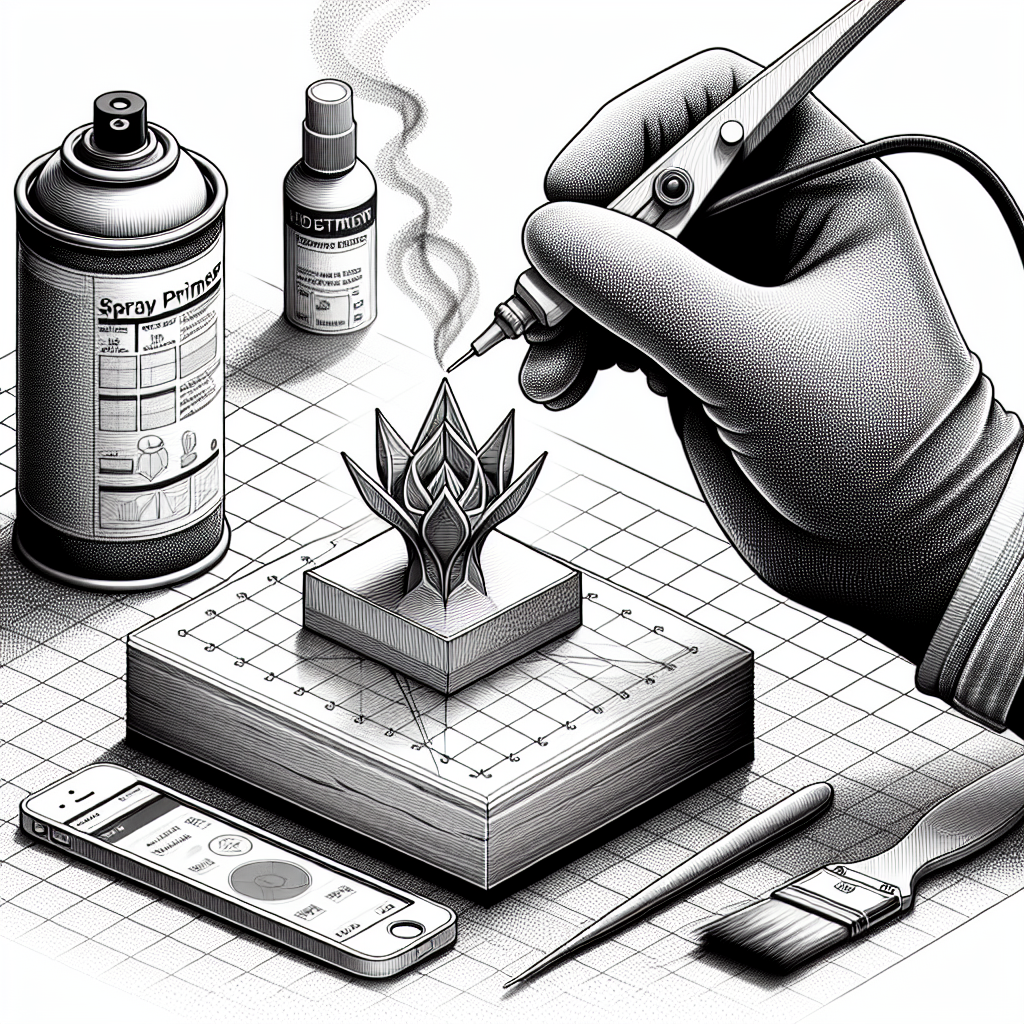
2. Apply a PLA-Compatible Filler Primer
Automotive filler primers are designed to fill small imperfections and can work wonders on 3D printed PLA. Look for a spray-on primer that’s safe for plastics.
How to Do It:
- Clean your print to remove dust and oils.
- Apply several thin coats of filler primer, allowing each coat to dry fully.
- Between coats, gently wipe down the model with a tack cloth.
- For a super-smooth finish, follow up with a light, gentle wet cloth once completely dry, but skip sanding for this guide.
Multiple coats will gradually fill in layer lines, leaving a smoother canvas for painting or further finishing.
3. Use Epoxy Resin Coating
Epoxy resin is a game-changer for achieving glass-like finishes on PLA prints, especially for decorative or functional parts that need to be sealed.
How to Do It:
- Select a clear, two-part epoxy resin suitable for plastic (such as XTC-3D).
- Mix the resin according to the manufacturer’s instructions.
- Apply a thin coat evenly with a brush, working in a well-ventilated area.
- Allow the print to cure undisturbed. For best results, apply two to three thin coats.
Epoxy smooths out even rough prints, providing a glossy, durable surface. It’s also waterproof and ideal for projects exposed to the elements.
4. Experiment with Chemical Smoothing Agents
Though acetone is ineffective for PLA, other chemicals like ethyl acetate (nail polish remover with ethyl acetate as the main ingredient) can be used for smoothing PLA with caution.
How to Do It:
- Use in a well-ventilated area with gloves and a mask.
- Brush a small amount onto your print or expose it to vapors in a controlled chamber. Do not soak the model.
- Monitor closely, as overexposure can deform your print.
- Let the print air out thoroughly before use.
This method requires care but can yield impressive results—always test on scrap pieces before working on your final model.
5. Print Settings Matter: Optimize for Smoother Surfaces
Prevention is the best strategy. Fine-tuning your slicer settings can result in noticeably smoother prints straight off the bed, reducing the need for post-processing.
Tips for Smoother Prints:
- Lower your layer height (0.1–0.15 mm for standard nozzles) to reduce visible lines.
- Increase wall/perimeter counts for thicker, more solid surfaces.
- Slow down your print speed for better layer adhesion and finish.
- Enable “ironing” in your slicer, which smooths the topmost layers by running the nozzle over them while extruding minimal filament.
A little slicer tweaking can save hours of post-processing down the line.
Conclusion: Find What Works for You
Smoothing PLA prints without sanding or acetone is entirely achievable with the right tools and techniques. Whether you opt for heat guns, primers, epoxy coatings, or slicer optimizations, each method comes with unique strengths. Try different approaches on test prints and discover the technique that best meets your needs and desired finish. Happy printing!
Leave a Reply