
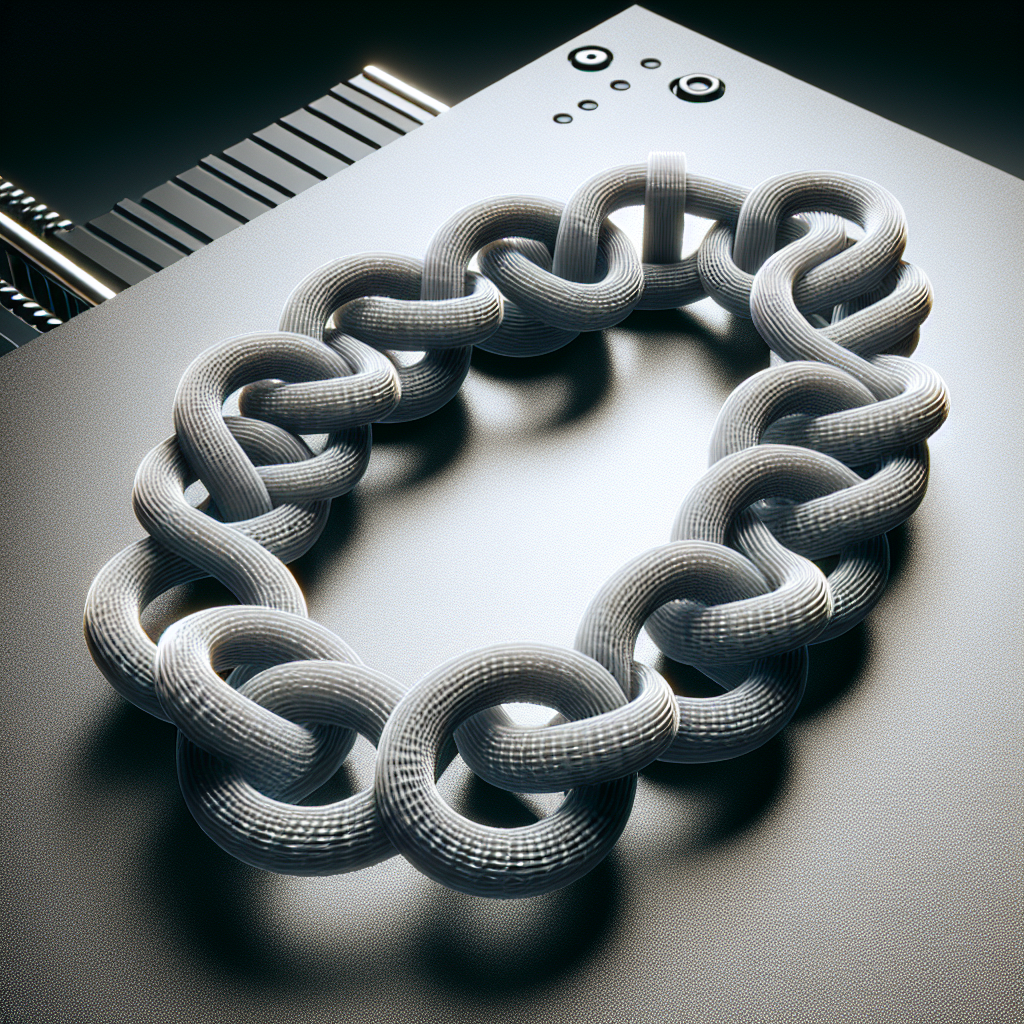
Understanding 3D Printed Chainmail and Flexible Mesh Designs
Chainmail and flexible mesh designs are some of the most fascinating applications of 3D printing, demonstrating the technology’s unique ability to produce interlinked, movable parts in a single print. Whether you’re aiming to create cosplay armor, wearable fashion, or mechanical prototypes, the process offers endless creative potential. In this article, we’ll explore best practices, recommended materials, and expert tips for successfully 3D printing your own chainmail and flexible mesh designs.
Selecting the Right Design: Chainmail vs. Mesh
Before you start printing, it’s essential to choose a design that suits your intended application. Chainmail typically refers to interlocking rings, much like medieval armor, while flexible mesh can include grid-like lattices, scales, or other repeating patterns. Platforms like Thingiverse, MyMiniFactory, and Printables host hundreds of free, ready-to-print designs. For beginners, start with simpler patterns to get a feel for your printer’s capabilities.
Choosing the Best Filament for Flexibility
Material selection is crucial. The most common filament for flexible prints is TPU (thermoplastic polyurethane), prized for its stretch and resilience. PLA and PETG are also viable for chainmail, especially for less-flexed decorative pieces, but will be stiffer. For wearable chainmail or anything requiring significant flexibility, always opt for TPU or other flexible filaments. Check your printer’s compatibility with TPU, as direct-drive extruders generally handle flexible filaments better than Bowden setups.
Printer Settings for Flexible Designs
Printing chainmail and mesh presents unique challenges, especially with flexible filaments. Here are my recommended settings based on experience:
- Layer Height: 0.2mm is a good starting point. Finer layers can help with detail, but increase print time.
- Nozzle Temperature: Most TPUs print well between 210–230°C. Always check your filament’s specs.
- Print Speed: Slow and steady wins the race. Start with 20–30 mm/s for flexible filaments.
- Retraction: Minimize retraction distance and speed to prevent jams or filament buckling.
- Bed Adhesion: Use a heated bed (40–60°C for TPU). Consider using glue stick or PEI sheets to prevent warping.
- Cooling: Enable part cooling fans, but not at full blast—moderate cooling prevents stringing while maintaining layer adhesion.
Orientation and Support Strategies
One of the marvels of 3D printed chainmail is printing interlocked rings or mesh in a single pass, requiring no assembly. The trick is orientation: lay the mesh flat on the build plate. Most chainmail patterns are designed for flat printing—printing upright can lead to fused links or failed prints.
Supports are usually not needed if the design is flat. If your mesh includes overhangs or attached details, minimal support may be required. For most wearable chainmail, try to avoid supports, as they can fuse links together if not dialed in perfectly.
Optimizing First Layer and Bed Adhesion
Getting the first layer right is even more critical for chainmail and mesh than typical prints. Warping or poor adhesion can ruin intricate patterns or cause print failures:
- Ensure your bed is perfectly level.
- Clean the bed thoroughly before printing.
- Consider using a brim for extra adhesion, especially for large or intricate pieces.
- Watch the first few layers to ensure that no links are detaching or curling up.
Post-Processing and Finishing Touches
Once printed, flexible mesh and chainmail usually require minimal post-processing. If you find any fused or stuck links, carefully work them loose with a small tool or by gently flexing the mesh. For cosplay or decorative armor, painting or airbrushing can add metallic effects—just make sure to use flexible paints or dyes to maintain movement.
Troubleshooting Common Issues
- Fused Links: Lower your print temperature slightly, slow down your speed, and ensure your mesh design has enough clearance between parts.
- Stringing: Reduce retraction, fine-tune your cooling, and keep your nozzle clean.
- Warping or Poor Bed Adhesion: Re-level your bed, increase your brim size, or raise bed temperature.
- Jamming or Under-Extrusion (with TPU): Slow down print speed, double-check filament path, and use a direct-drive extruder if possible.
Inspiration: Uses for 3D Printed Chainmail and Mesh
Creative makers use 3D printed chainmail and mesh for a wide range of projects:
- Cosplay armor and costume accessories
- Wearable tech or fashion pieces
- Flexible hinges and mechanical components
- Unique bags, wallets, or decor
- Lightweight padding or protective gear
Conclusion: Unlocking New Possibilities with Flexible Prints
3D printing chainmail and flexible mesh designs opens a world of innovation, allowing you to create functional, movable structures impossible with traditional manufacturing. With the right materials, printer settings, and a bit of patience, you can produce stunning, flexible prints straight off your build plate. Give it a try—you might be amazed at what your printer can achieve!
Leave a Reply