
Understanding the Importance of First Layer Calibration
Achieving a flawless first layer is the foundation for every successful 3D print. A poorly calibrated first layer can lead to adhesion problems, warping, or even print failures. From years of hands-on experience, I can attest that investing time in first layer calibration drastically improves print quality and reduces frustration.
Essential Tools for First Layer Calibration
Before you begin, gather these essentials:
- Feeler gauge or standard printer paper (for manual bed leveling)
- Isopropyl alcohol and a lint-free cloth (for cleaning the build surface)
- Your printer’s calibration tools (usually an included wrench or screwdriver)
- Access to your printer’s firmware or control panel
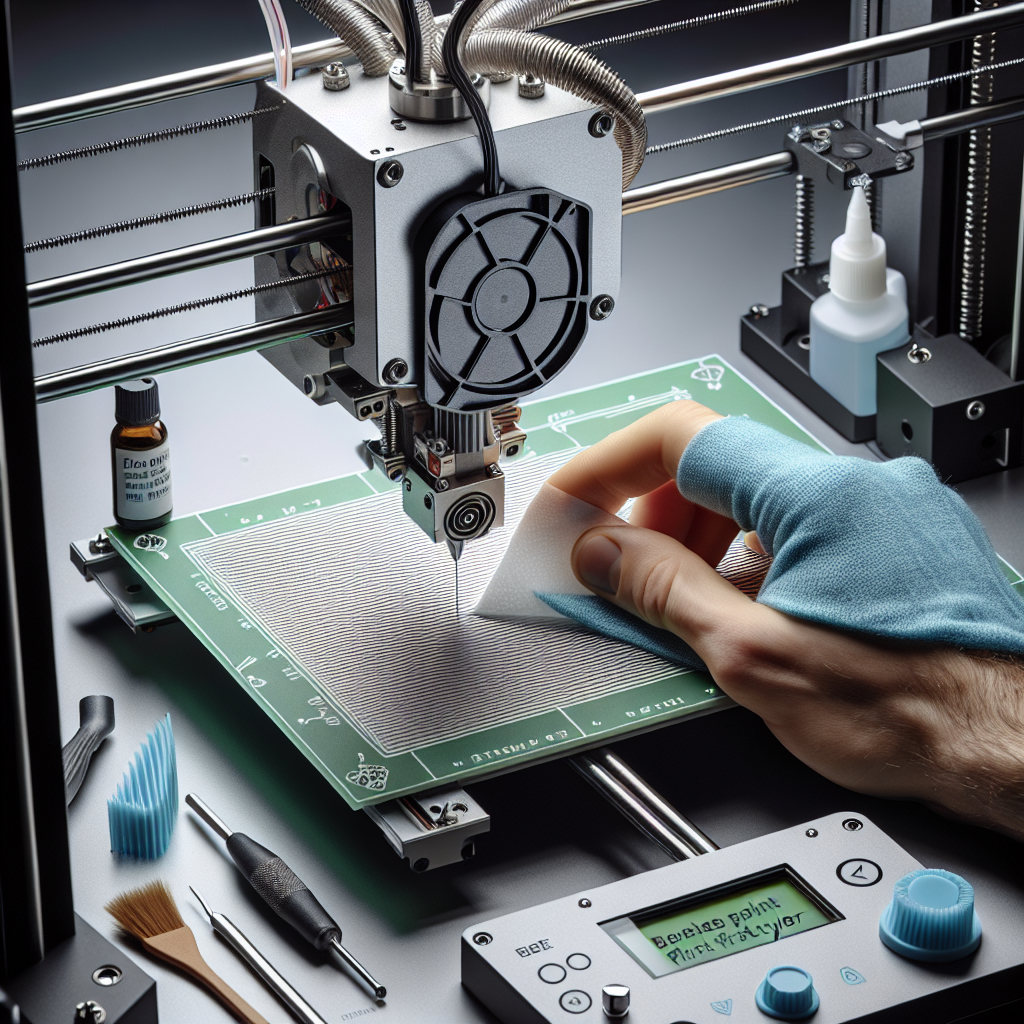
Step 1: Clean Your Print Surface
A clean bed ensures good filament adhesion. Dust, oil from your fingers, or leftover filament can prevent your first layer from sticking. Use isopropyl alcohol and a lint-free cloth to thoroughly clean the print surface before every print.
Step 2: Level the Print Bed
Manual or automatic, bed leveling is crucial. Here’s how to do it manually:
- Home your printer’s axes.
- Move the nozzle to each corner of the bed and the center, lowering it until it nearly touches the bed.
- Insert a piece of paper or a 0.1 mm feeler gauge between the nozzle and bed.
- Adjust the bed height so you feel slight resistance as you move the paper.
- Repeat for all points, checking the center last.
If your printer has auto-bed leveling (ABL), run the ABL routine and double-check the results by printing a test pattern.
Step 3: Set the Correct Z-Offset
The Z-offset determines the nozzle’s exact starting distance from the bed. Too high, and the filament won’t stick; too low, and you risk clogging or gouging the bed.
- Start a print and watch the first layer extrude.
- If the filament lines are thin, nearly transparent, or squished, the nozzle is too close.
- If lines are round and barely touch the bed, the nozzle is too high.
- Adjust the Z-offset in small increments until the filament is slightly squished and lays down evenly.
Step 4: Tune Bed and Nozzle Temperatures
Different materials have specific temperature requirements. Refer to filament manufacturer guidelines, but typical settings are:
- PLA: Bed 50-60°C, Nozzle 190-210°C
- PETG: Bed 70-80°C, Nozzle 220-250°C
- ABS: Bed 90-110°C, Nozzle 230-250°C
Higher bed temperatures improve adhesion, but too high can cause warping or elephant foot (overly squished first layer).
Step 5: Perfect Your Slicer Settings
Adjust these slicer settings for an optimal first layer:
- First Layer Height: A slightly thicker first layer (0.2-0.3mm) helps with adhesion.
- First Layer Speed: Slow down (15-30mm/s) for better accuracy and bonding.
- First Layer Extrusion Width: Increase to 120-140% of the nozzle width for better coverage.
Consider enabling features like “brim” or “raft” if you still struggle with adhesion.
Step 6: Inspect and Test
After calibration, print a simple test pattern (like a single-layer square or a bed-leveling test file). Inspect for:
- Uniform lines: No gaps, overlaps, or thin spots
- Good adhesion: The layer should be difficult to remove but not fused to the bed
- Consistent appearance: No blobs, stringing, or inconsistent extrusion
Make small adjustments as needed and repeat the test until the first layer is perfect.
Troubleshooting Common First Layer Issues
- Warping: Increase bed temperature, add a brim, or use adhesives like glue stick or hairspray.
- Poor adhesion: Lower the nozzle slightly or clean the bed again.
- Nozzle dragging or clogging: Raise the Z-offset and ensure the nozzle is not damaged or dirty.
Final Thoughts
A well-calibrated first layer sets the stage for print success. By methodically cleaning, leveling, adjusting Z-offset, tuning temperatures, and optimizing slicer settings, you’ll ensure your 3D prints start perfectly every time. Remember, even experienced makers revisit these steps regularly for consistent, high-quality results. Happy printing!
Leave a Reply