
Introduction
If you’re a 3D printing enthusiast or run a small print farm, monitoring your 3D printer remotely is a game-changer. This guide walks you through setting up an effective monitoring system, so you can keep an eye on your prints, reduce failed jobs, and ensure safety—all from your smartphone or computer.
Why Monitor Your 3D Printer?
3D printers can run for hours or even days. Without supervision, a small hiccup—like a filament jam or layer shift—can ruin a print and even risk fire hazards. A monitoring system helps you:
- Detect print failures early
- Paus print jobs remotely
- Prevent wasted filament
- Ensure safety, especially during long print sessions
What You’ll Need
- A 3D printer with USB or network connectivity (e.g., Prusa, Creality, Anycubic, etc.)
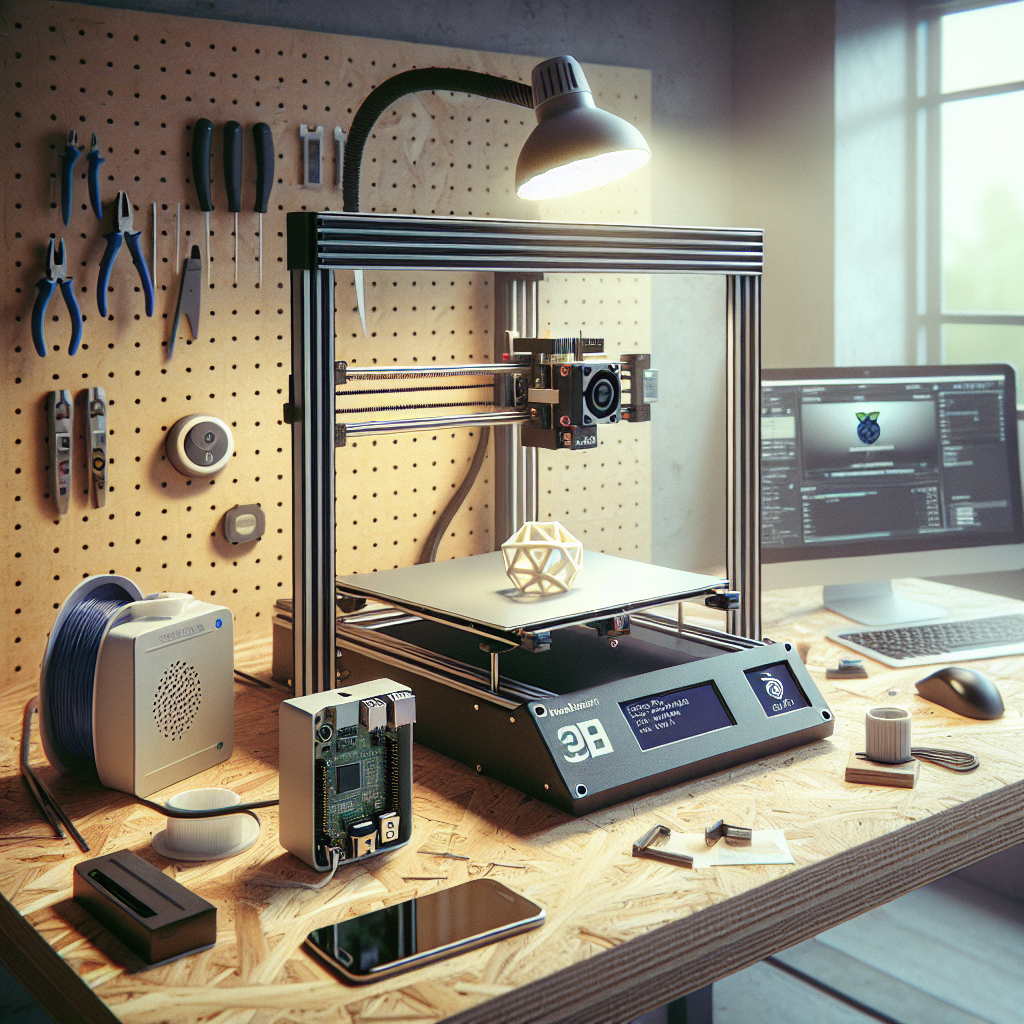
- A Raspberry Pi or spare computer (for hosting monitoring software)
- A compatible webcam
- OctoPrint or similar monitoring software
- Reliable Wi-Fi network
Step 1: Choose Your Monitoring Platform
The community favorite is OctoPrint, which is open-source and highly customizable. Alternatives include Klipper + Mainsail/Fluidd, or manufacturer-specific apps, but OctoPrint remains the most flexible for most hobbyists.
Step 2: Set Up Your Hardware
- Raspberry Pi Setup: Download and flash the OctoPi image (a Raspberry Pi-optimized OctoPrint build) to a microSD card. Insert it into your Raspberry Pi.
- Camera Installation: Plug a USB webcam or Raspberry Pi camera module into the Pi. Position it for a clear view of the print bed.
- Connection: Connect your 3D printer to the Pi via USB. Ensure your printer’s firmware supports serial communication.
- Power Up: Connect everything to power, and make sure your Pi is connected to your local network via Wi-Fi or ethernet.
Step 3: Install and Configure OctoPrint
- Boot up the Raspberry Pi connected to your network.
- Access the OctoPrint web interface by entering the Pi’s IP address in your browser.
- Run through the setup wizard, creating a secure username and password.
- Configure your printer profile—specify bed size, nozzle diameter, and other settings.
Step 4: Enable Webcam Streaming
OctoPrint usually auto-detects USB webcams. In the settings, navigate to “Webcam & Timelapse” and enter the stream URL (usually http://[pi-IP]:8080 for USB webcams). Adjust resolution and frame rate for optimal performance.
Step 5: Add Plugins for Enhanced Monitoring
OctoPrint’s plugin ecosystem is vast. Useful plugins include:
- Octolapse: For smooth timelapse videos of your prints.
- The Spaghetti Detective: AI-powered failure detection and remote notifications.
- Telegram or Pushbullet Plugins: For instant notifications to your phone.
- Print Time Genius: More accurate print completion predictions.
Step 6: Access Your Printer Remotely
For remote access outside your home network:
- Use OctoEverywhere or Obico for secure cloud-based access—these plugins require minimal setup and are secure.
- Alternatively, set up a VPN or port forwarding on your home router (advanced users only; ensure your security!).
Step 7: Safety Considerations
Remote monitoring is convenient, but remember:
- Never leave your printer running unattended for long periods—always have a smoke detector nearby.
- Consider adding a smart plug to remotely cut power in an emergency.
- Regularly update your software to patch security vulnerabilities.
Optional: Multi-Printer Monitoring
If you run multiple printers, OctoPrint can be installed on multiple Raspberry Pis, each managing a different printer. Alternatively, look into OctoFarm—a dashboard for managing several OctoPrint instances.
Conclusion
Setting up a monitoring system for your 3D printer is one of the best upgrades you can make, improving print quality, reducing waste, and offering peace of mind. With tools like OctoPrint and affordable hardware, you’ll gain full control over your 3D printing workflow from anywhere. Happy printing!
Leave a Reply