
Understanding Gyroid Infill: The Game Changer for 3D Printing
When slicing your 3D models, the infill pattern you choose can dramatically affect the strength, weight, print time, and even visual appeal of your finished part. Among popular patterns, gyroid infill stands out as a unique, mathematically inspired structure offering exceptional performance for many printing needs. In this article, I’ll share my experience and practical tips on how to use gyroid infill for making stronger and lighter 3D prints.
What is Gyroid Infill?
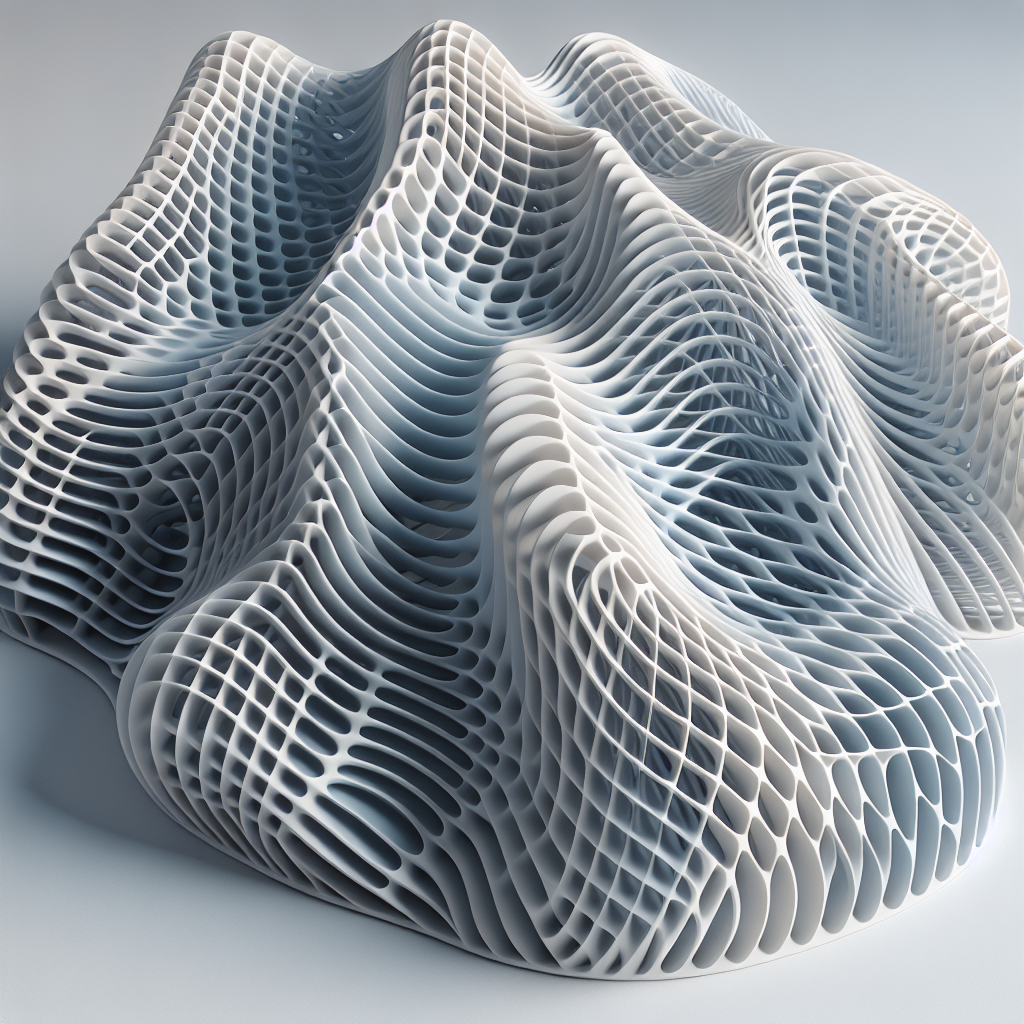
The gyroid is a mathematically generated pattern characterized by its continuous, non-repeating, and triply periodic structure. Unlike traditional grid or rectilinear infill, the gyroid forms a three-dimensional lattice that curves smoothly in all directions, providing isotropic mechanical properties. This means your part is strong in every orientation, not just along the X, Y, or Z axes.
Benefits of Gyroid Infill
- Strength-to-Weight Ratio: Gyroid infill distributes force evenly, allowing for robust prints without excessive material use.
- Efficiency: The continuous pattern enables quick and smooth nozzle movements, reducing print time compared to more abrupt patterns.
- Flexibility: Unlike honeycomb or grid structures, the gyroid offers a degree of flex, which can help absorb impacts and prevent brittle failure.
- Visual Appeal: The organic, wave-like internal structure can be revealed in translucent materials, making it a favorite for artistic or display pieces.
When Should You Use Gyroid Infill?
Gyroid infill is particularly advantageous for:
- Functional prototypes requiring strength from all directions
- Lightweight parts for drones, RC vehicles, or robotics
- Prints where internal aesthetics matter (e.g., lampshades, translucent models)
- End-use components subject to impact or repeated stress
However, for thin-walled prints or objects with tiny internal cavities, simpler infills might be more practical.
How to Enable Gyroid Infill in Your Slicer
Most major slicers support gyroid infill:
- Cura: Select your model, go to the infill settings, and choose “Gyroid” from the pattern dropdown.
- PrusaSlicer: Under the “Infill” tab, choose “Gyroid” from the list of patterns.
- Simplify3D: As of recent updates, gyroid is an available pattern in the infill menu.
Optimizing Gyroid Infill Settings
Using gyroid infill effectively requires some tweaks:
- Infill Density: For most functional prints, 10–20% gyroid infill offers a great balance of strength and weight. For parts requiring maximum strength, densities up to 40% can be used, but this increases weight and print time.
- Layer Height: Thicker layers can speed up prints, but for fine gyroid details, a standard 0.2 mm works best.
- Infill Overlap: Increase infill-perimeter overlap to ensure strong bonding between gyroid infill and outer walls—typically 10–20% is ideal.
- Print Speed: The smooth paths of gyroid allow for slightly higher infill print speeds without compromising quality.
Practical Examples and Results
In my experience, switching from grid to gyroid infill in RC car parts and quadcopter frames reduced weight by up to 20% while maintaining, or even improving, crash resilience. For vases and light fixtures, the gyroid’s internal pattern adds captivating visual depth when using translucent PLA or PETG.
Limitations and Considerations
Gyroid infill is not always optimal for ultra-rigid prints or thin shells—sometimes, rectilinear or cubic infill offers more precise strength tuning. Also, very low infill densities (below 10%) might result in weak points due to the sparse nature of the pattern.
Conclusion: Why Gyroid is Worth Trying
With its blend of strength, efficiency, and visual flair, gyroid infill empowers you to create 3D prints that are not only lighter and stronger but also more beautiful inside and out. Whether you’re building durable prototypes, lightweight frames, or translucent art pieces, experimenting with gyroid infill can take your 3D printing results to the next level.
Give it a shot in your next project—your prints (and your printer) will thank you!
Leave a Reply